Case Studies
Here our customers share some of their installations with the rest of us. Inspirational and educational.Fick Brothers Roofing
The Fick Brothers Roofing and Remodeling Co has a long history in the greater Baltimore area. The company now have third and fourth generation customers, as well as management. We are very happy to have them as our customers at Nordic Steel Gutters. They kindly have agreed to share some of their projects with us.
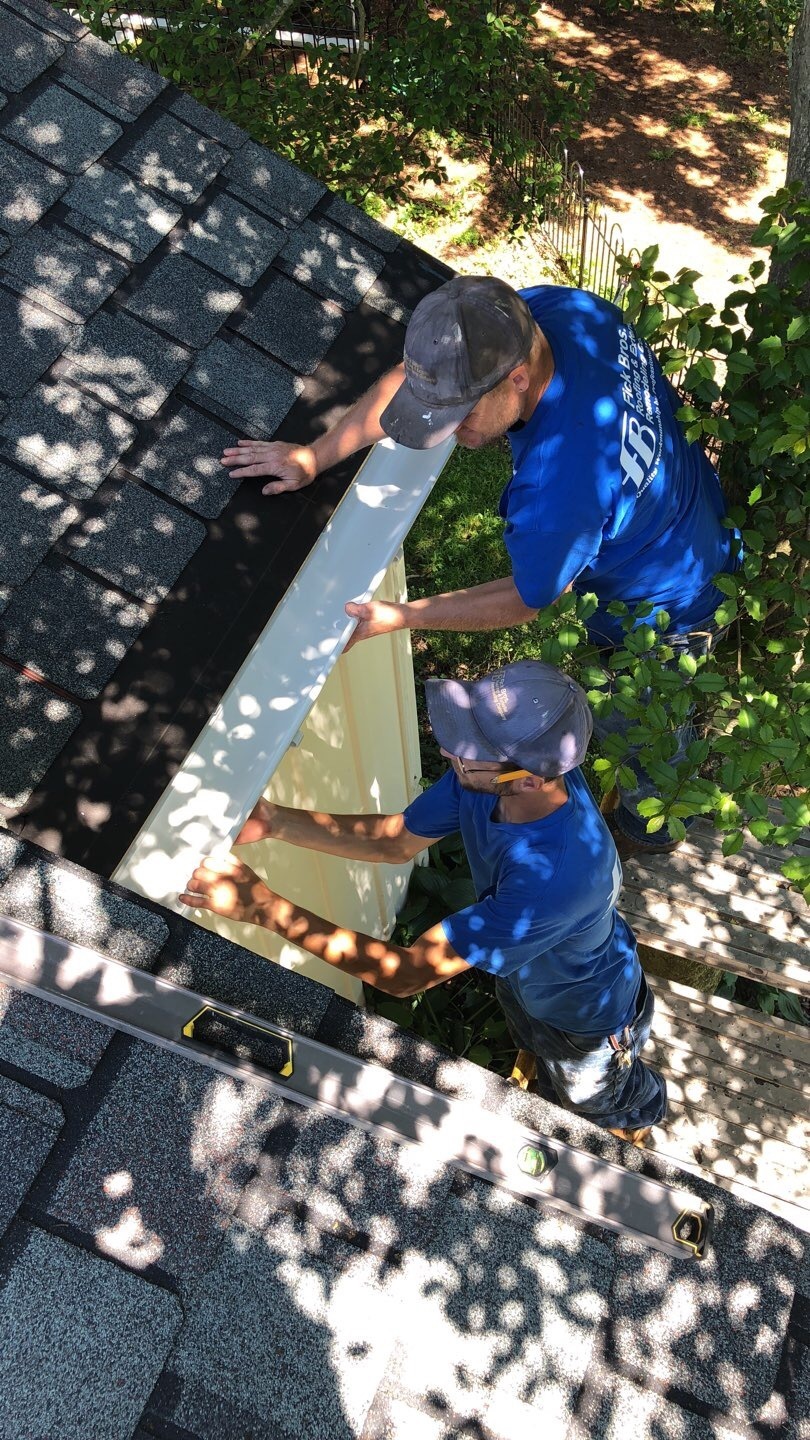
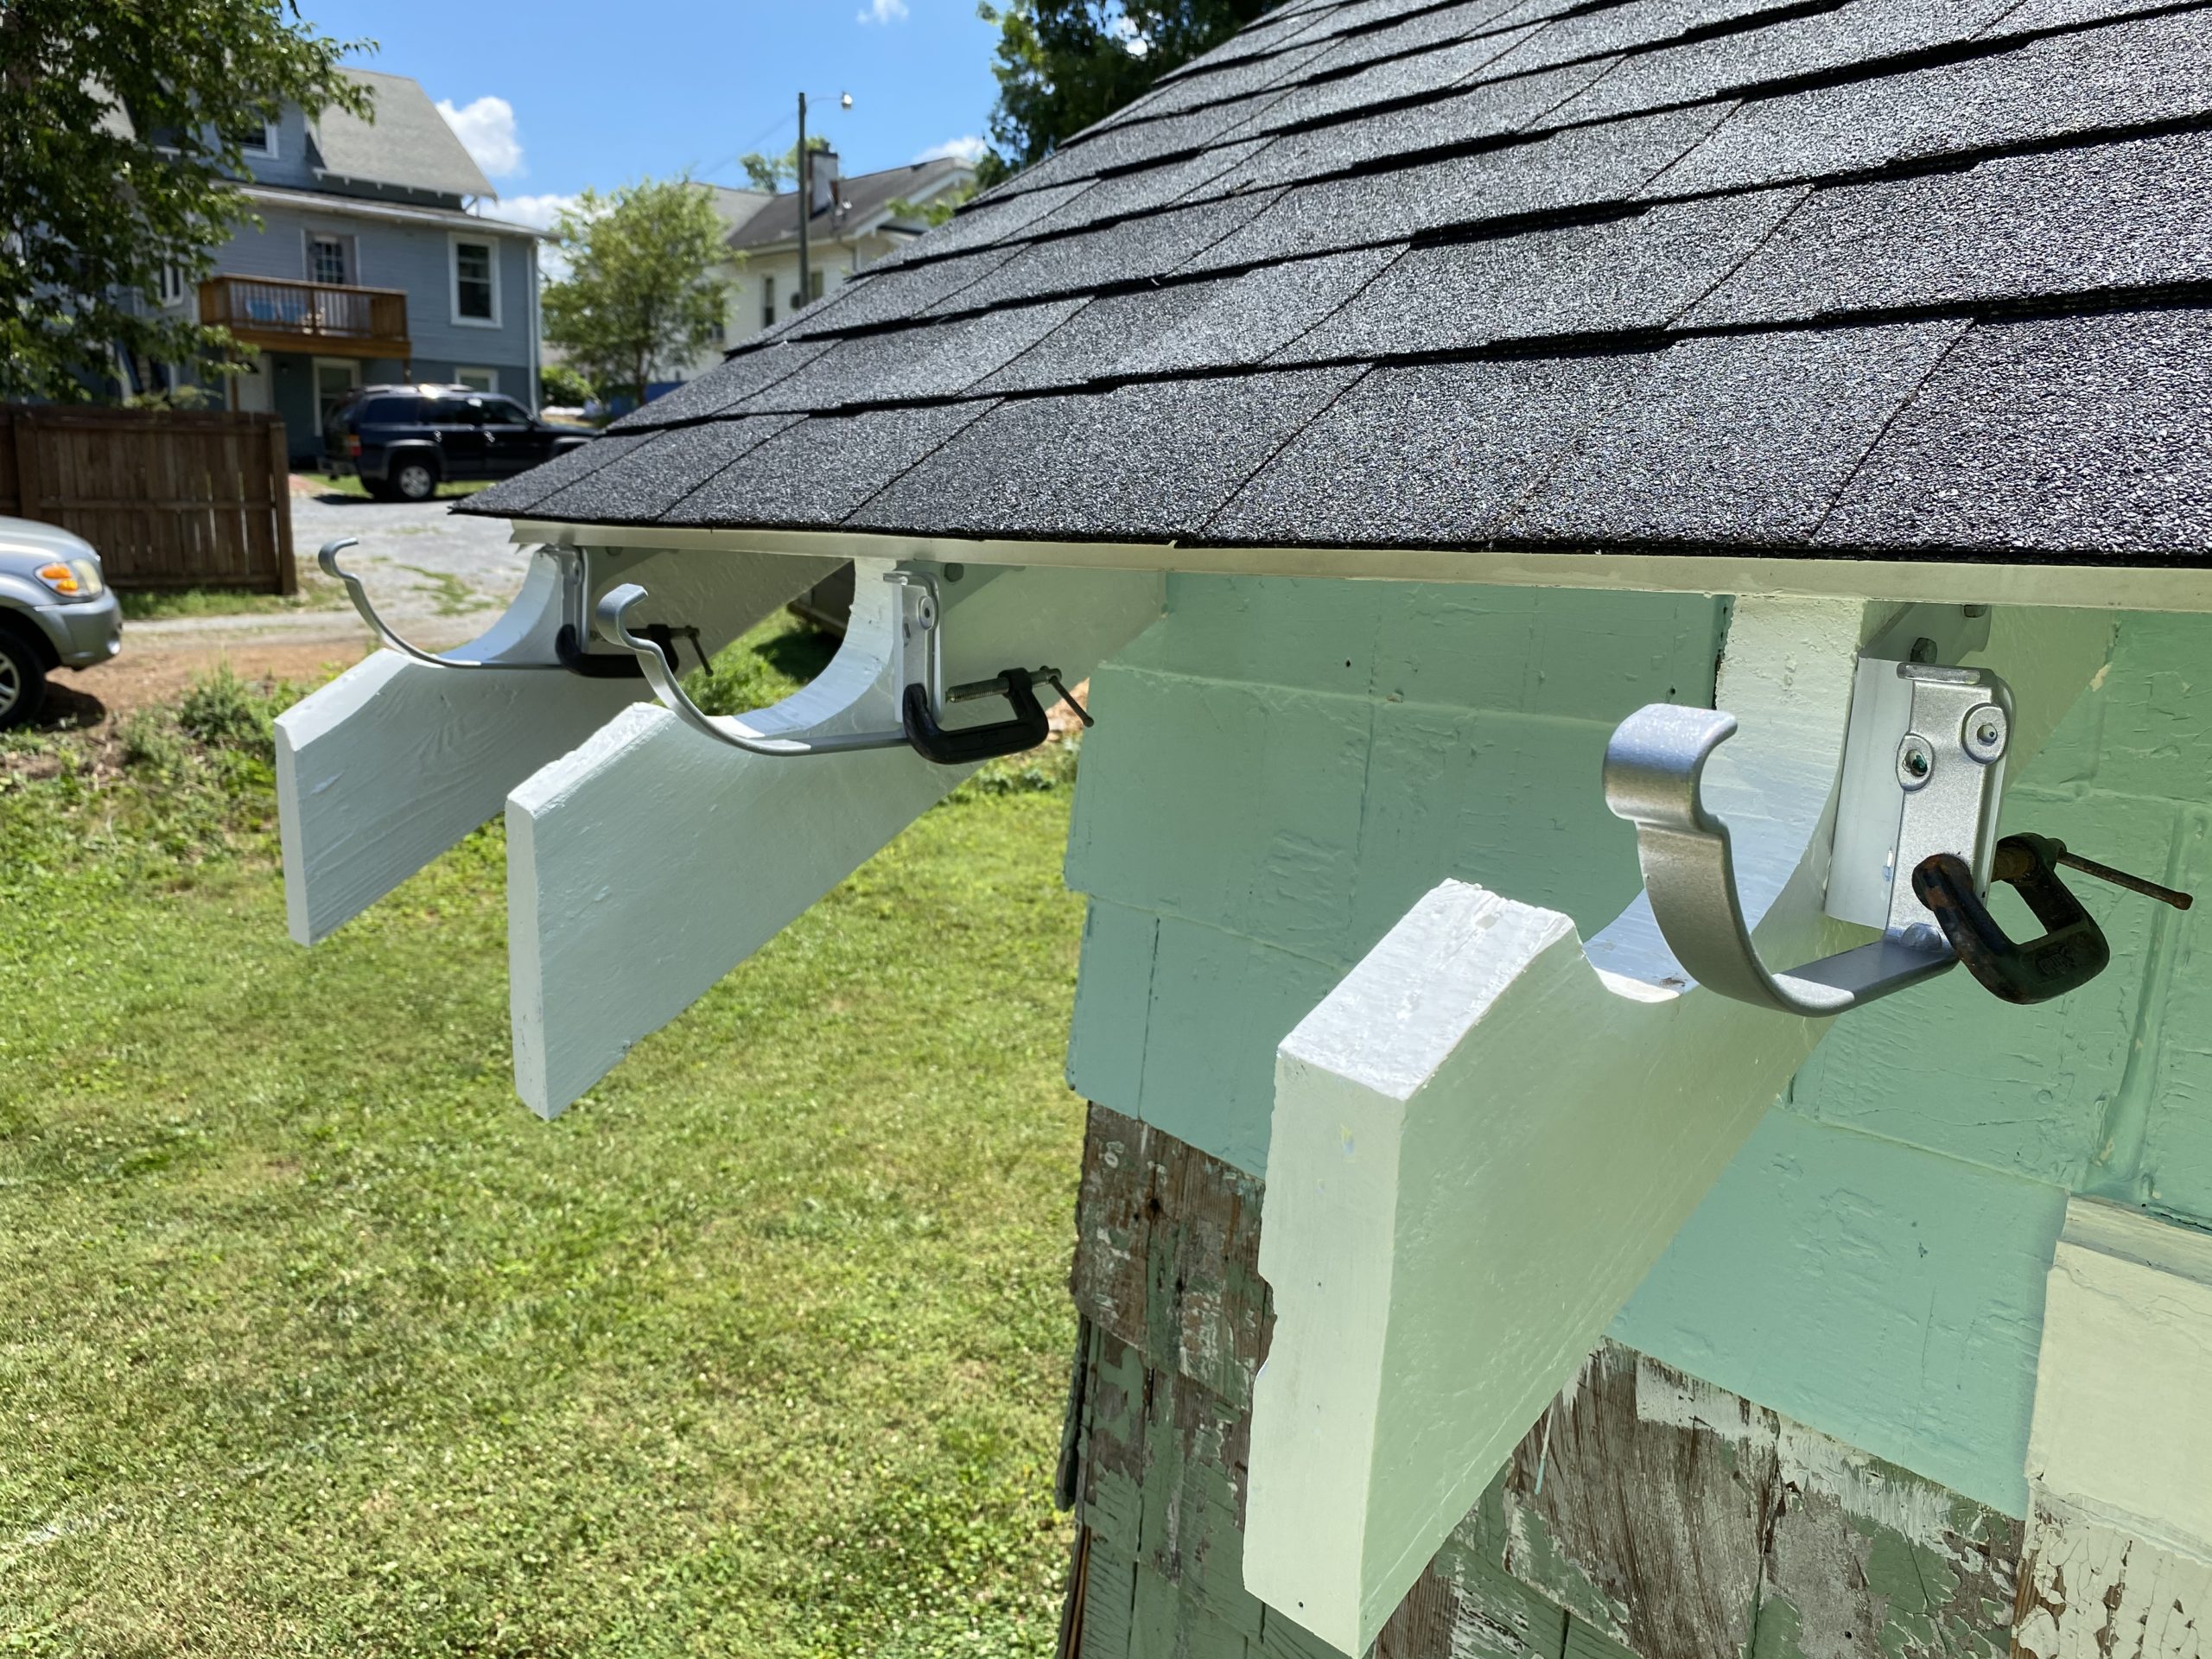
Roof hangers with tabs
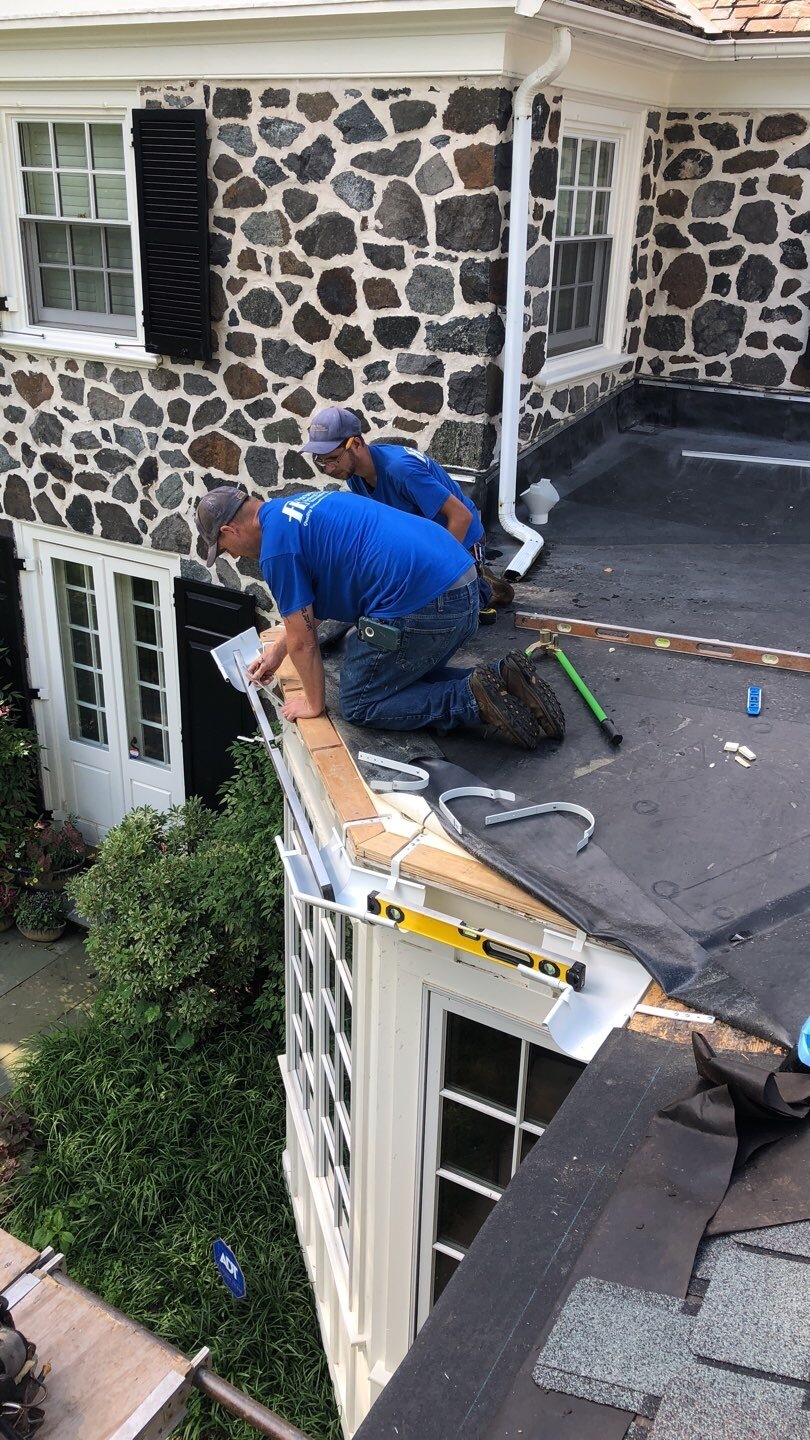
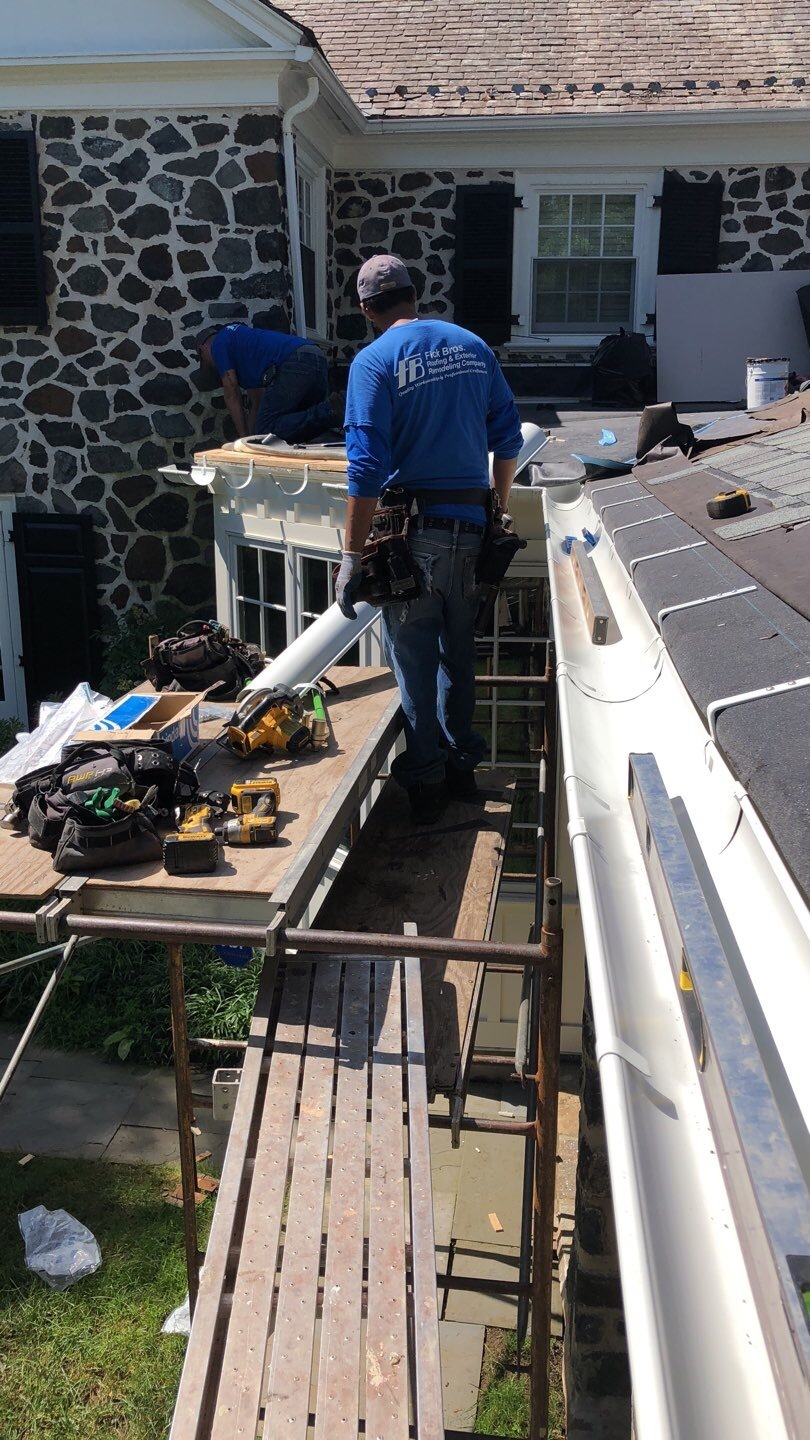
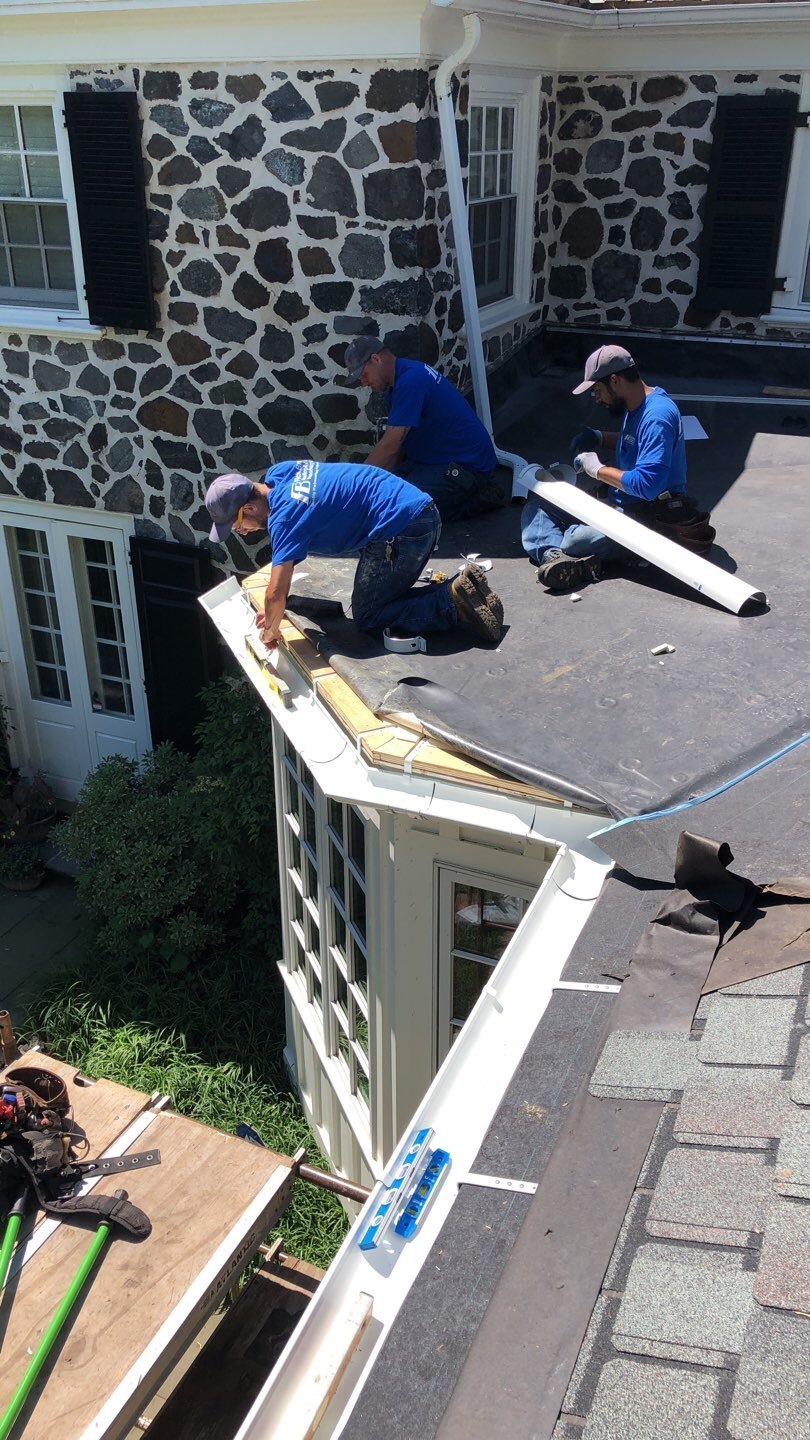
Making sure the slope around the bay window is accurate. Extra important when you have an installation with many miters and small pieces of gutters in between.
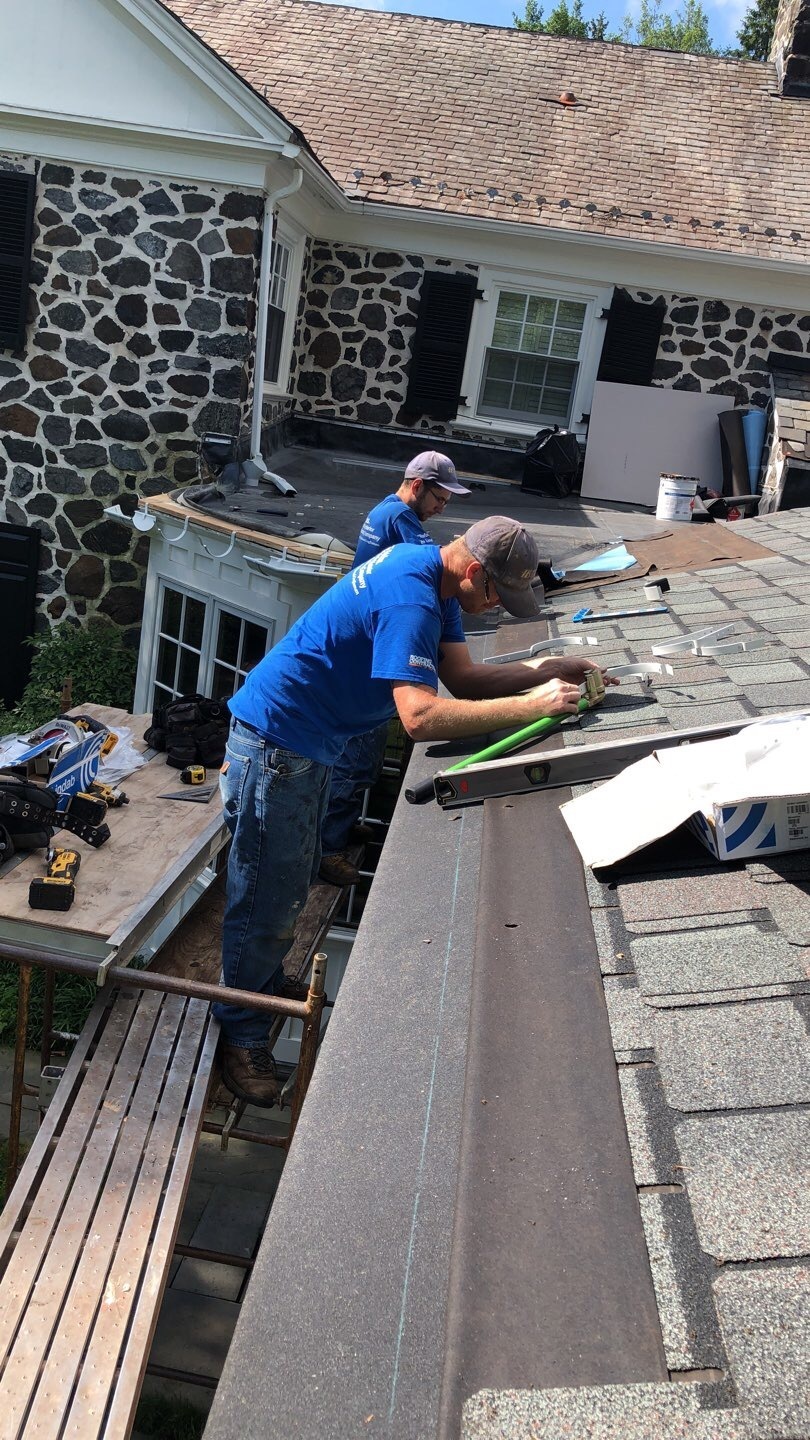
Hanger bending tool
Using the hanger bender to set the correct pitch is not difficult for these professionals.
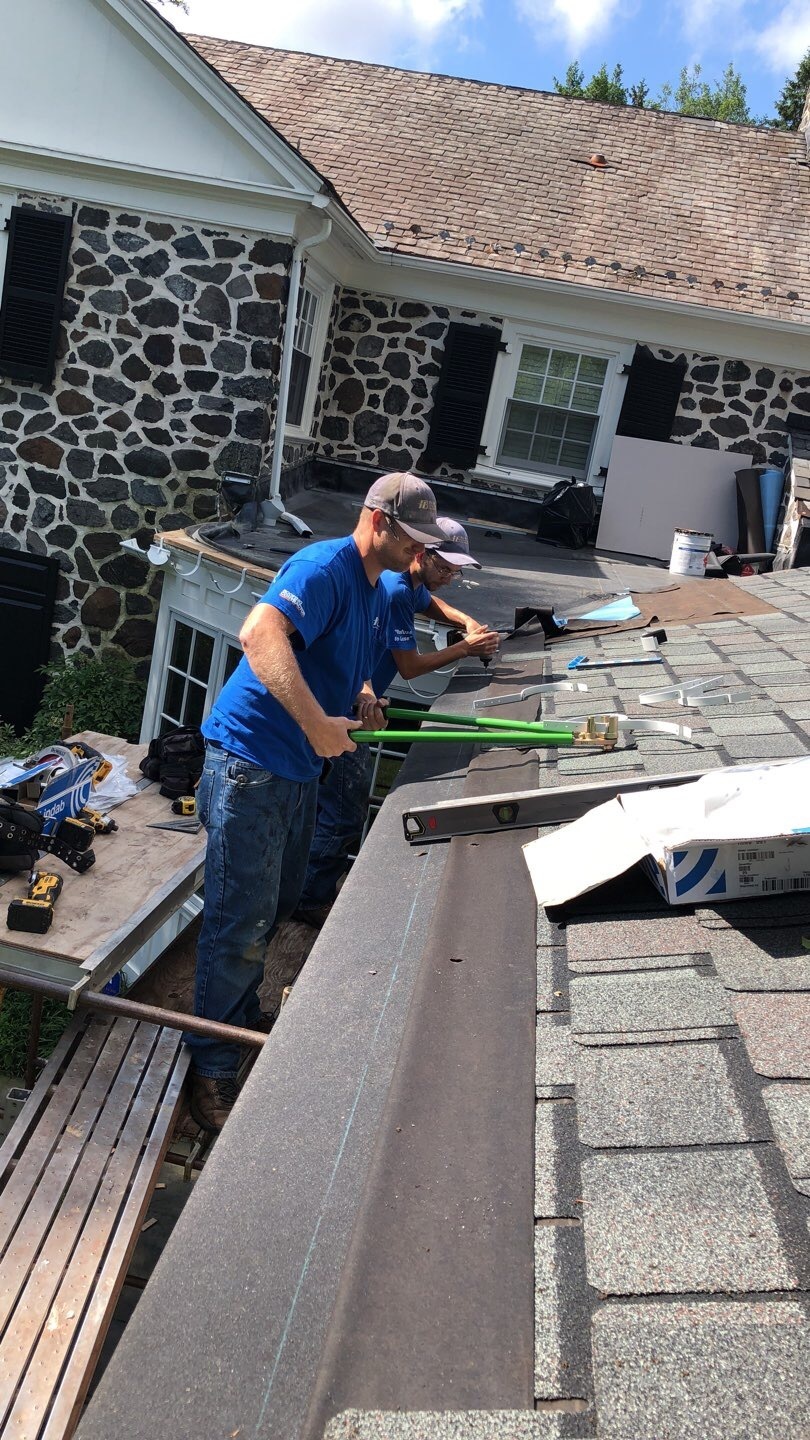
Hanger bending tool cont’d
It is always a good idea to have the same person bend all hangers, for a specific project. We all use slightly different sight lines so continuity is great.
Hanger bending tool cont’d
The bending tool comes with a stop screw. Once you have found your correct pitch you can lock in that setting. To make the hangers and gutter rise and fall you mark that on the hangers as we also show in the installation manual.

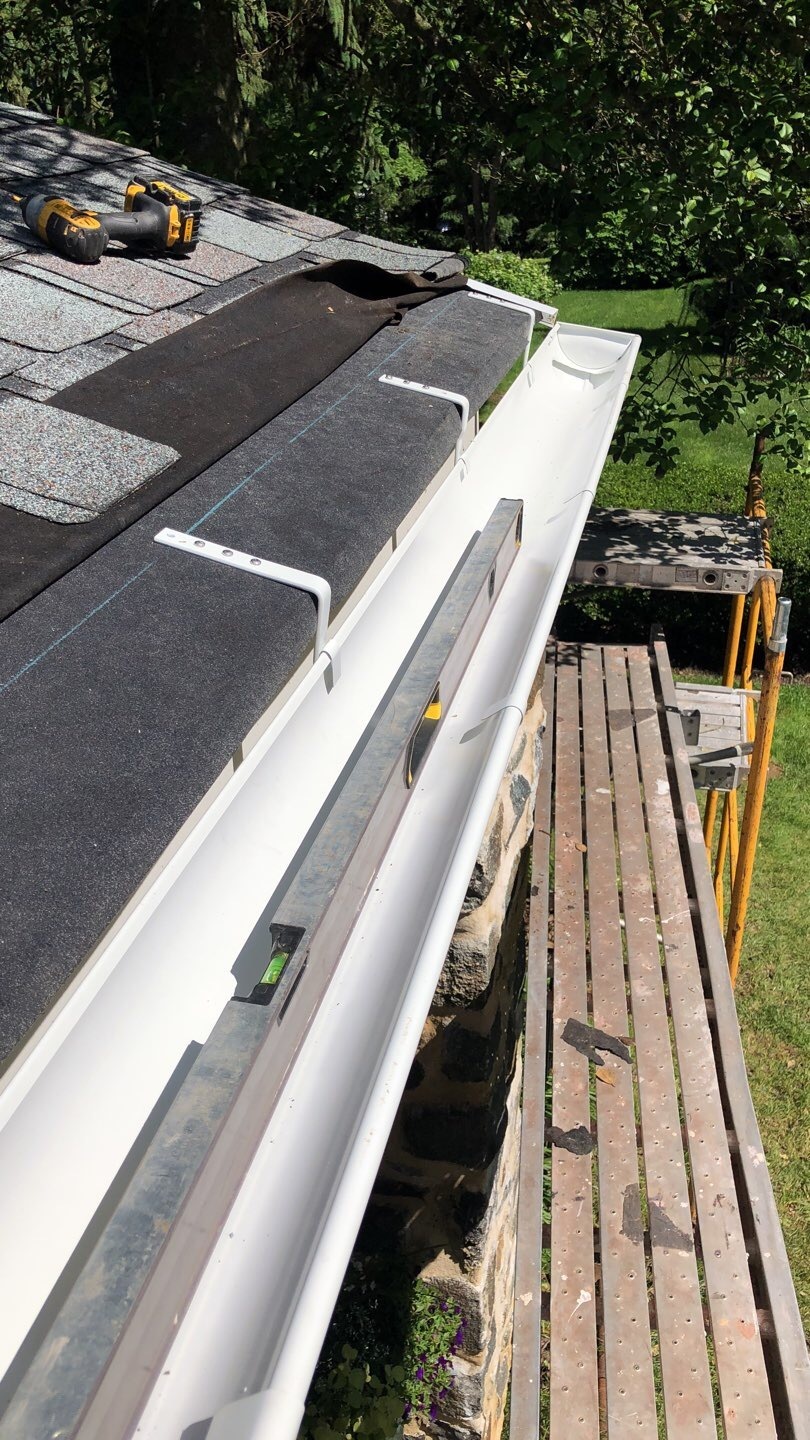
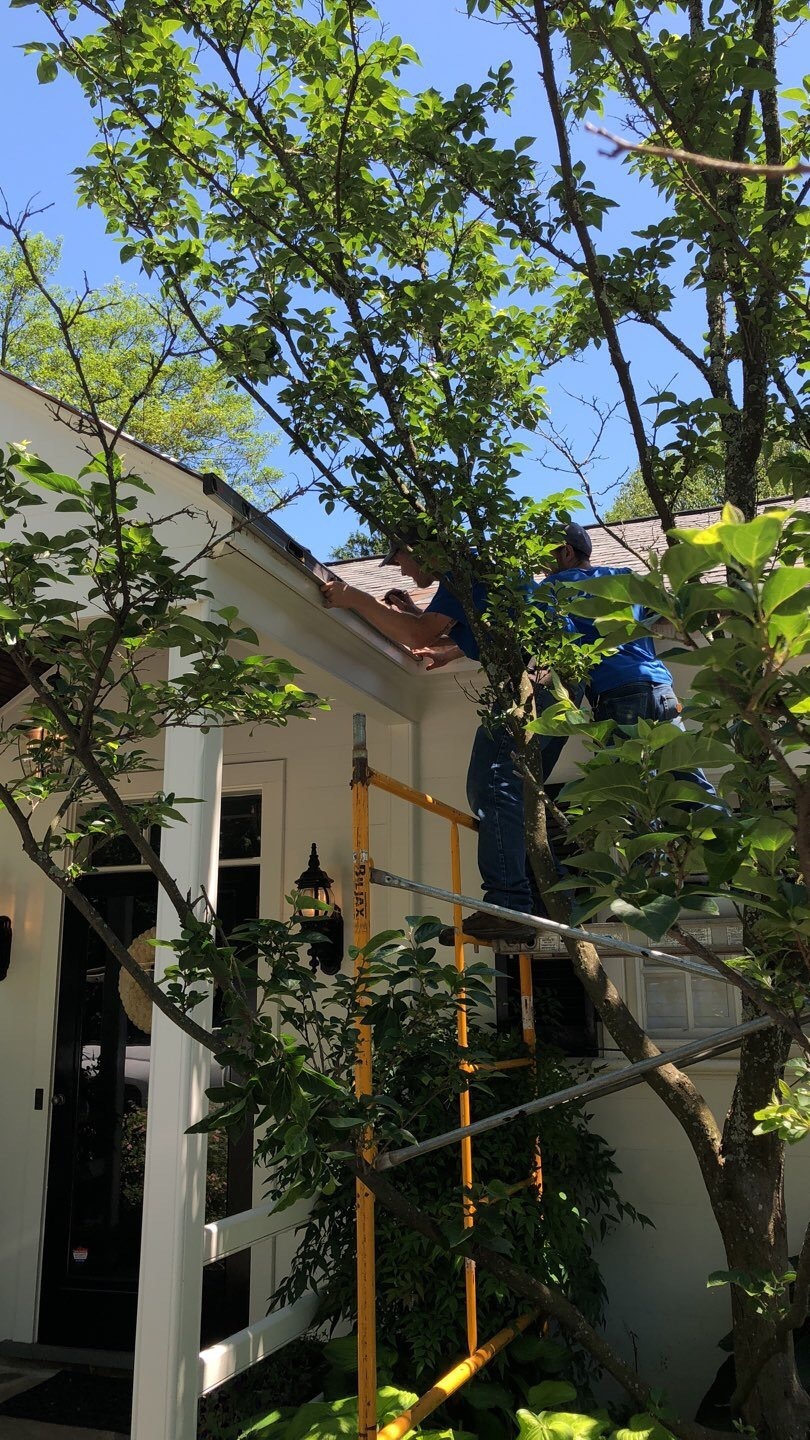
Installing the hangers
Hangers being installed on the longer section.
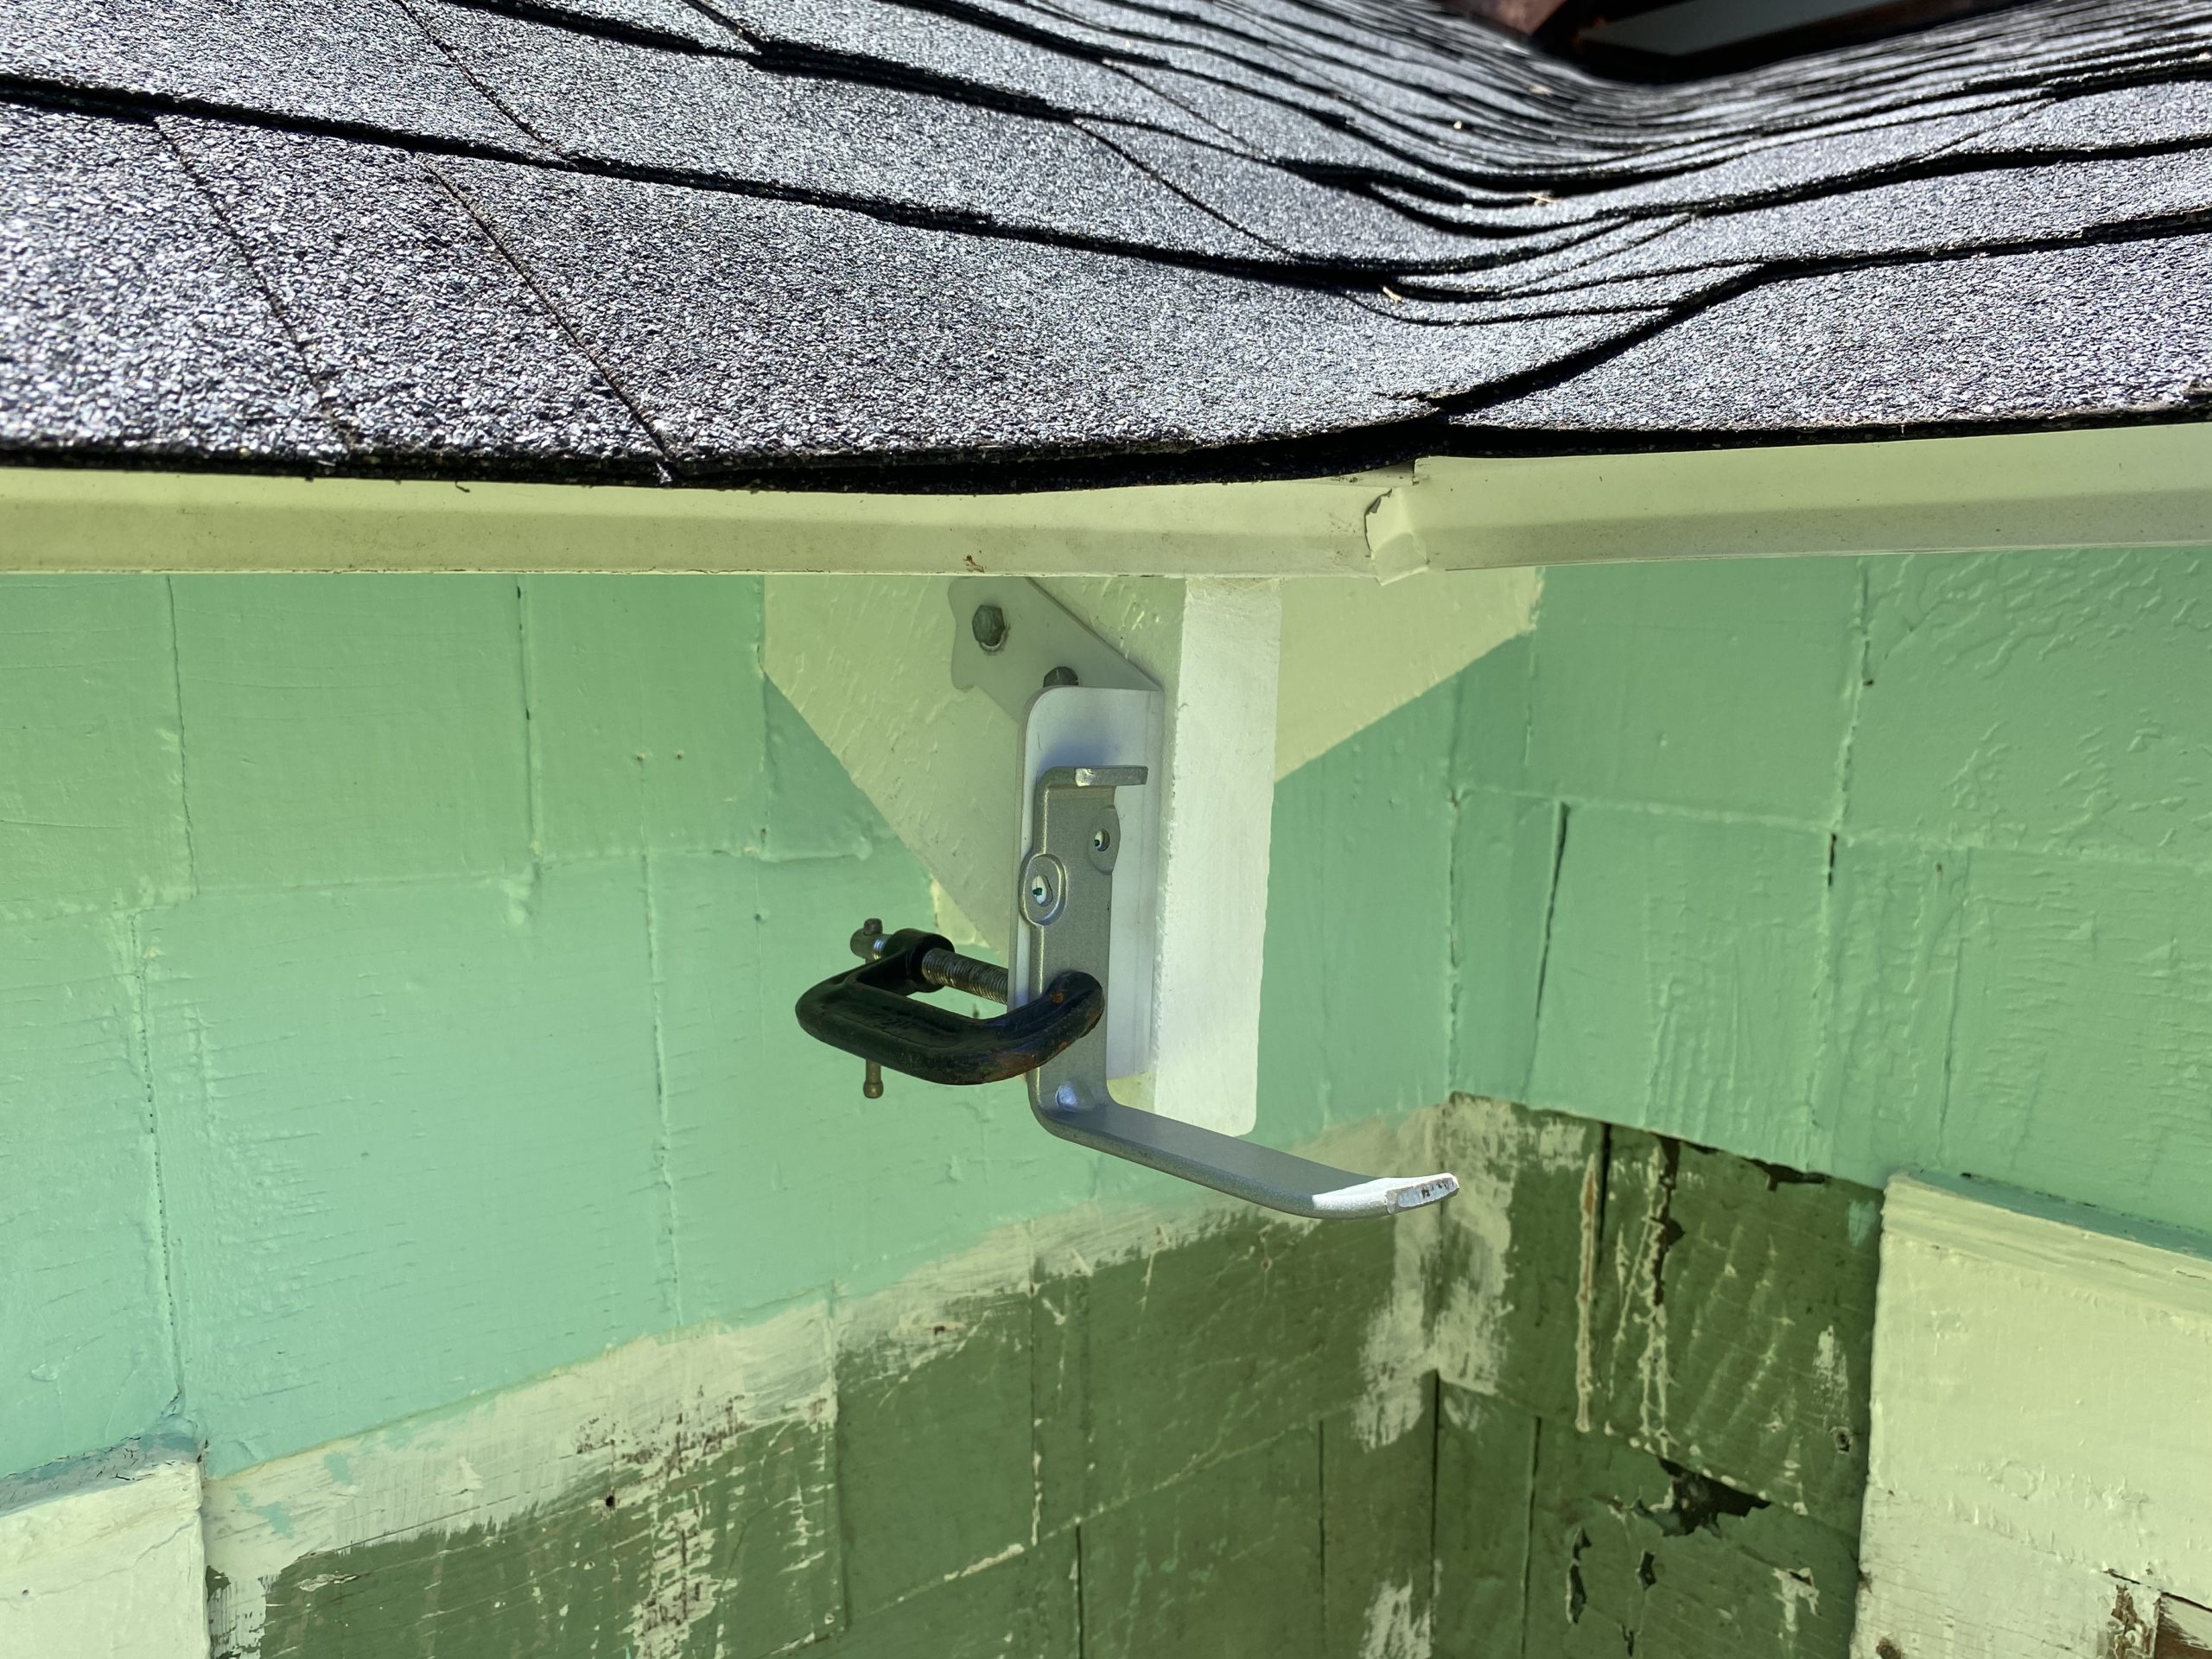
Installing hangers cont’d
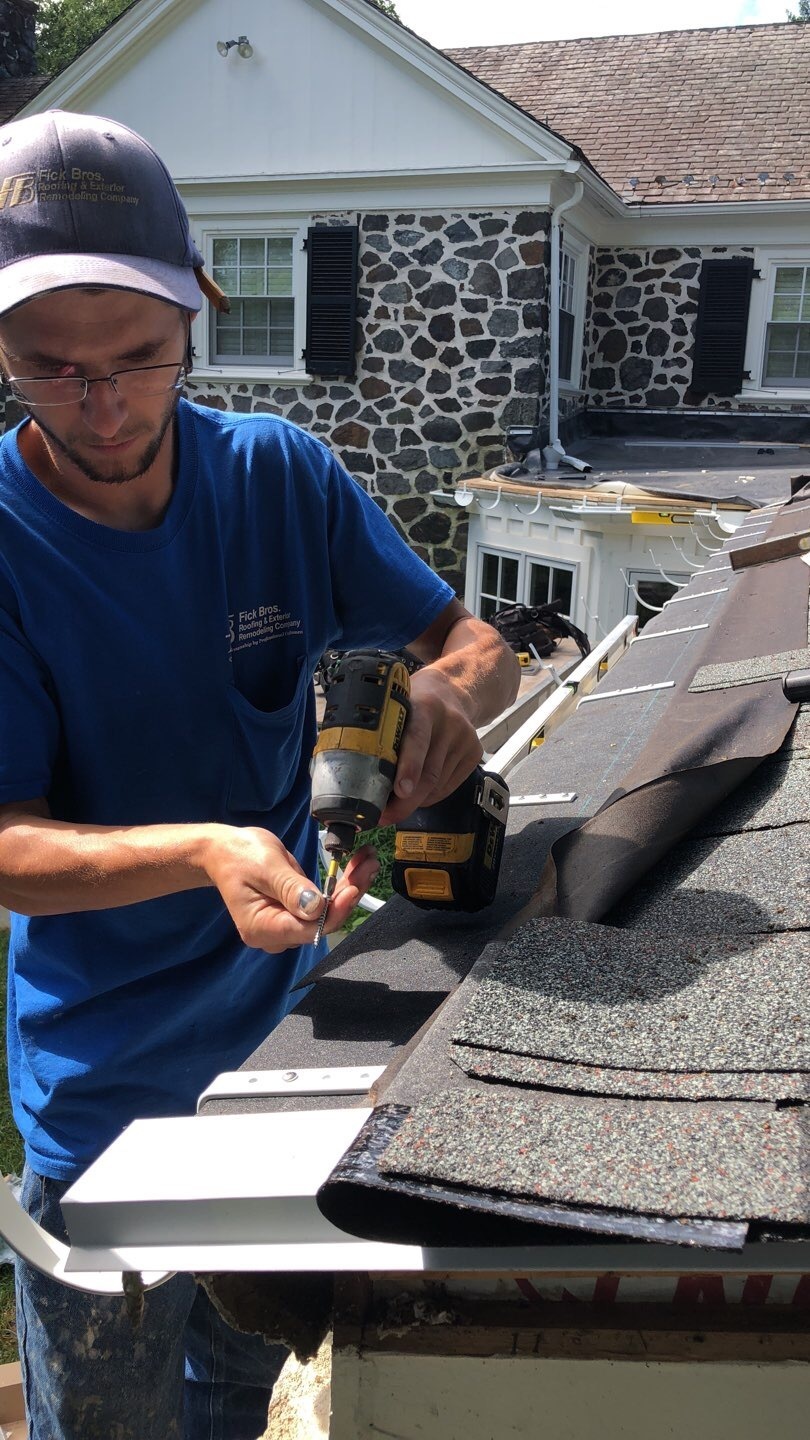
Putting the final hanger down on this run. The recommendation is a minimum of two screws per hanger. As you can see Fick Brothers Roofing are using both stainless screws and three (3) screws per hanger which is outstandingly strong.
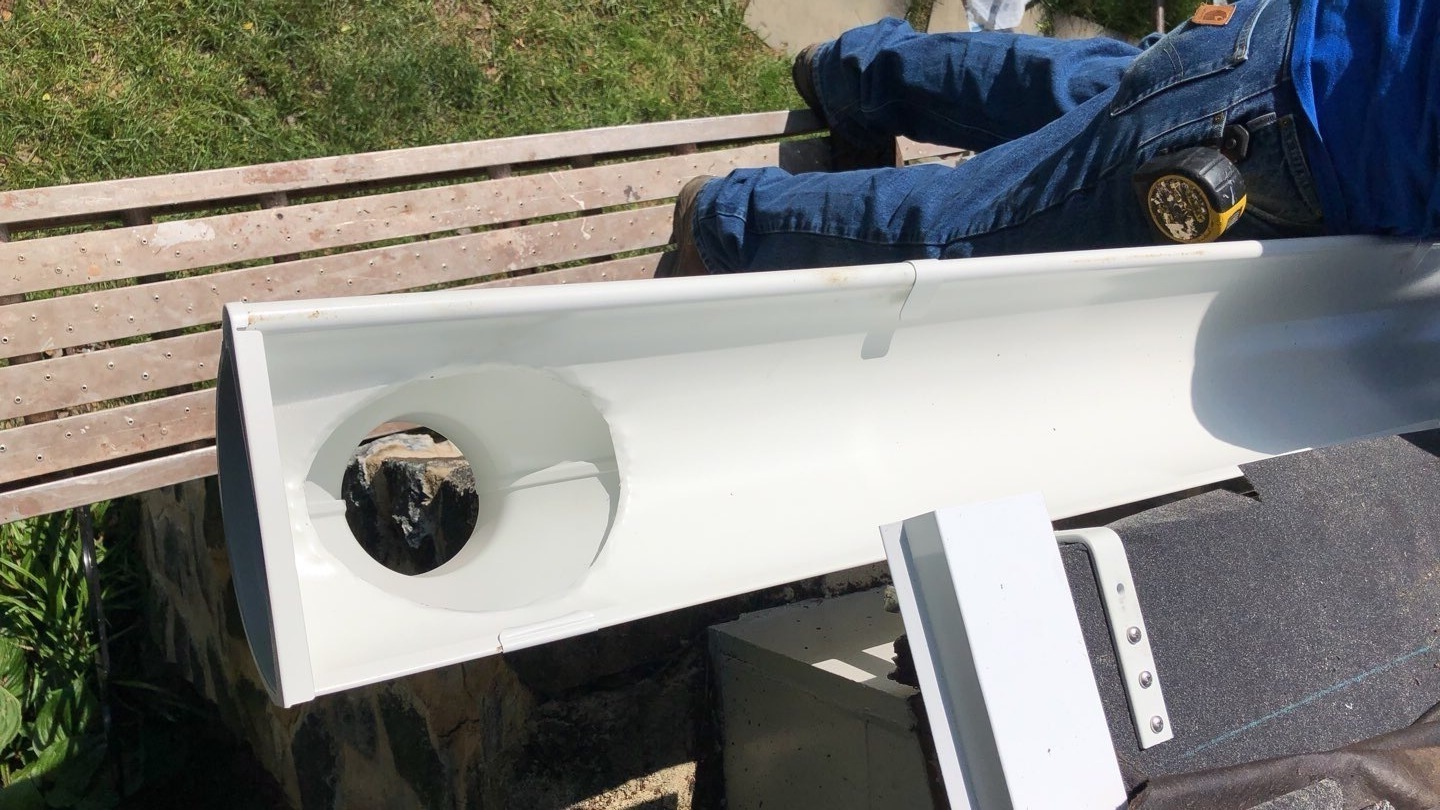
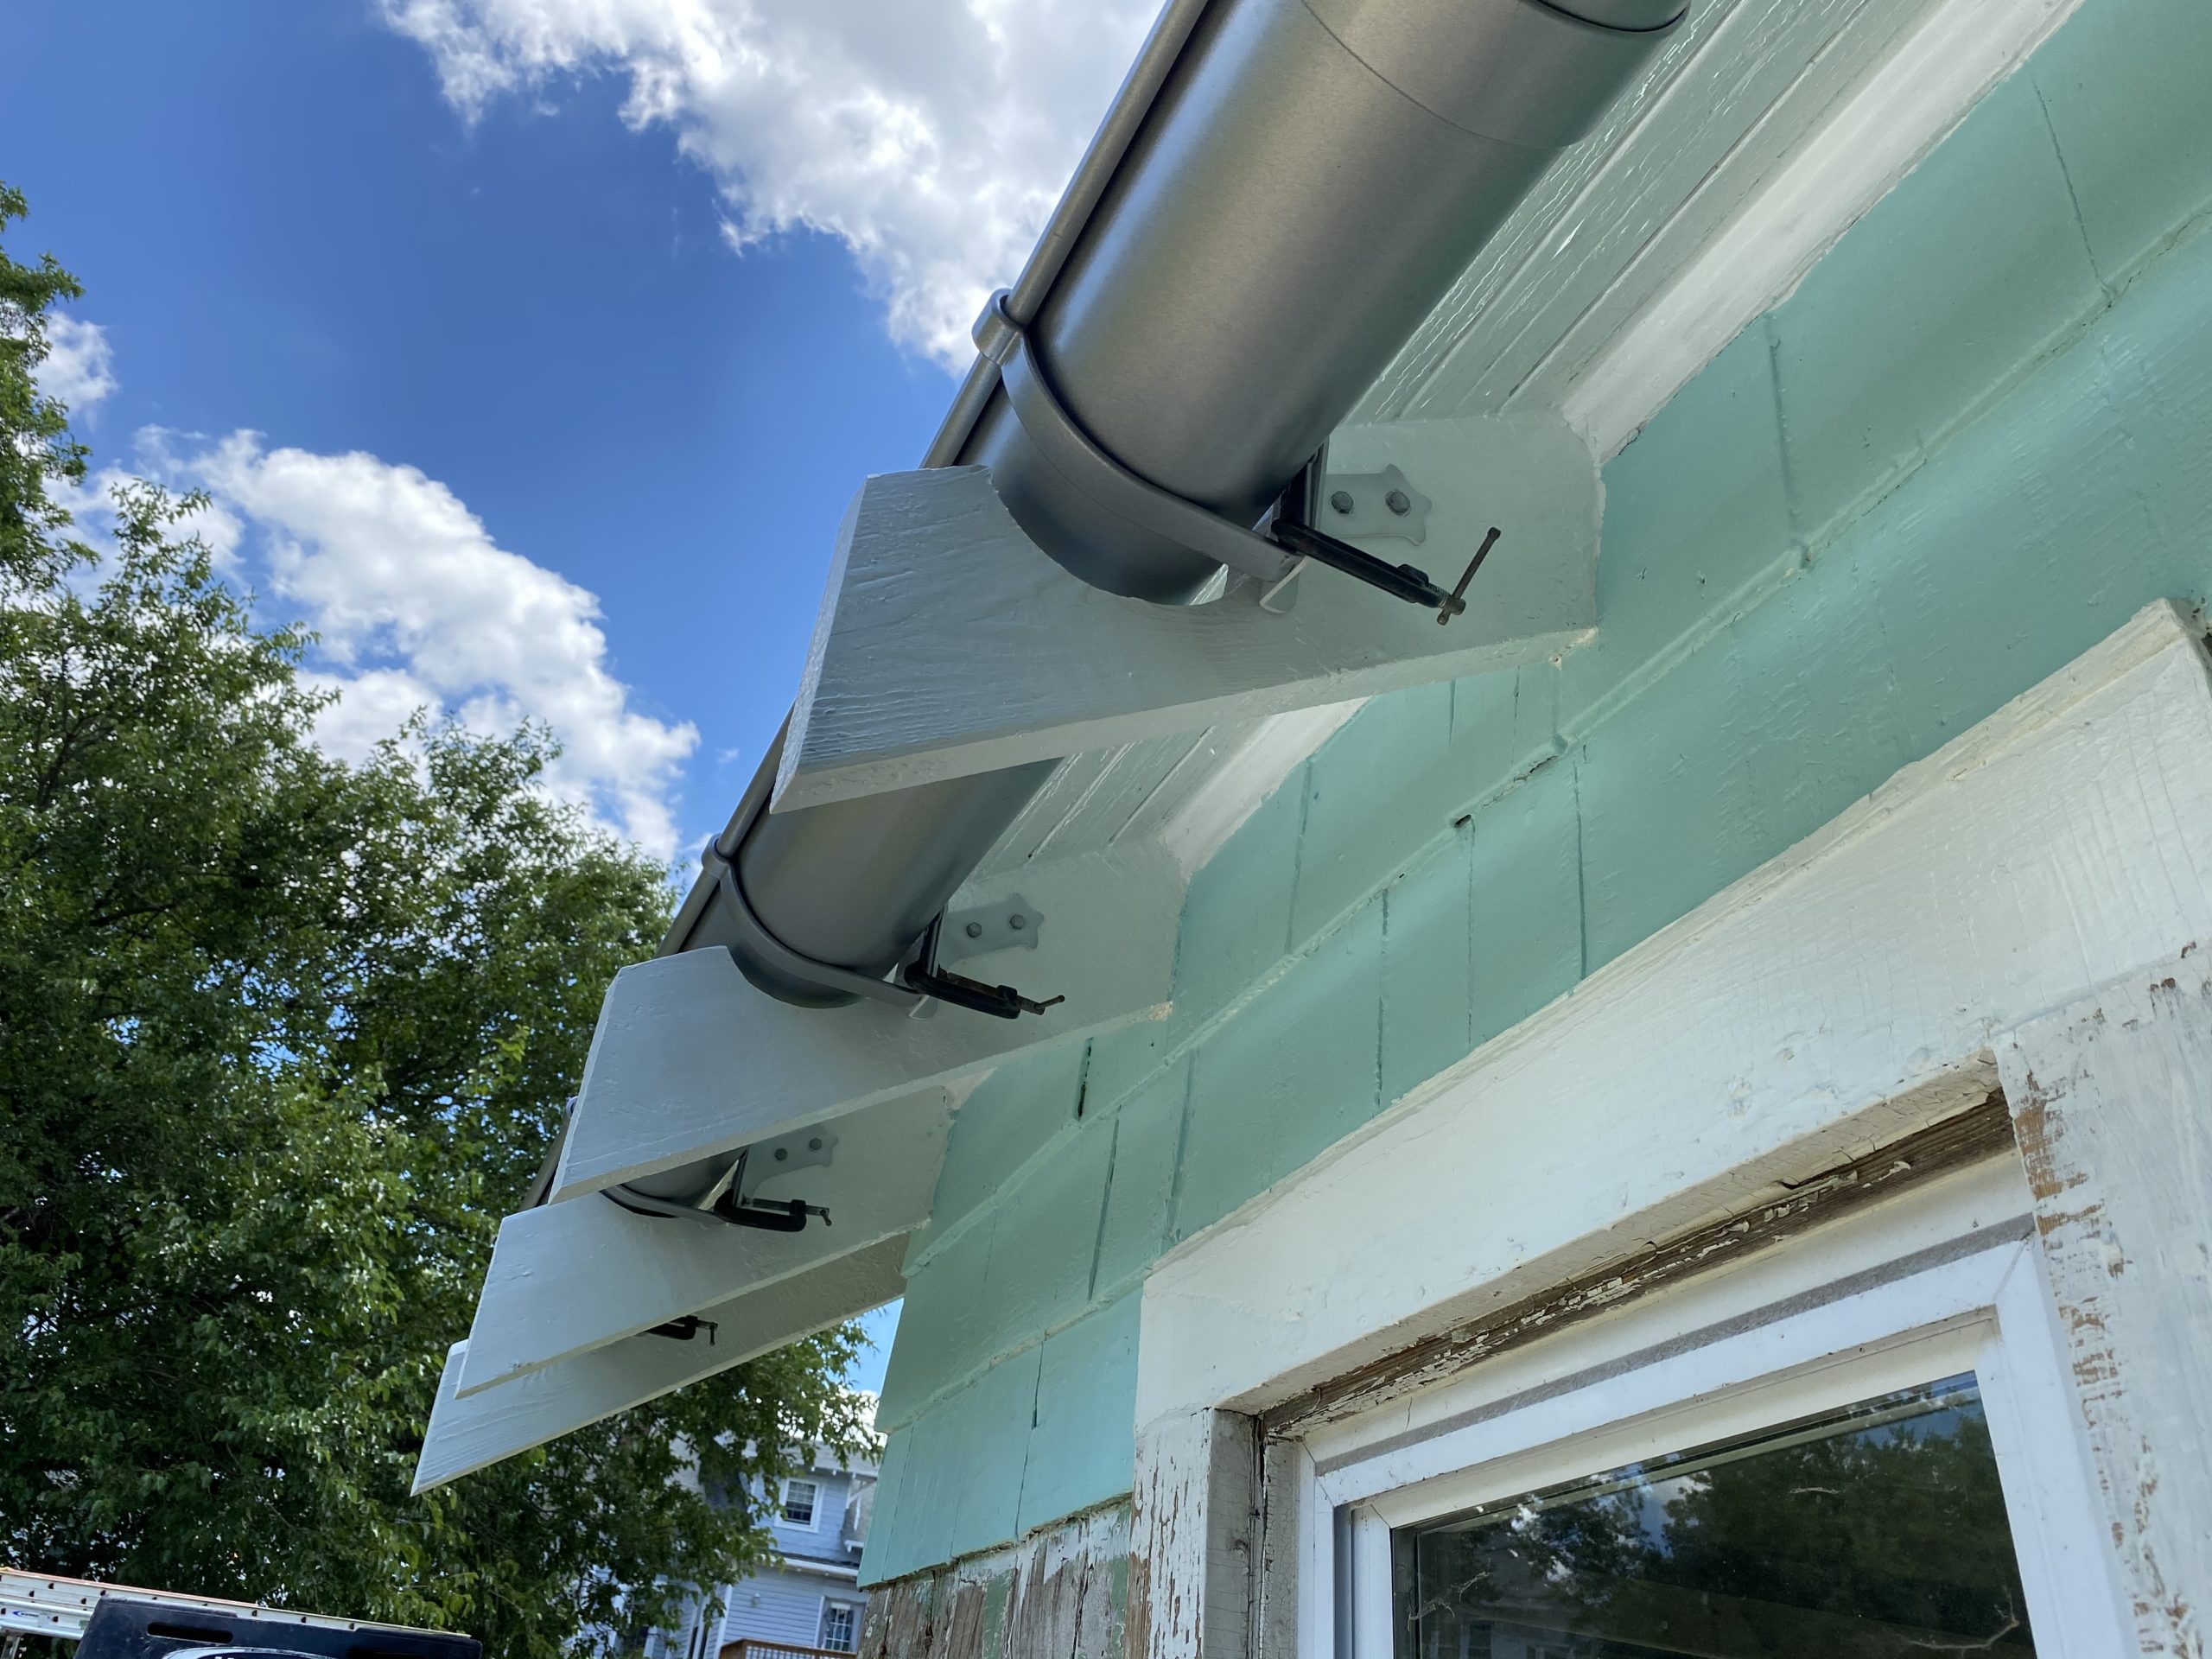
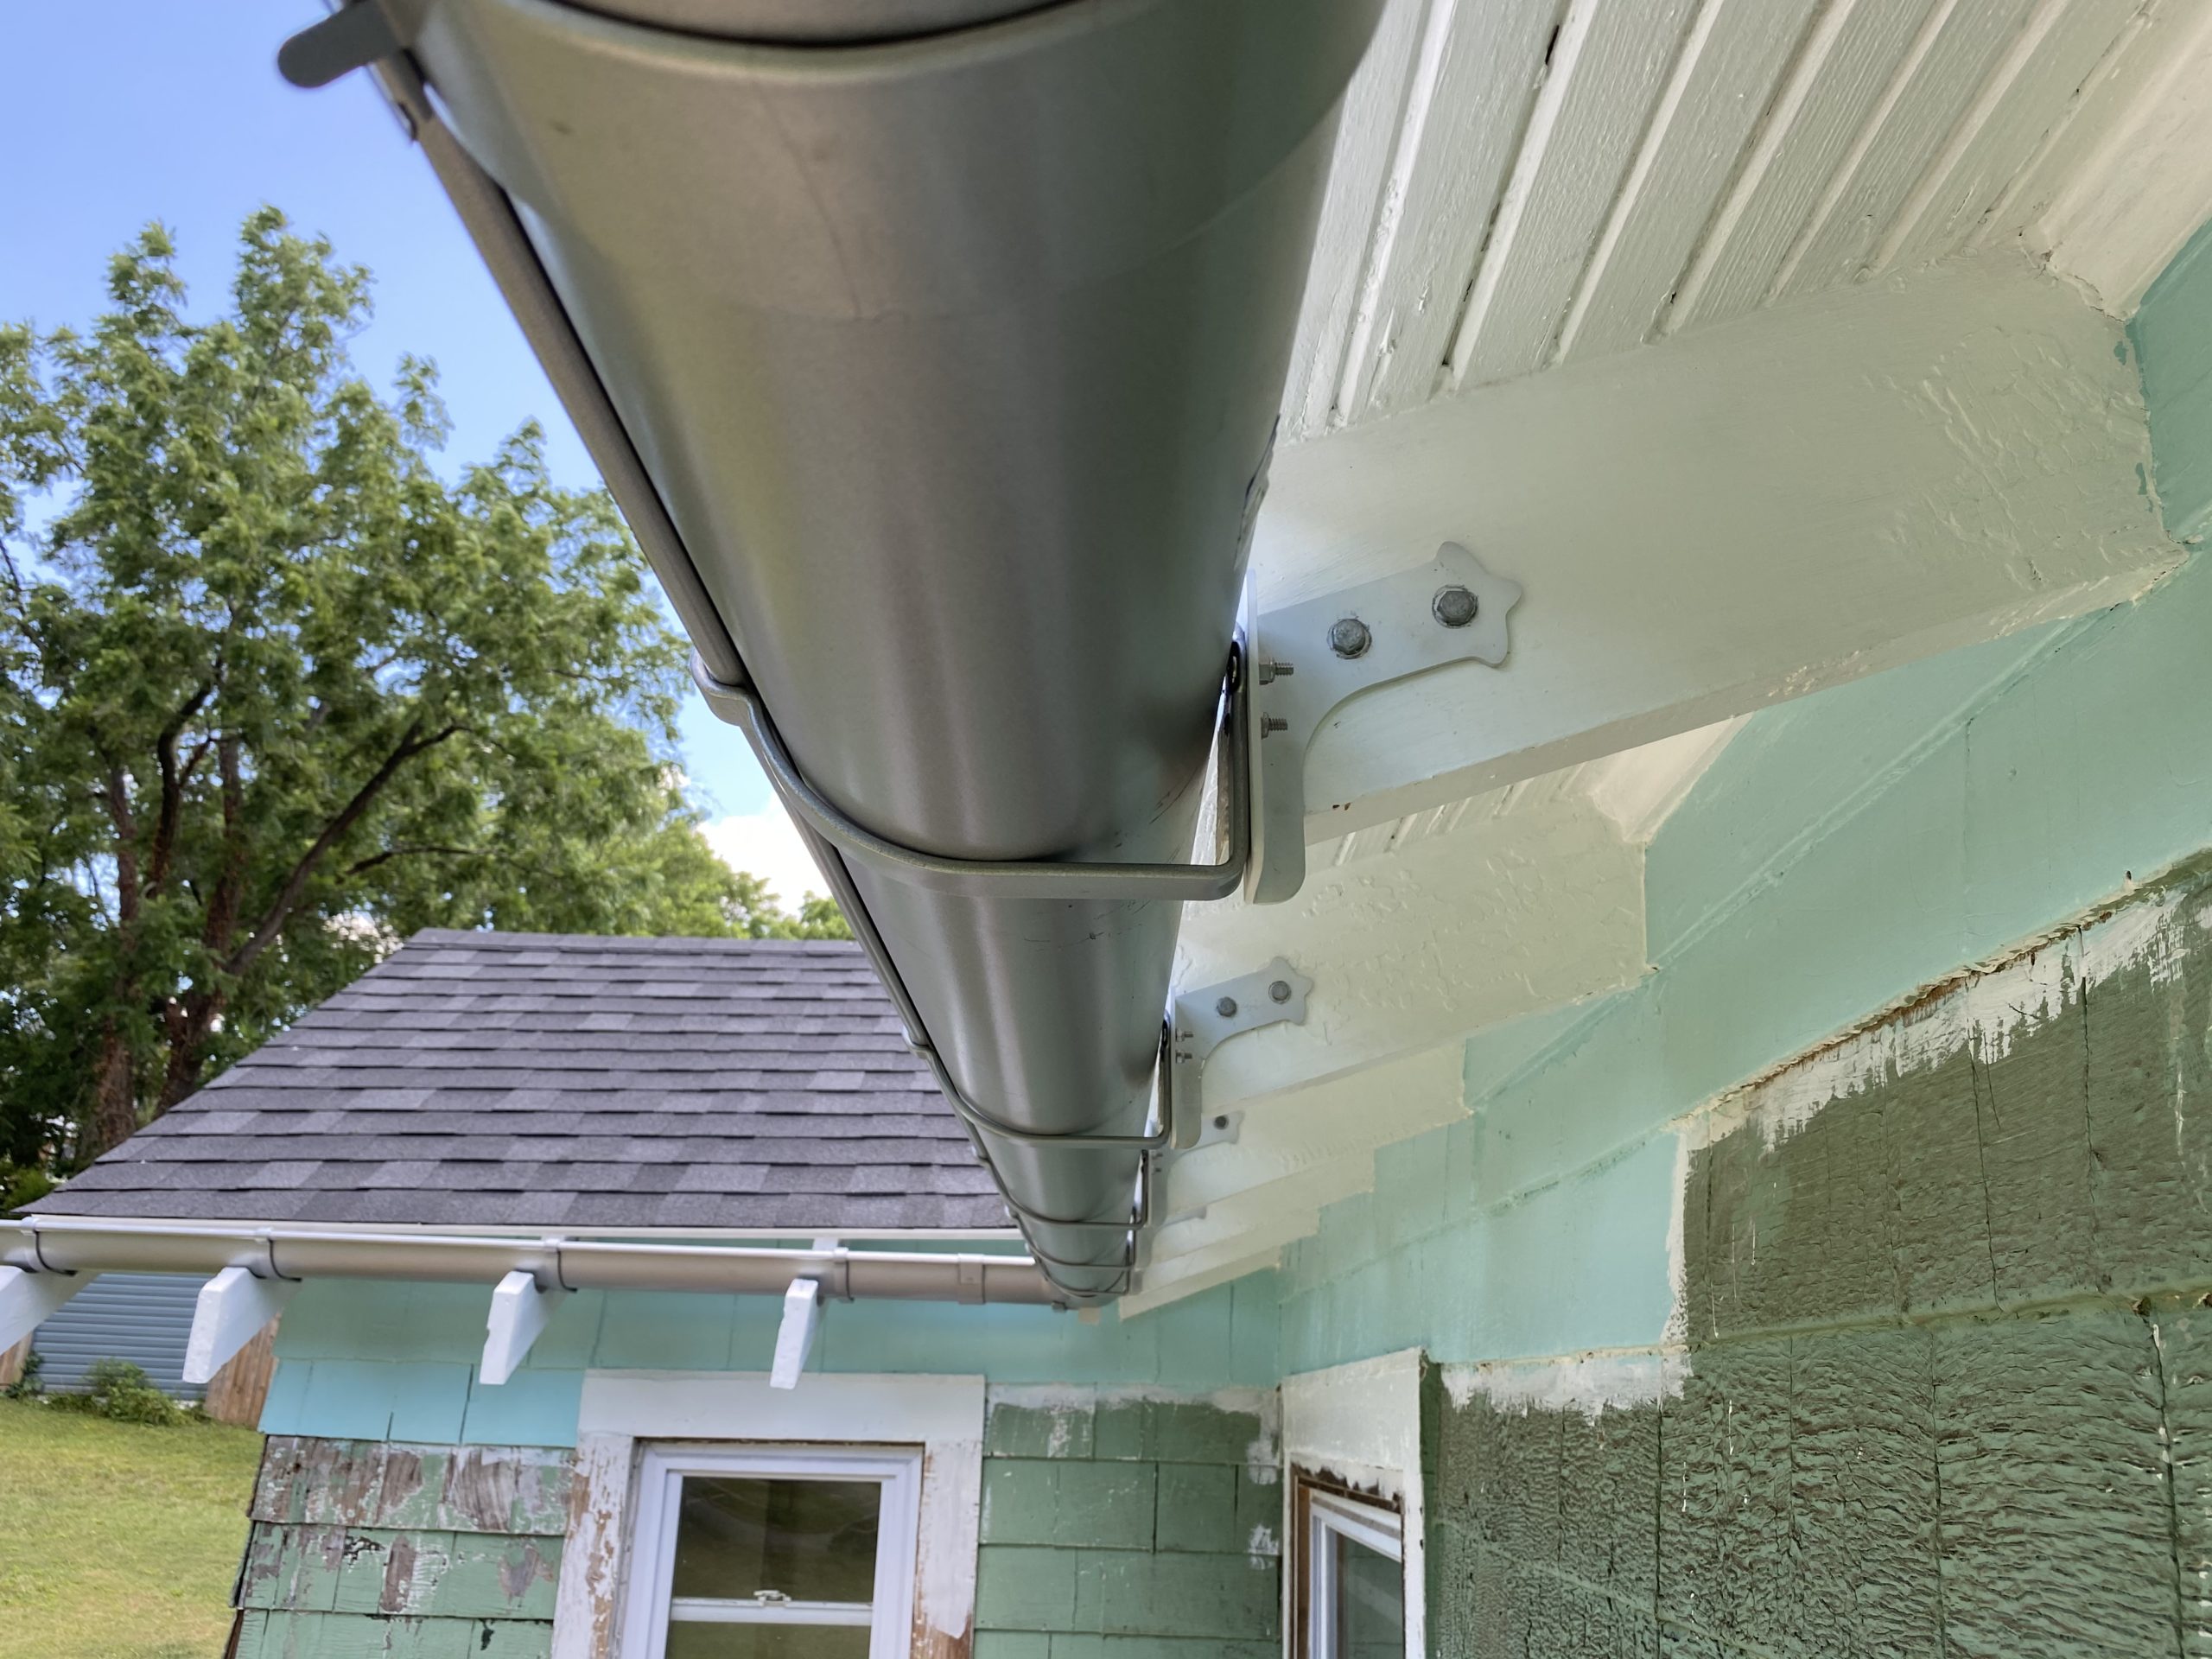
Huge outlet opening
Great picture of how unobstructed the water can arrive at the downspout. The hole in the gutter is ~ 7 x 5 inches, dropping into a four inch round downspout. No caulk or anything stopping the water here.
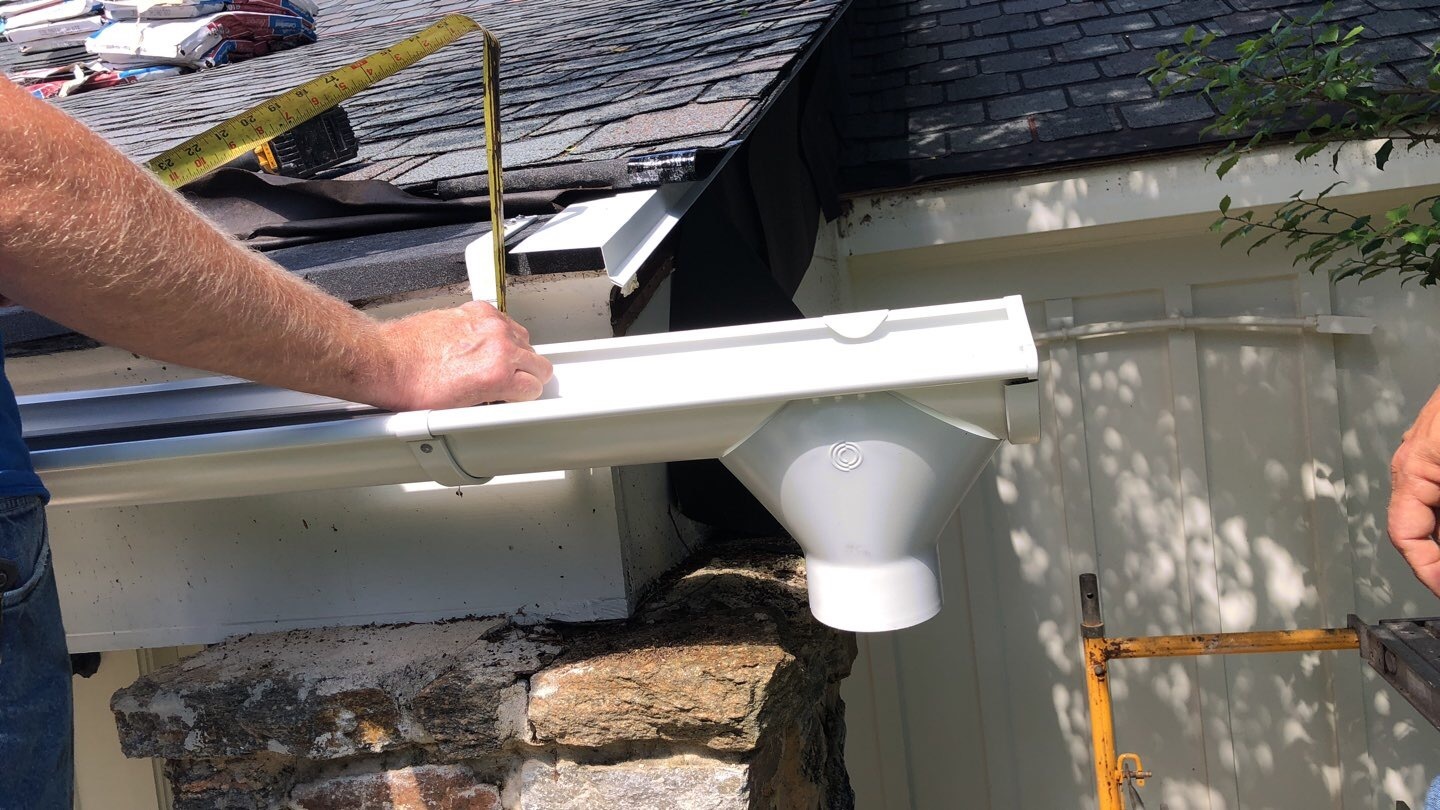
Outlet funnel
This picture really shows how the outlet has a huge upper section tapering down into the four (4) inch downspout.
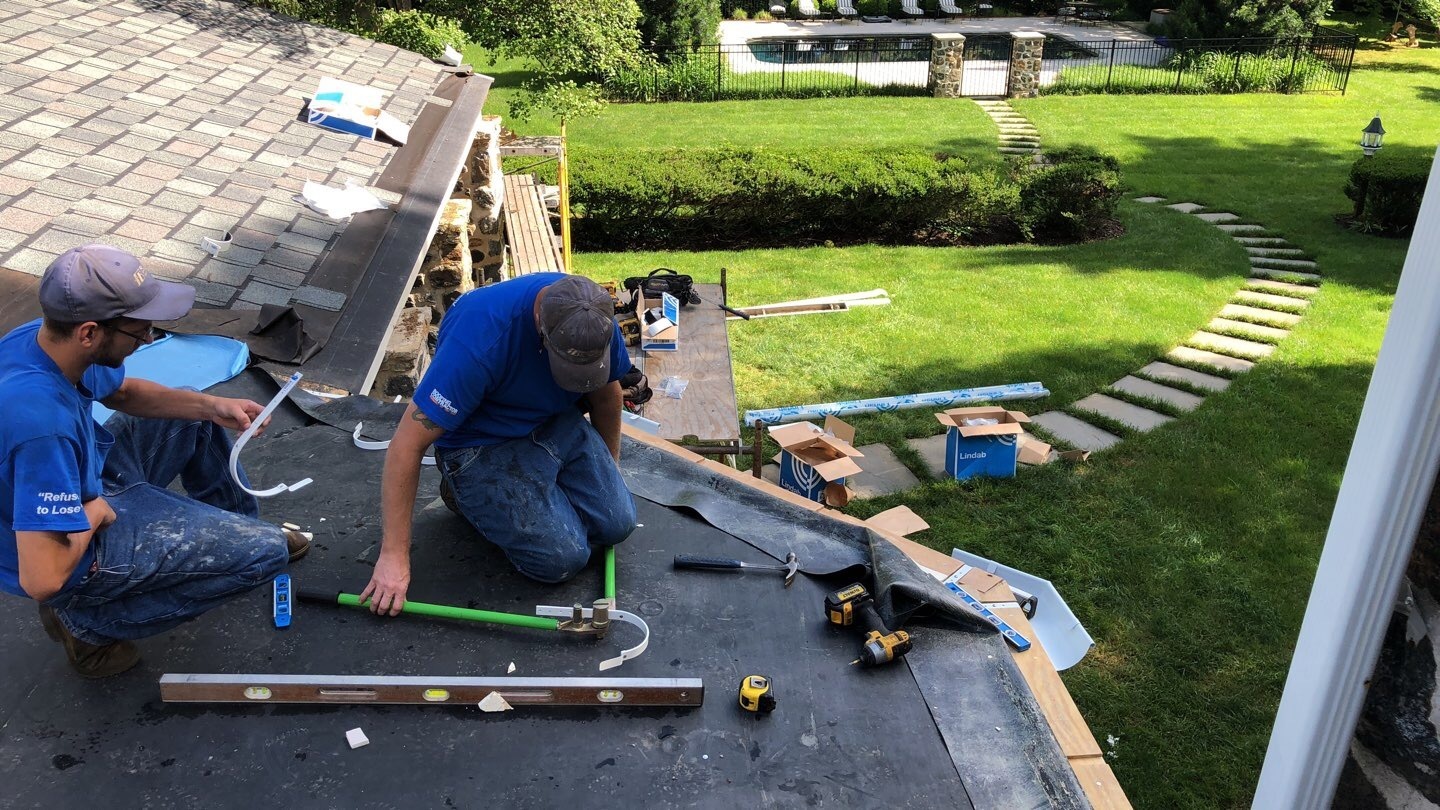
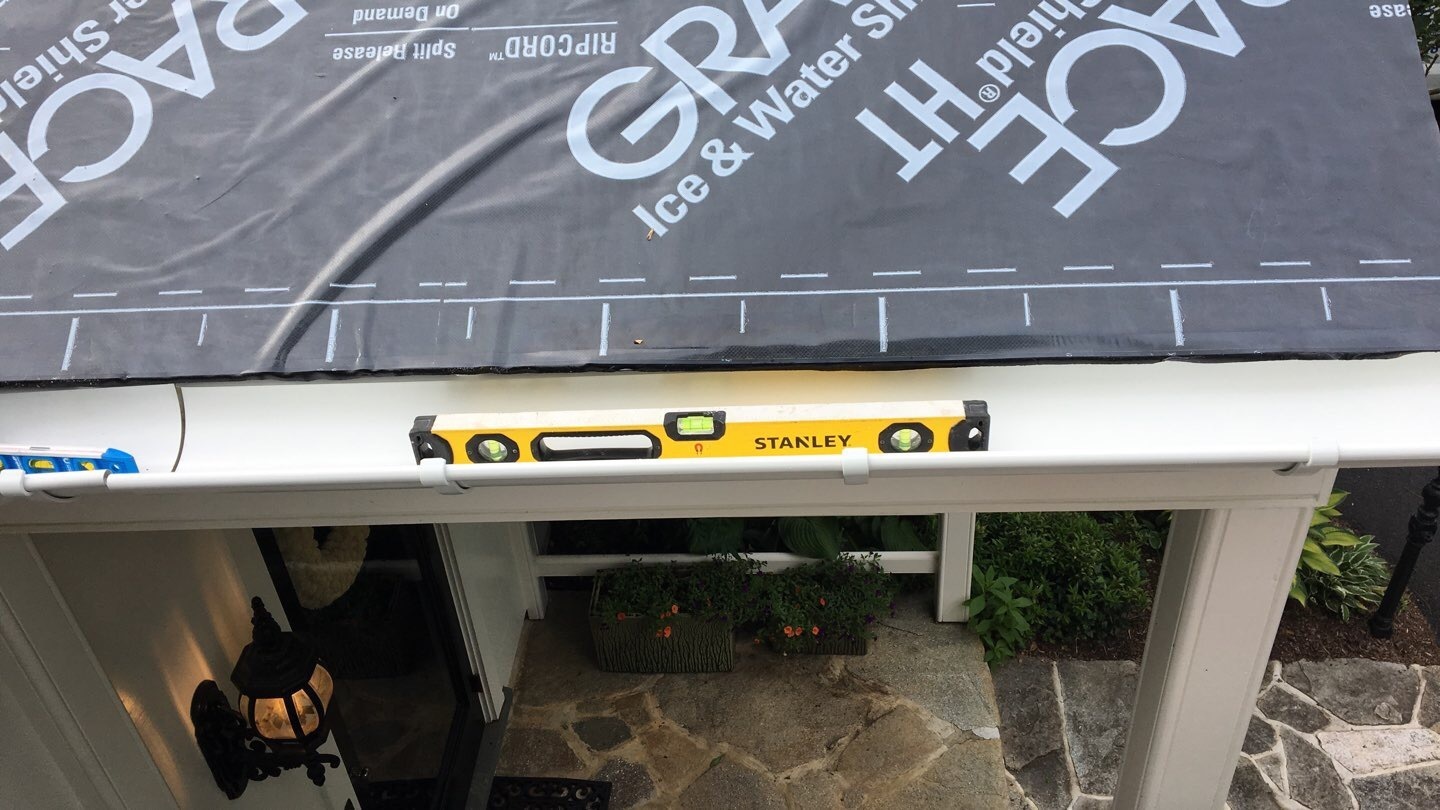
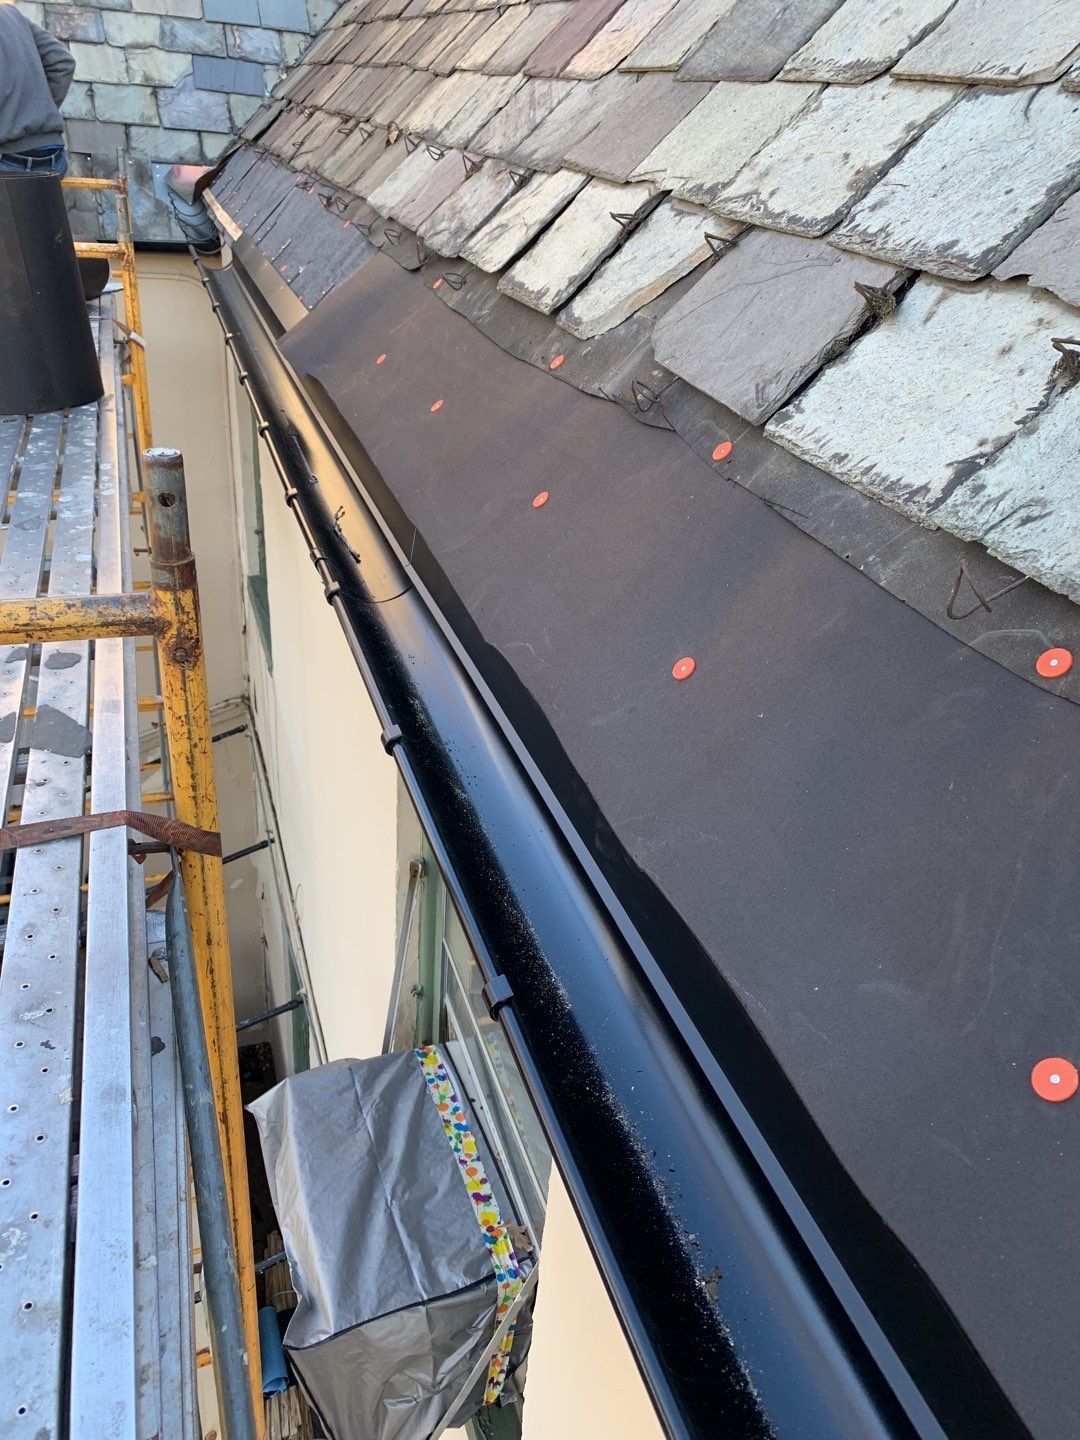
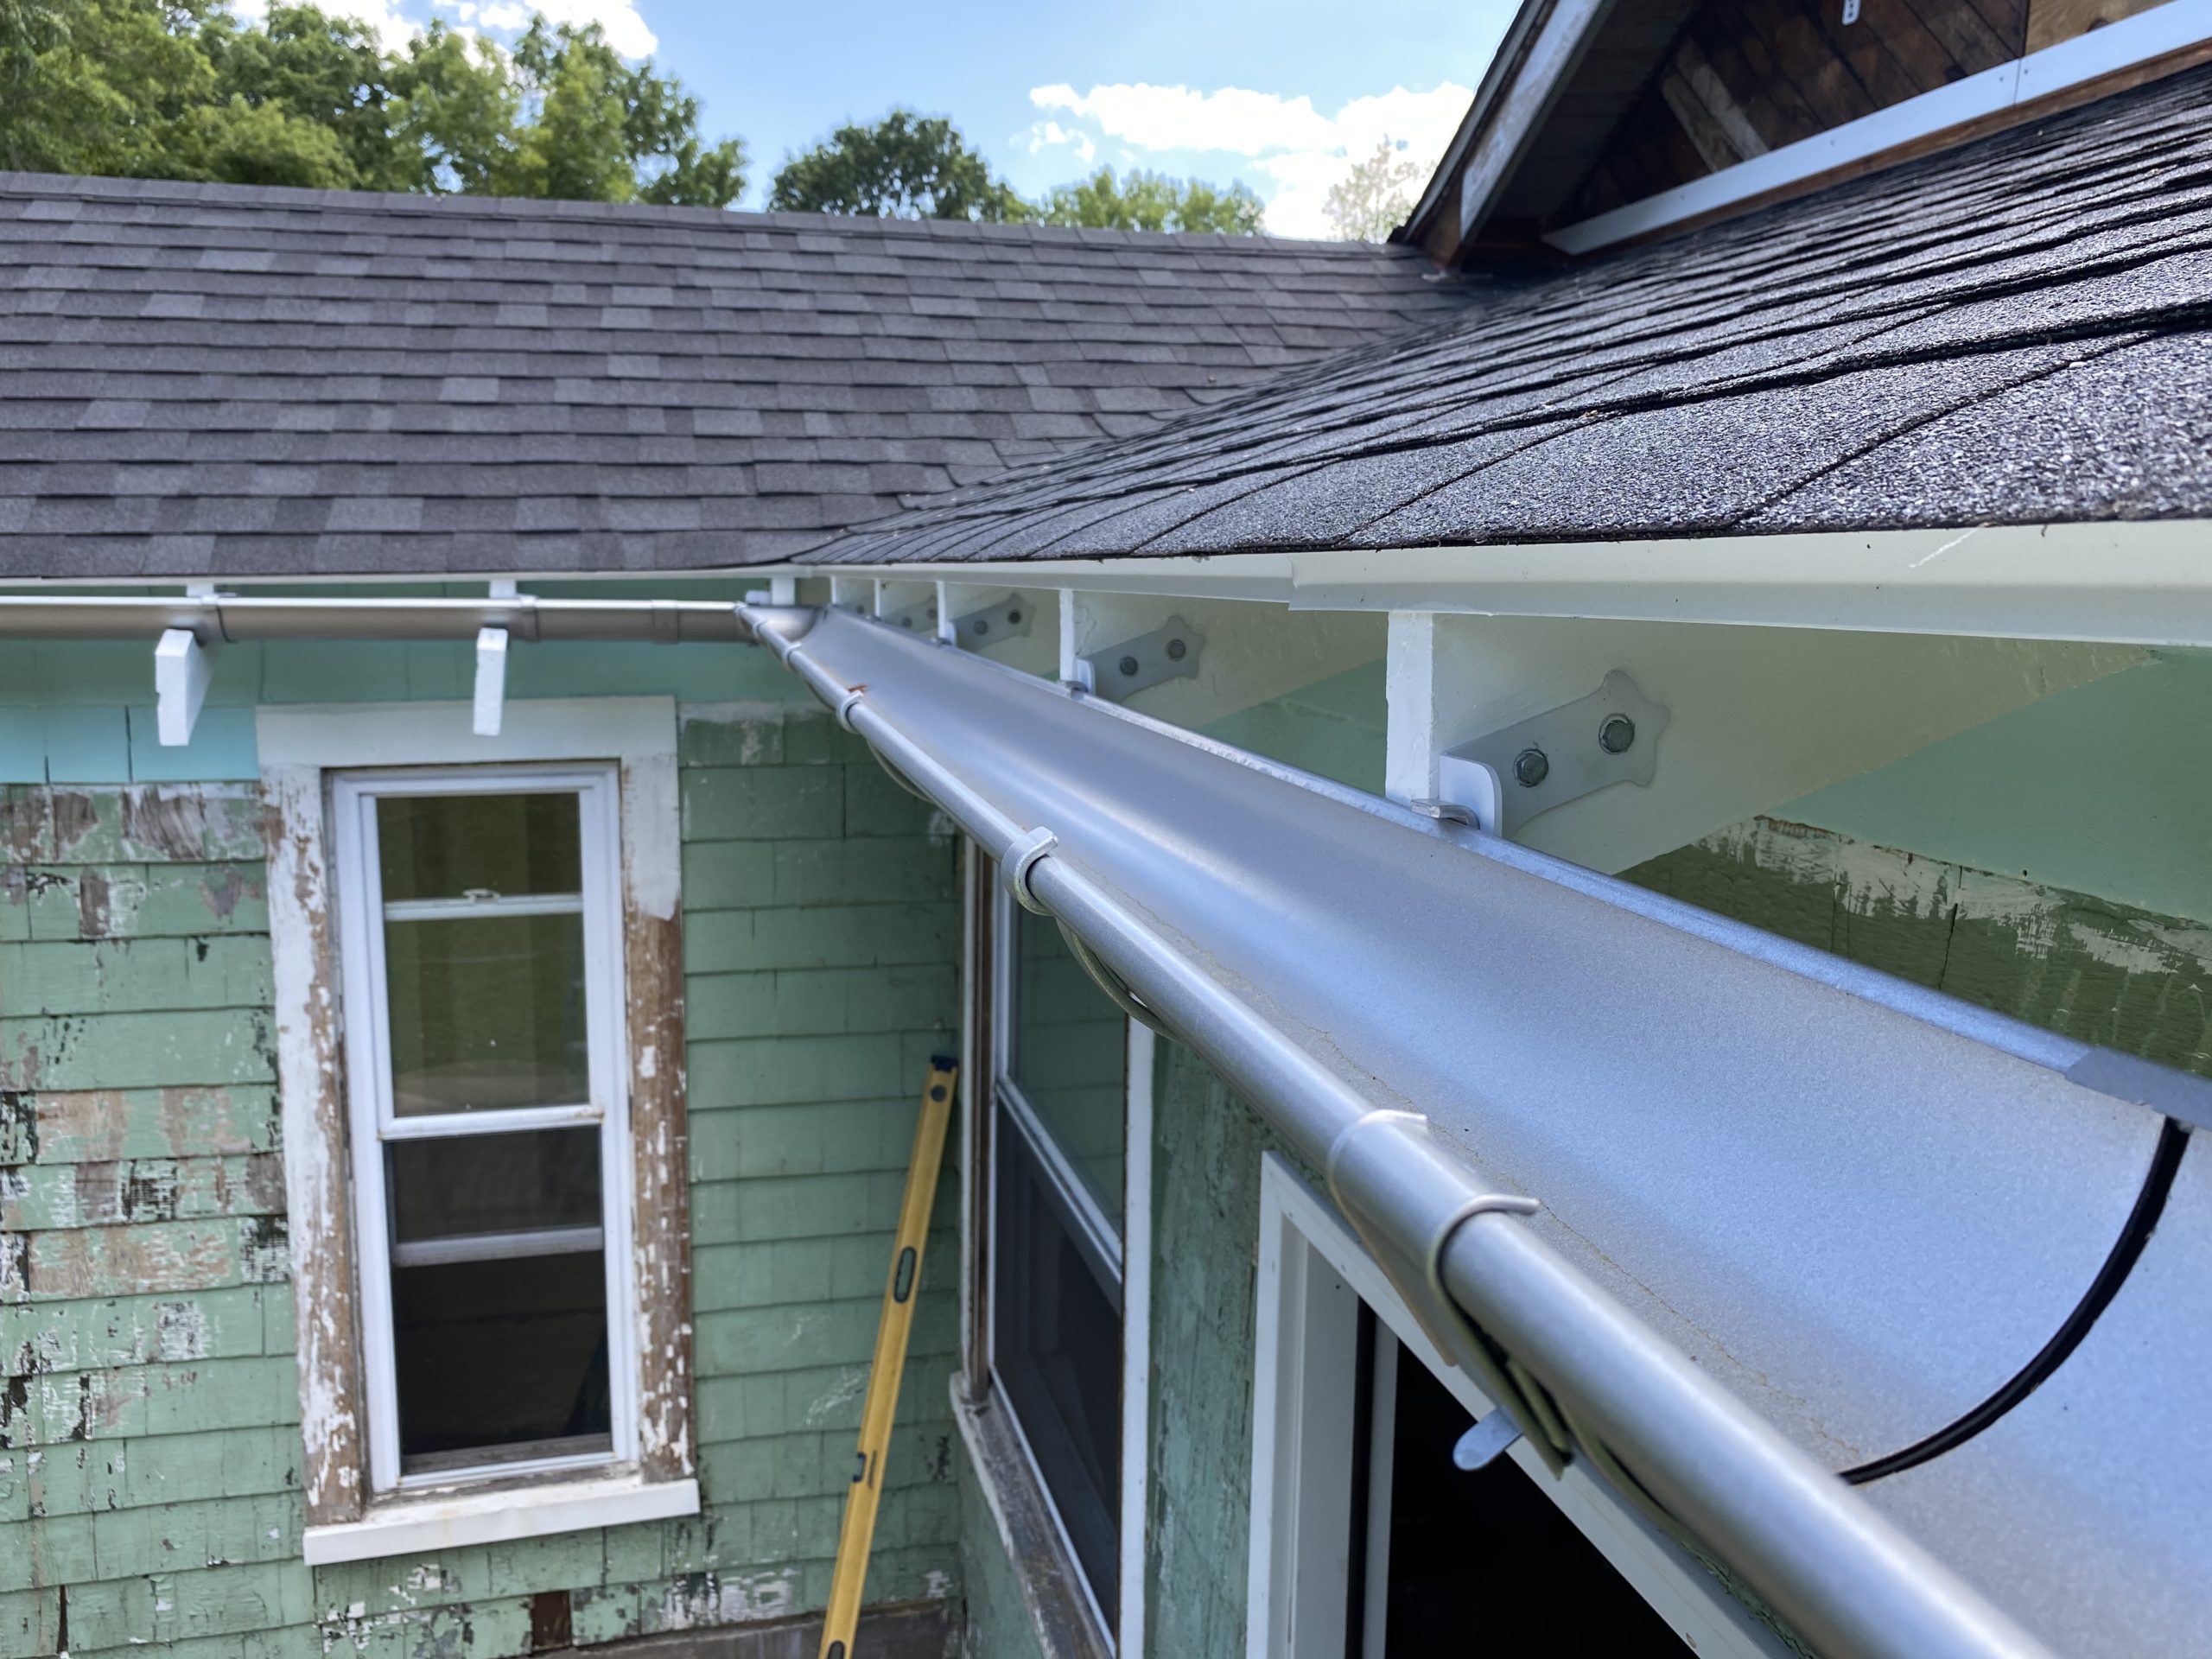
Sloping correctly
Levels and plenty of them are a necessary, and great tool when you are installing gutters. Making sure you have installed as planned.
More levels
Making sure all slopes are accurate and towards the outlet.
Order gutters
Installing the pieces of gutter between the miters. Miters are stamped out of one piece, that’s one reason why you install them first on any and all of your corners. To connect them, you use the gutter connectors and nothing else. No caulk.
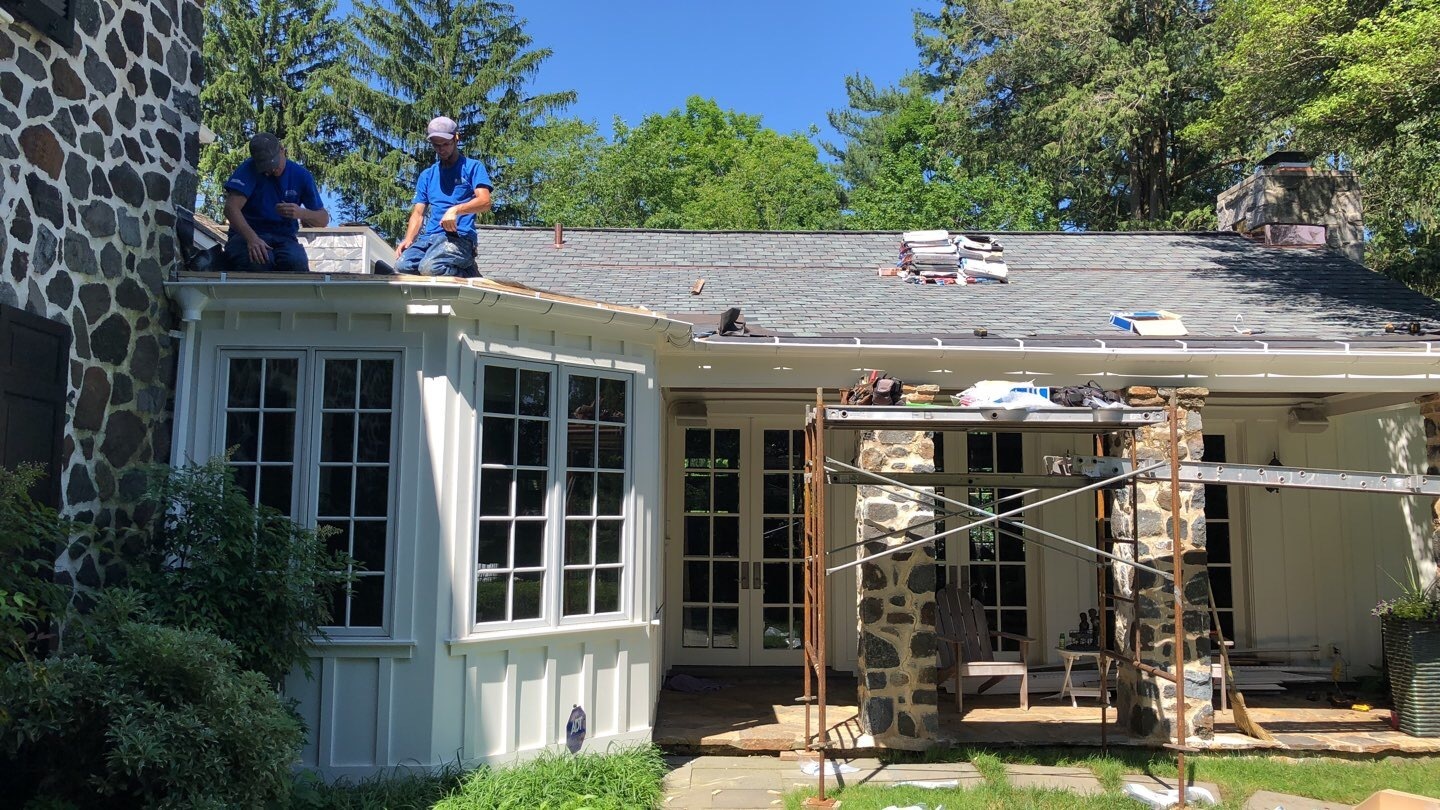
Overview
The outlet on the left side of the bay window is installed here. The high point of the system is in the corner over the French doors. Sloping both left and right from there.
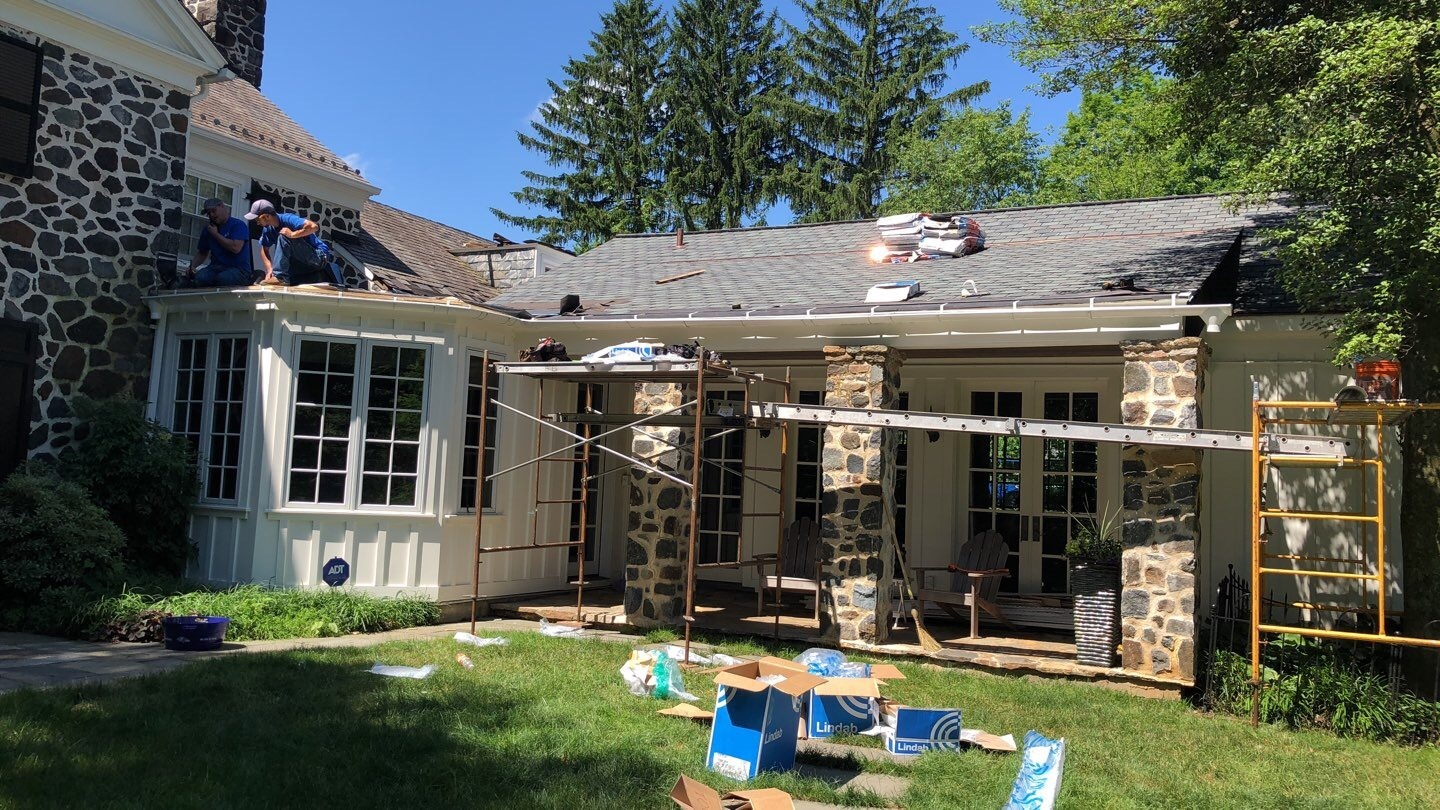
Overview cont’d
Here it’s fairly easy to see that the natural high point of the system is in the corner of the bay window, before the longer gutter run. Also, you have water coming down from upper levels, and do not want to run the water far away around to many corners.
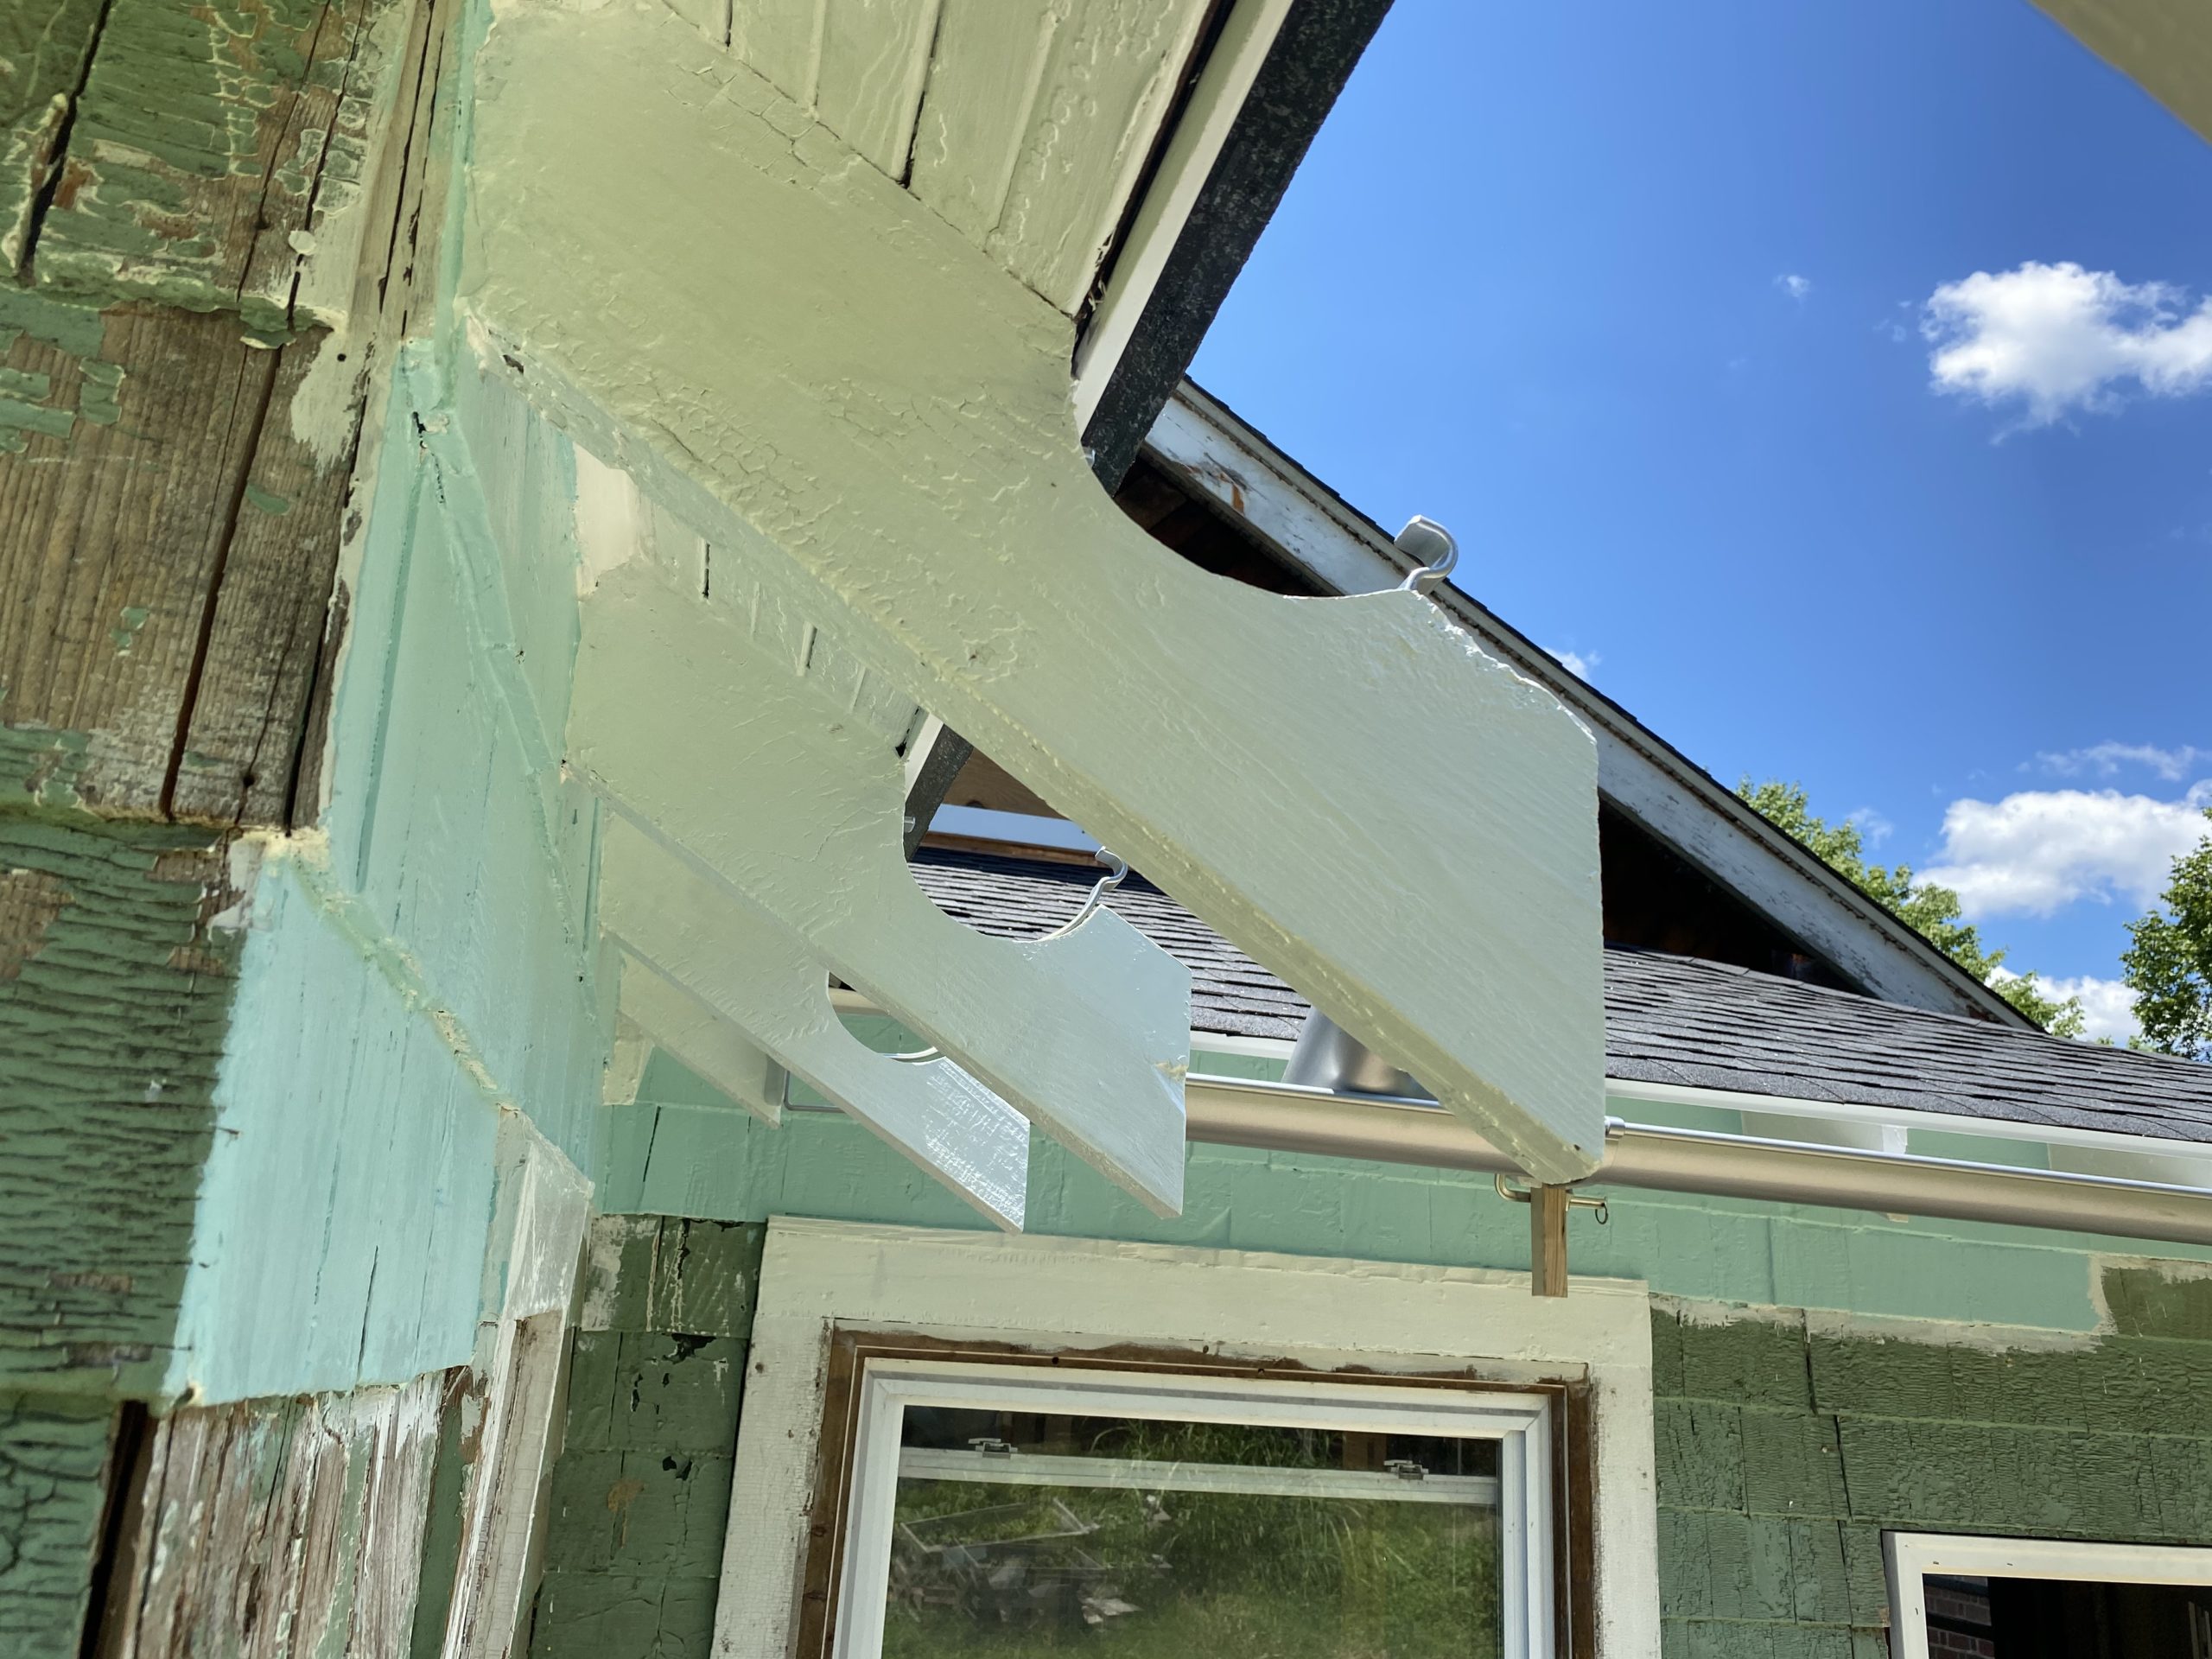
Another section
Smaller section being installed.
Levels are great
You can run string lines with chalk (usually blue), or you can simply use your levels to find the gutters slope and position for the hangers.
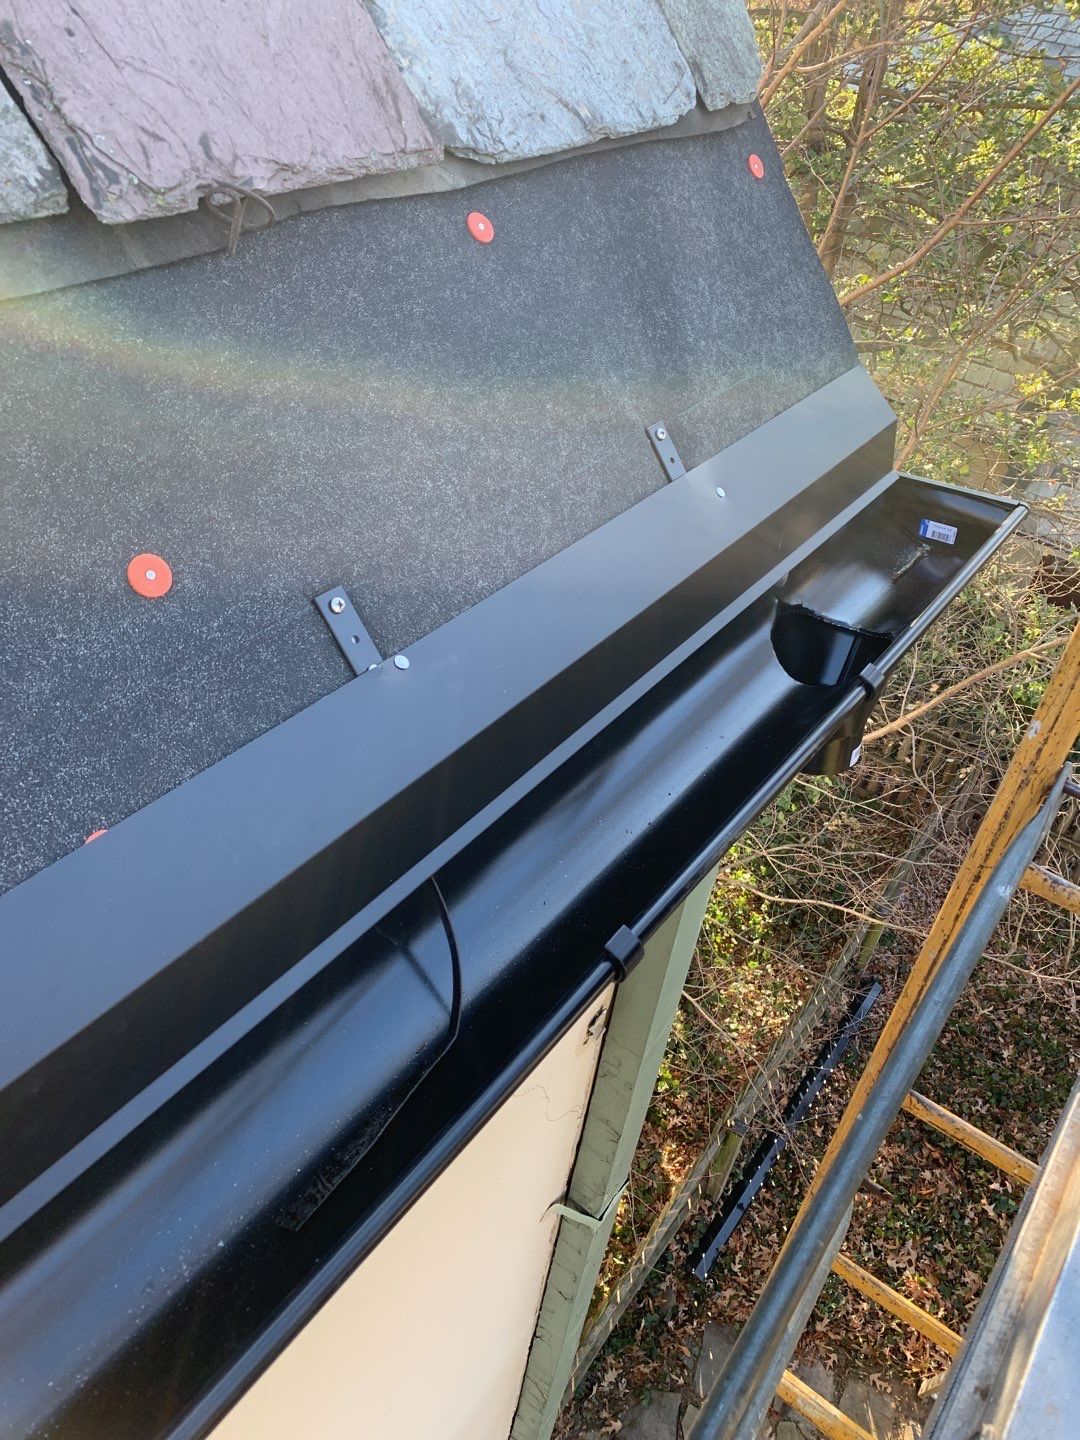
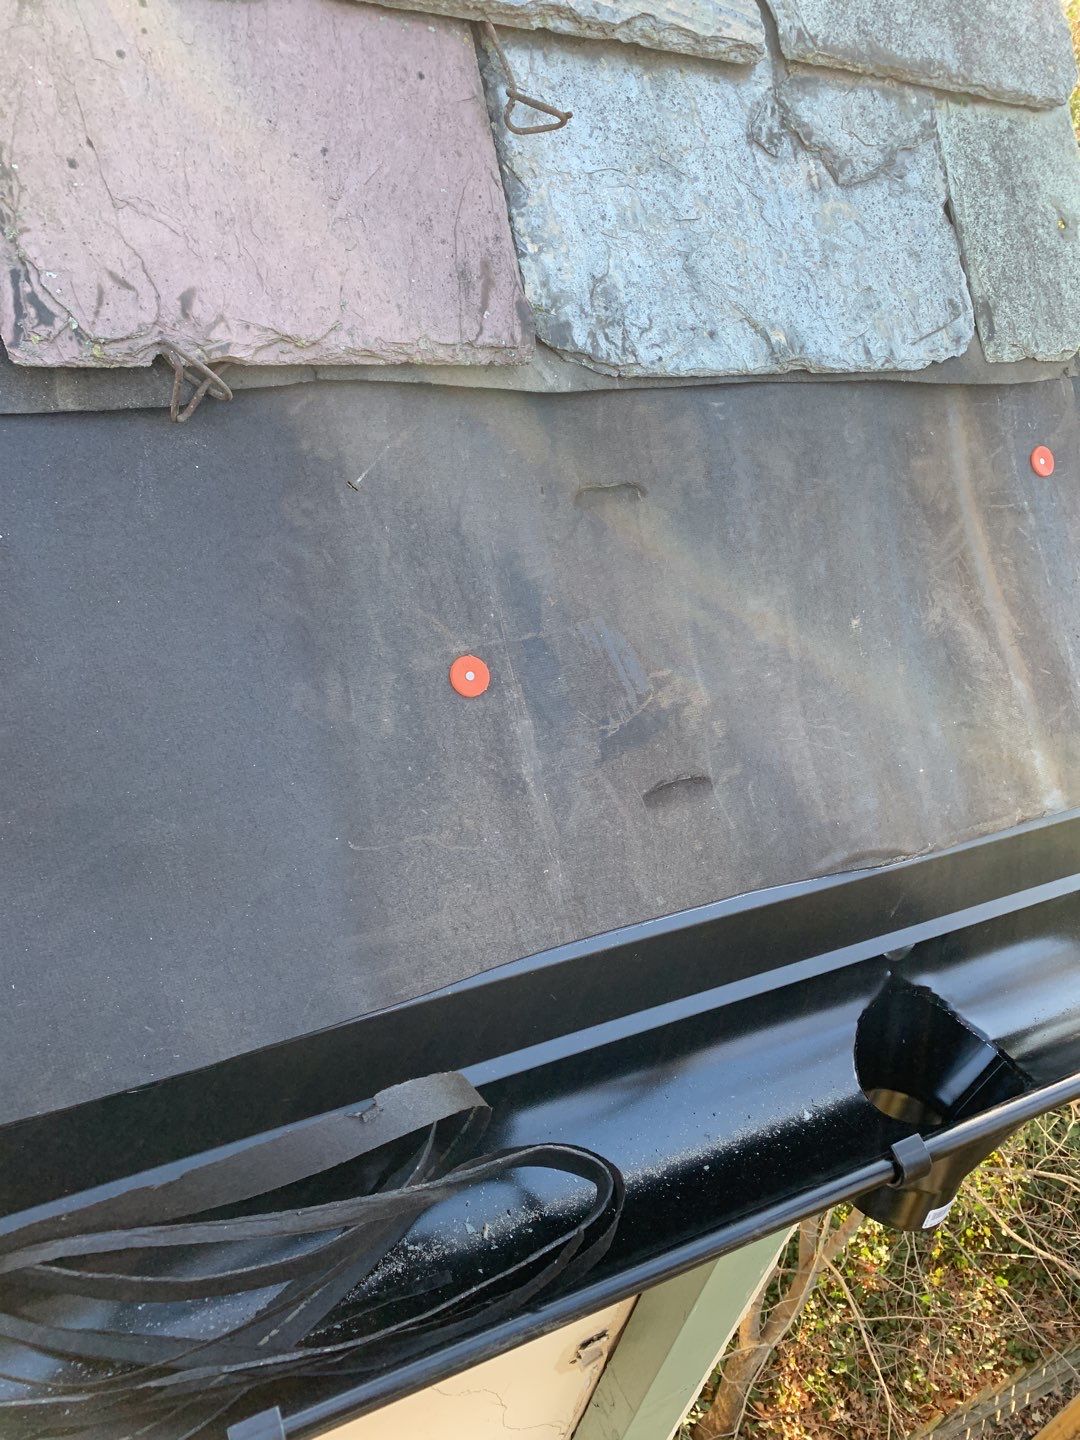
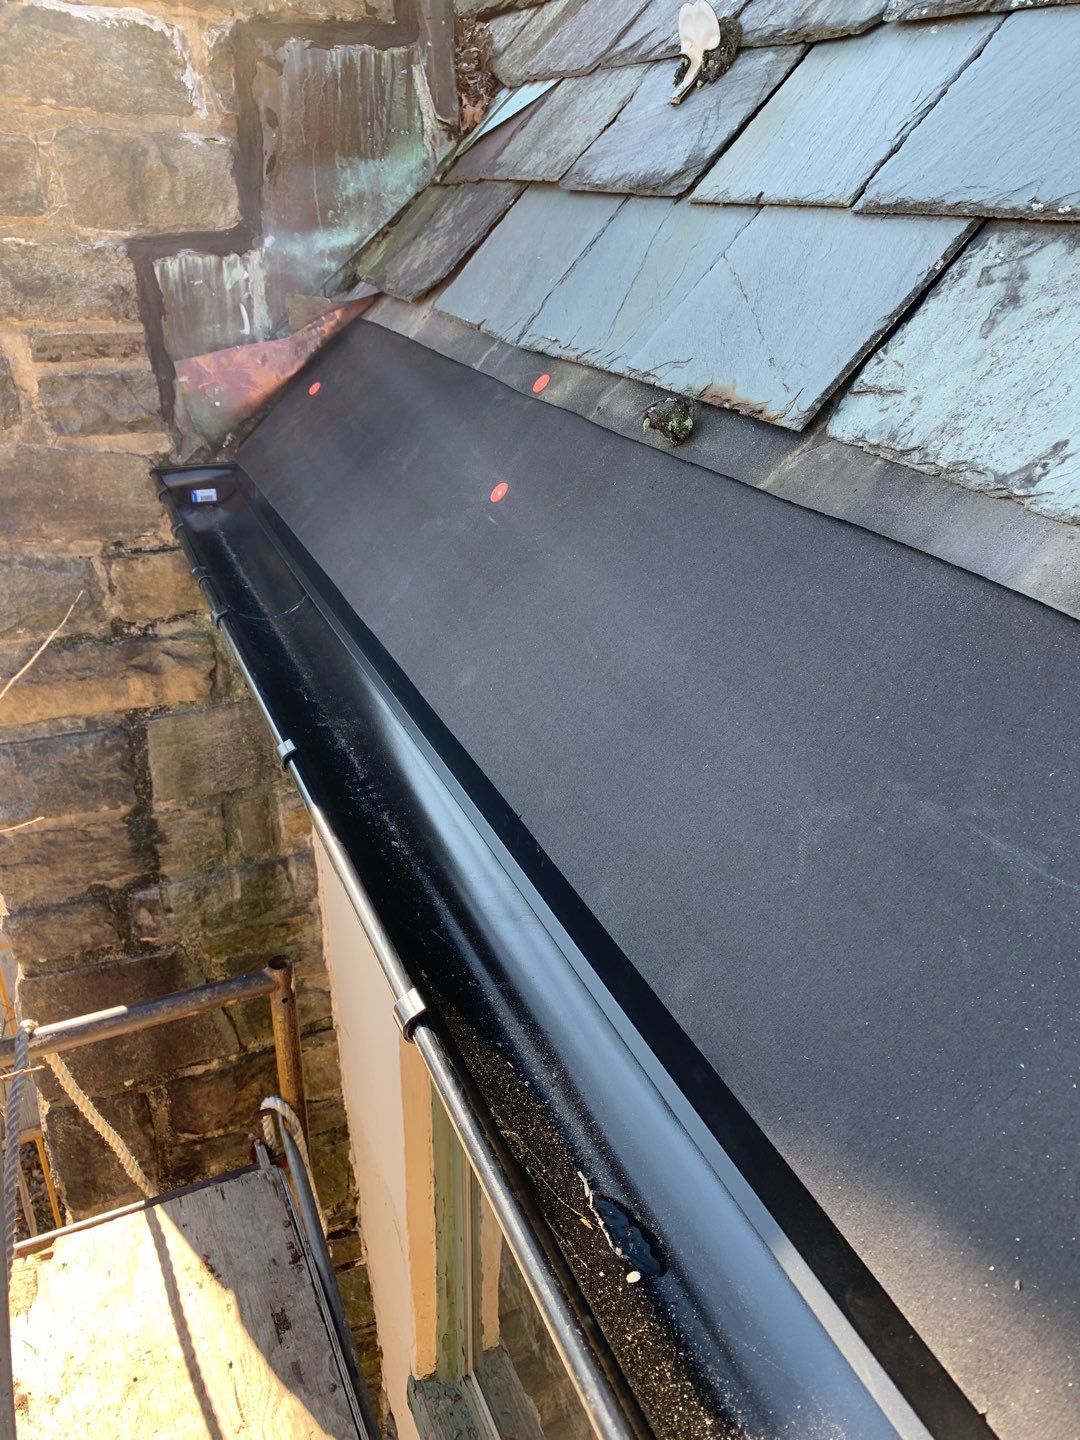
Ice and water shield
As you see here already the ice and water shield will act as a drip edge, covering the hangers and the backside of the gutter. Thus preventing wind driven rain to come in contact with any wood underlay.

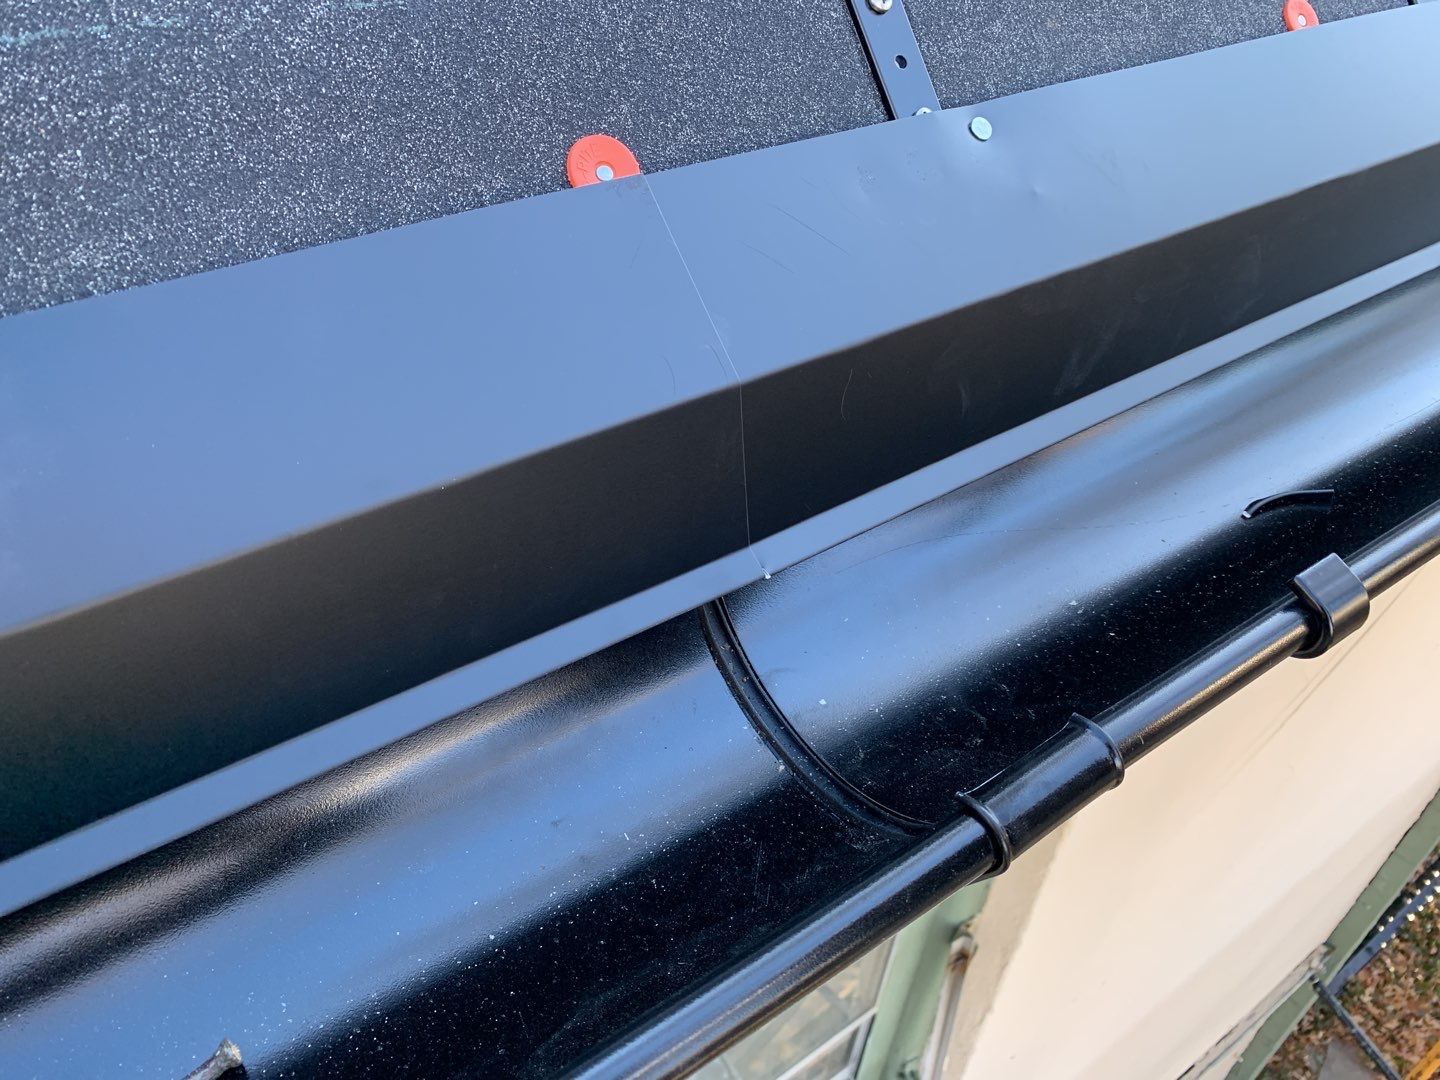
Inside miter
You can never have to many levels on any given job. 🙂
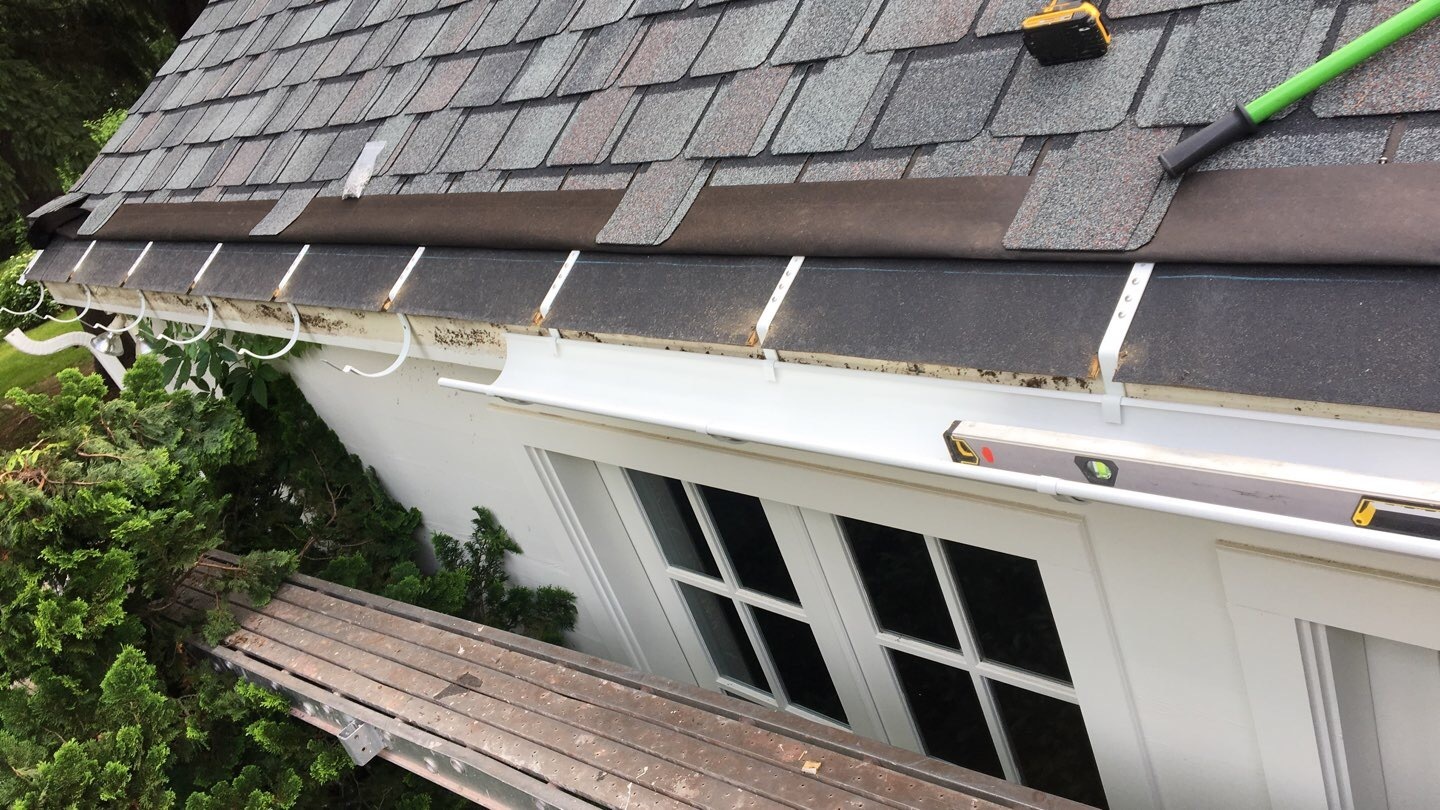
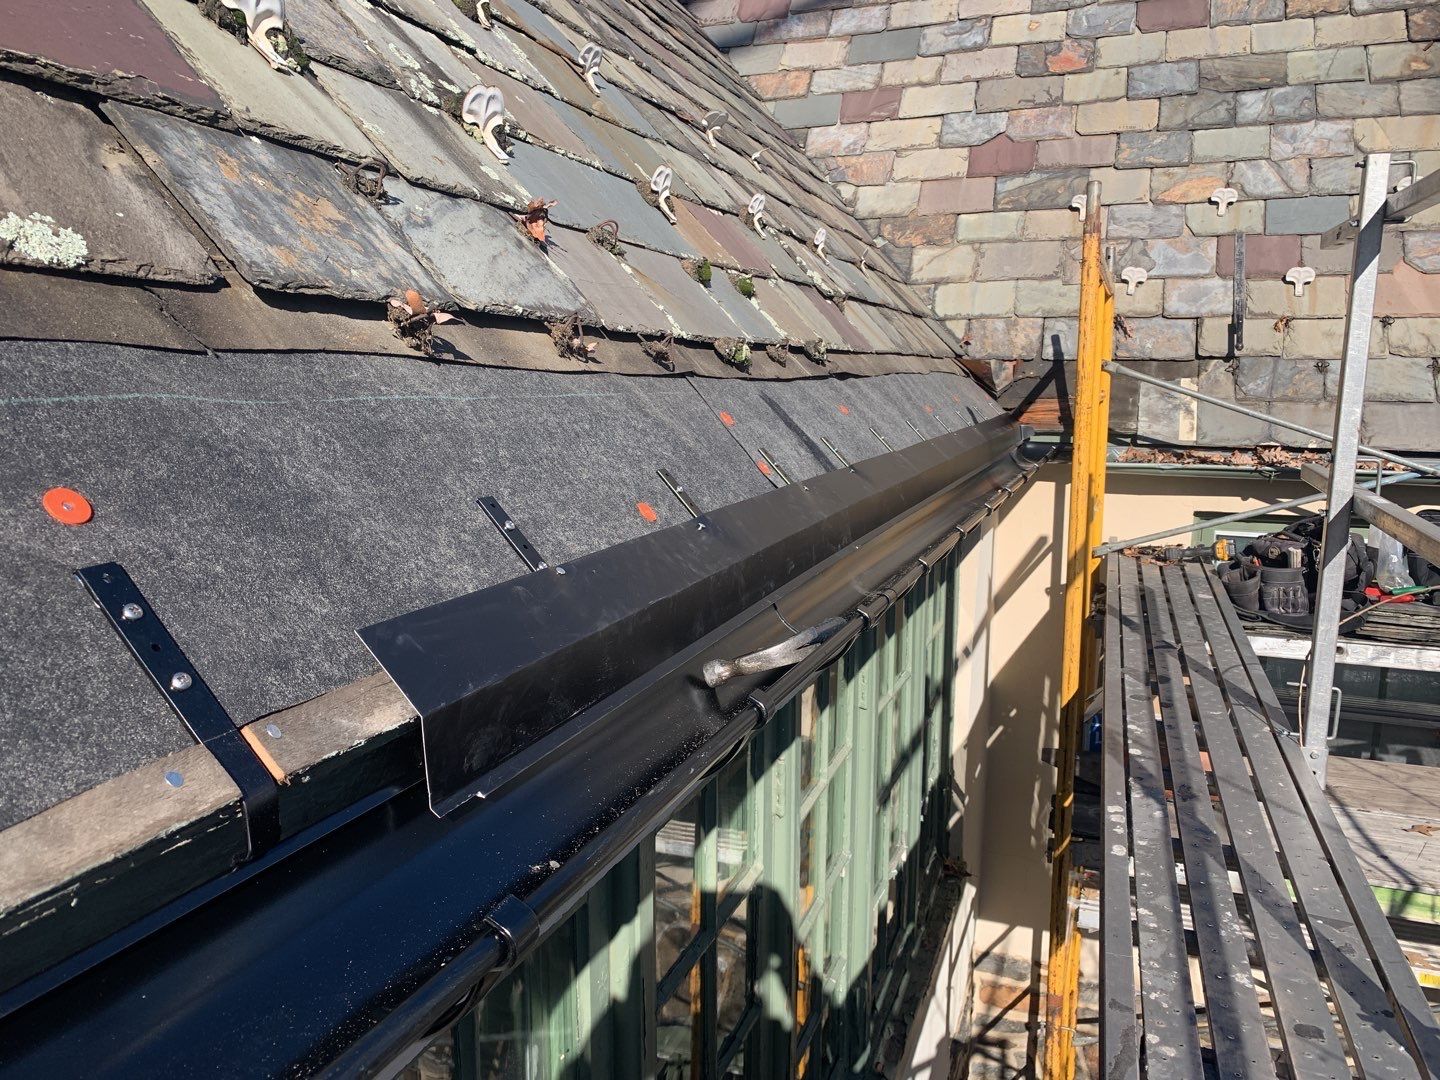
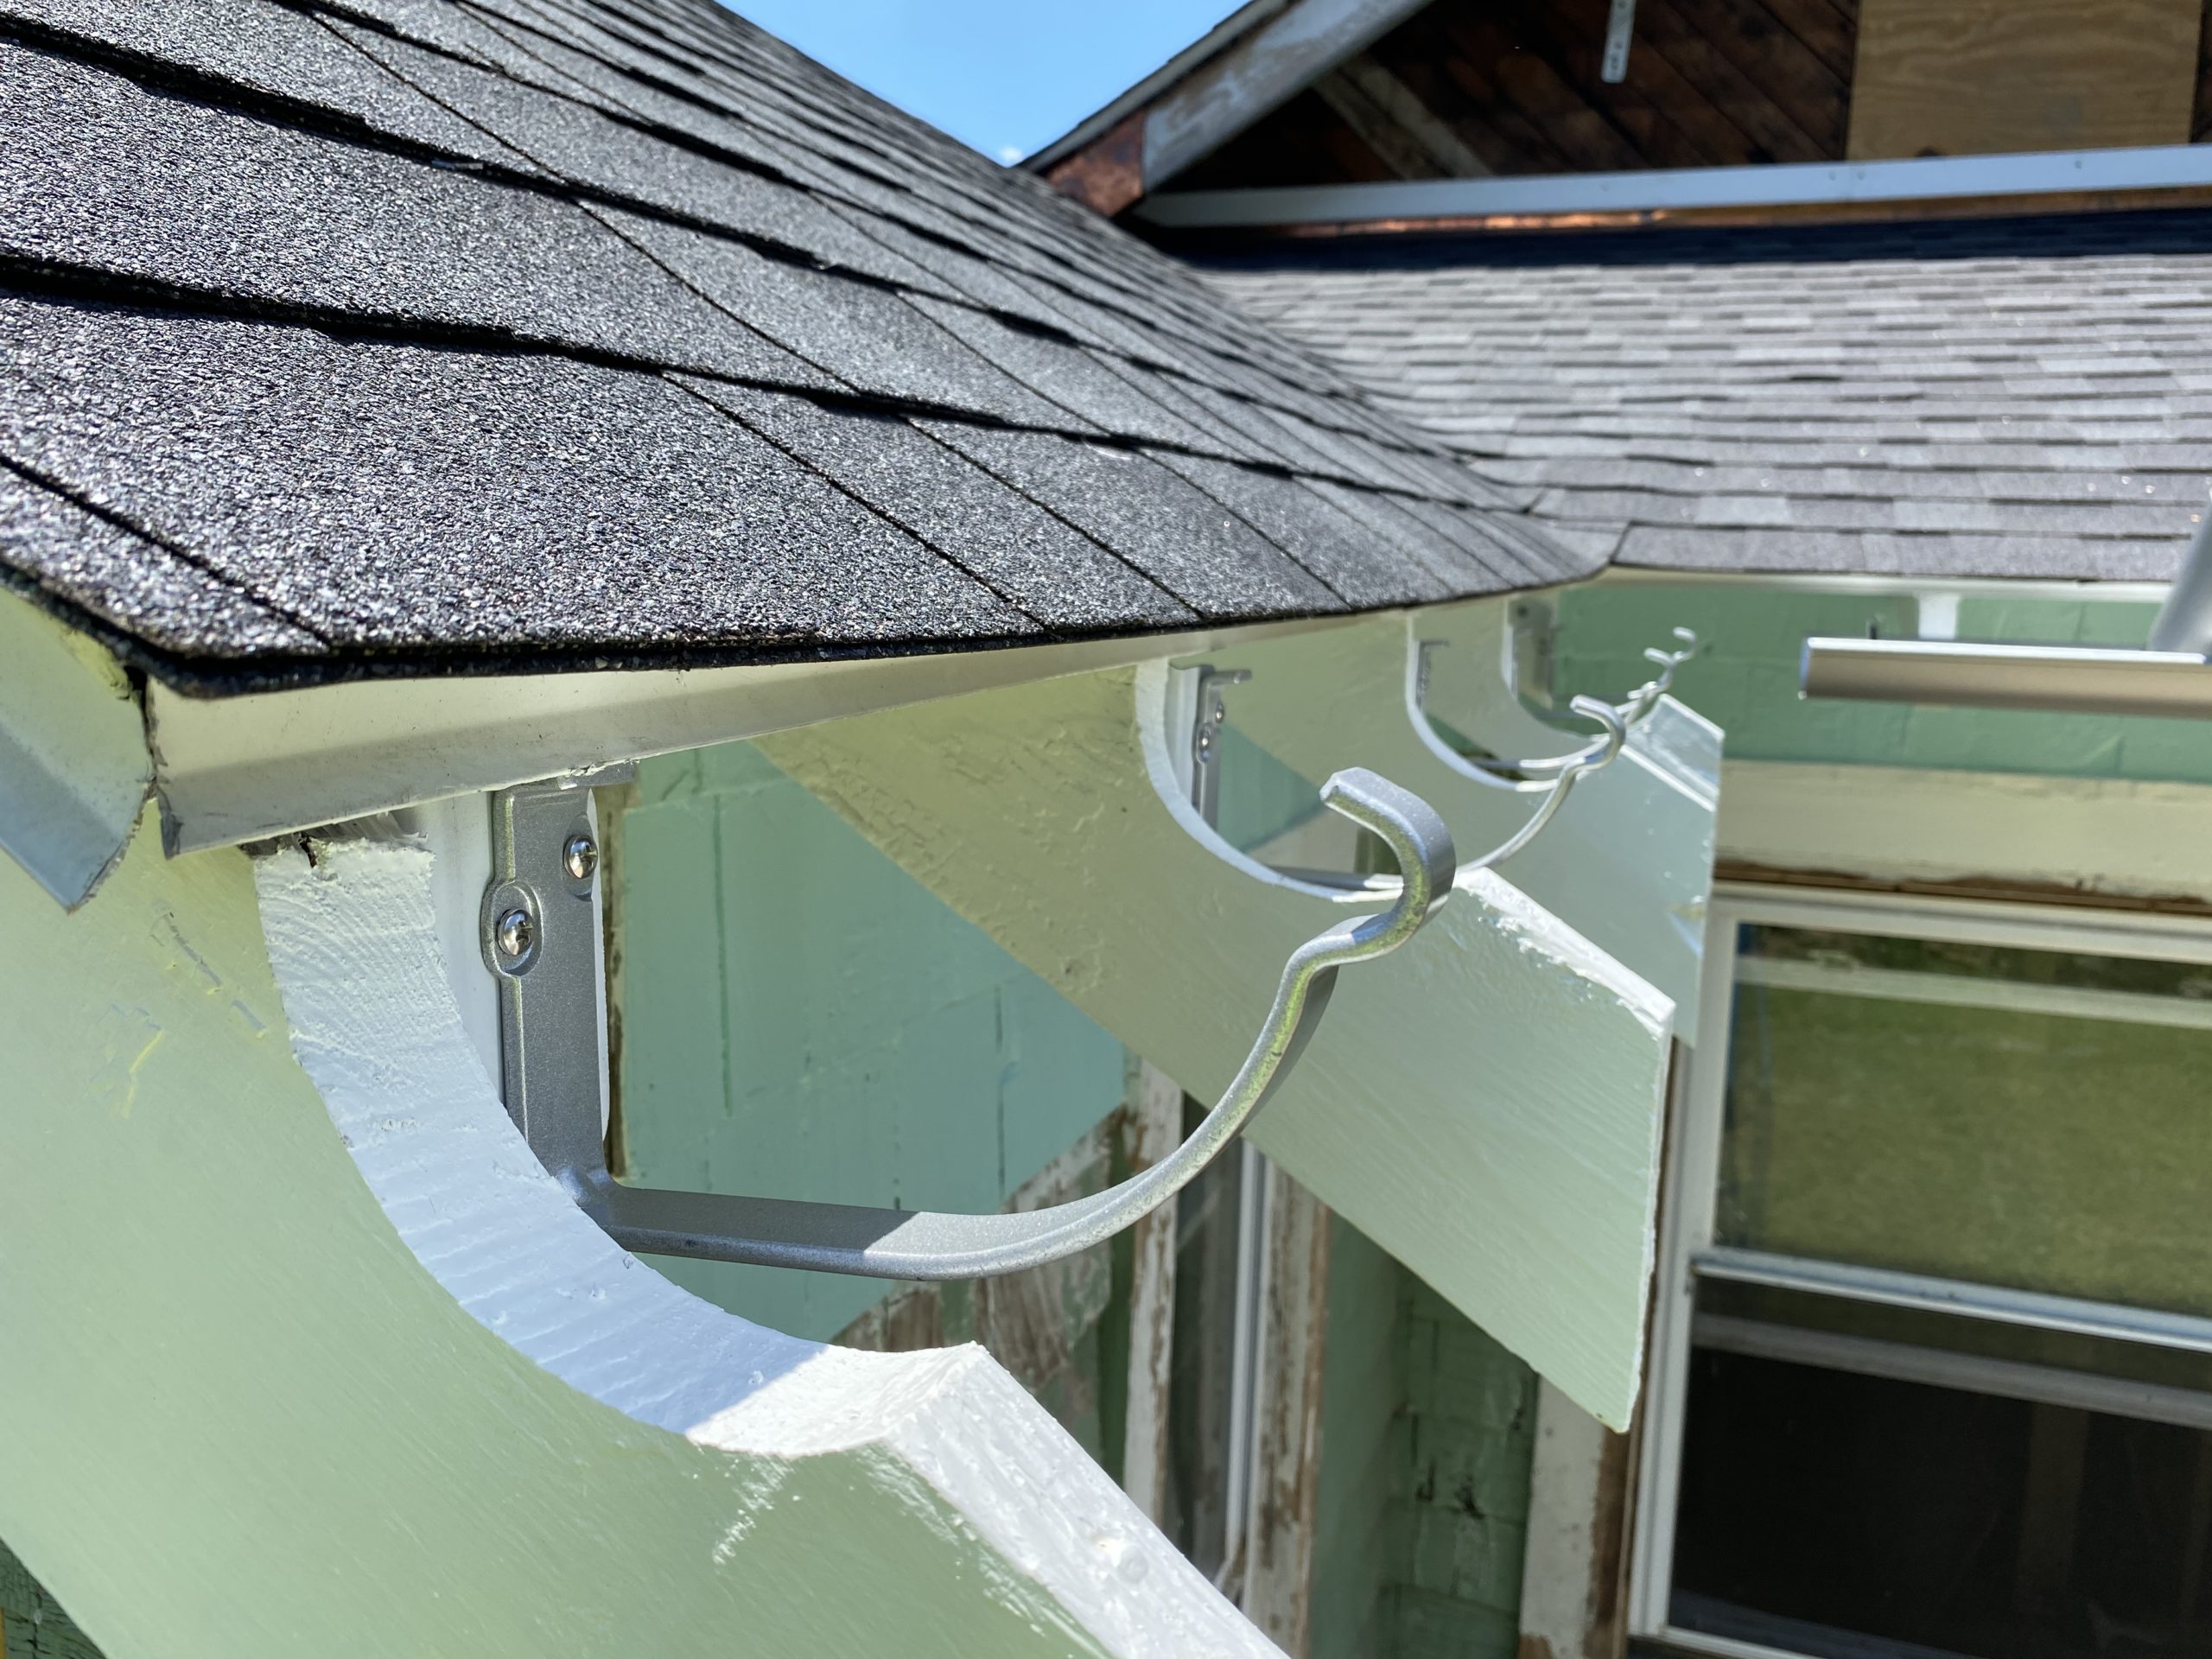
Installed hangers
Hangers installed at two foot intervals.
Installed hangers cont’d
Seeing the hangers tucked in which allows the ice and water shield, and roof shingles to cover the backside of the gutter.
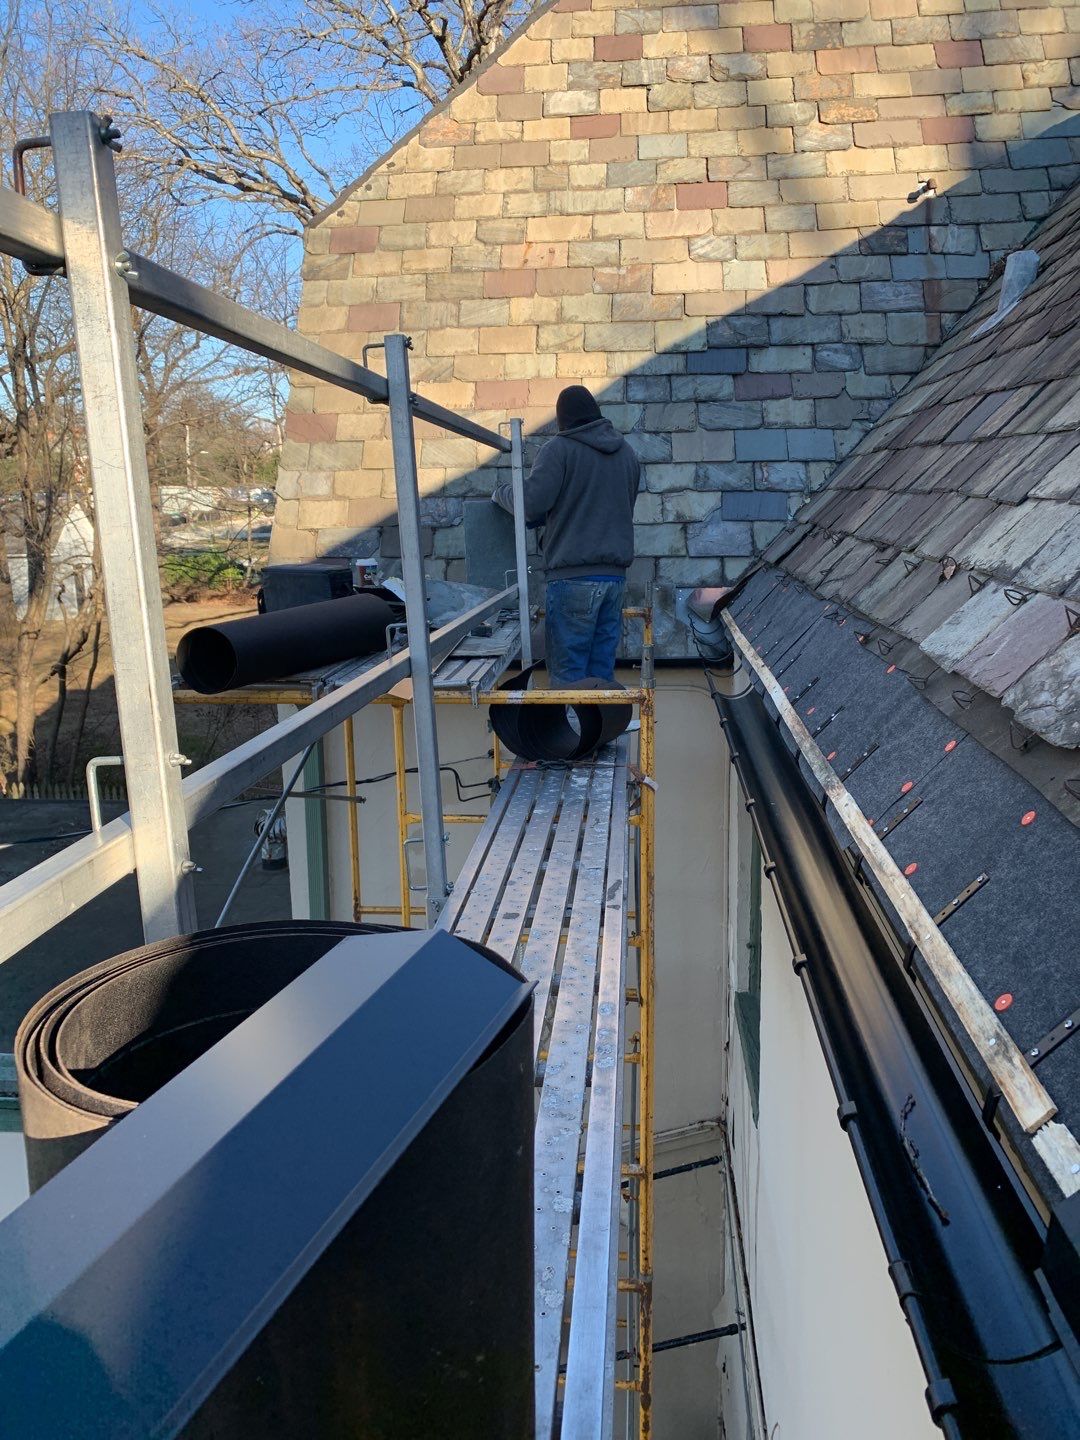
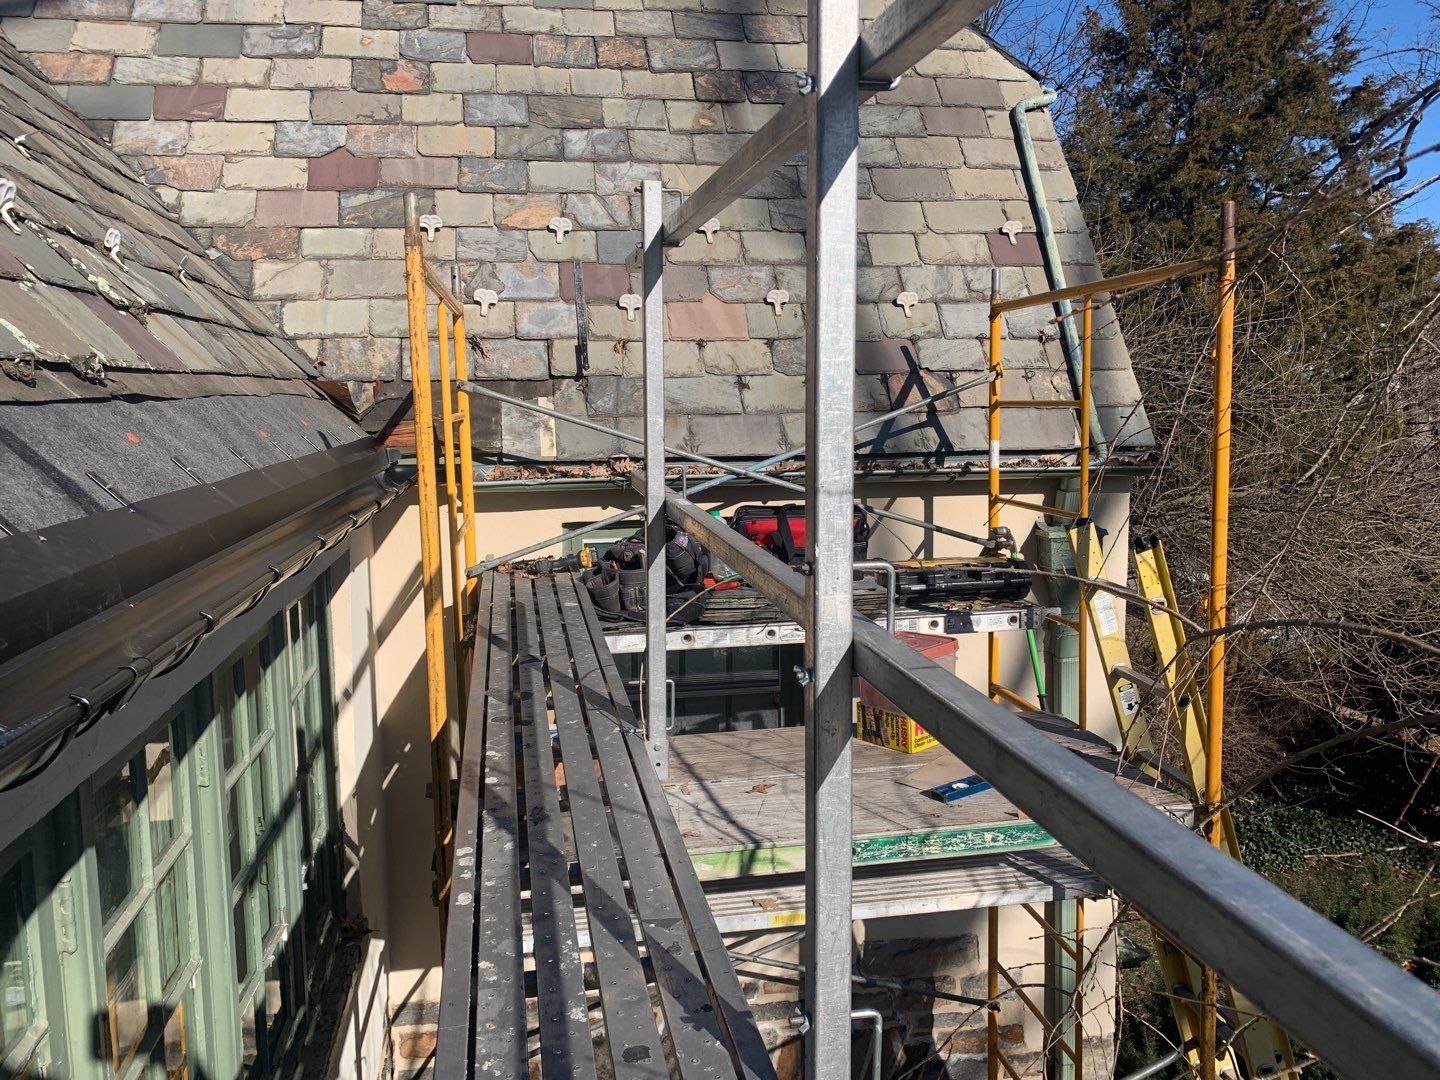
Second story section
Another section being installed with an inside miter. Roof mounted hangers for many professionals are their no one choice. Fascia conditions or access can basically be disregarded, assuming there is solid plywood on the roof of course.
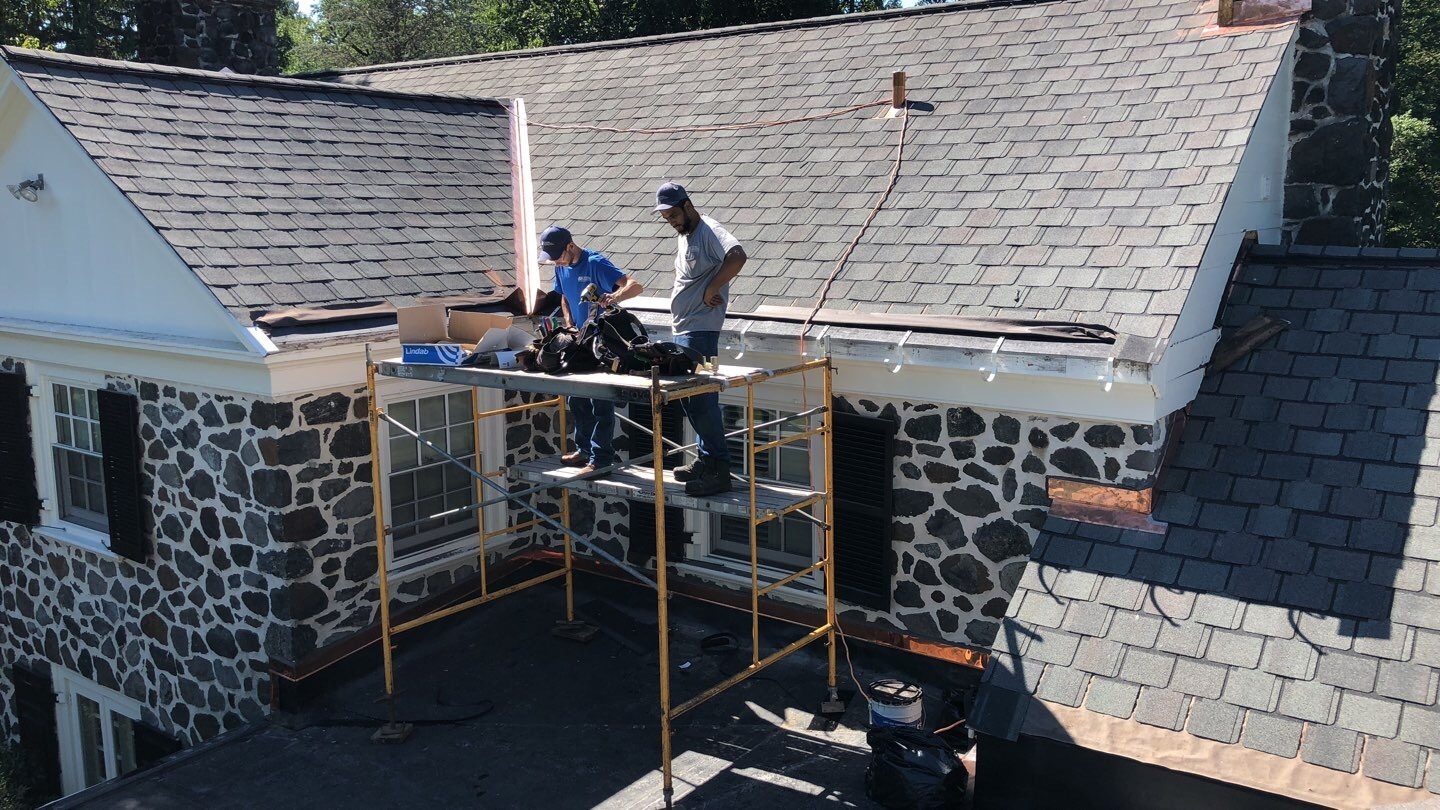
Fick Brothers Roofing
Here is another job that the guys and girls over at Fick Brothers Roofing have decided to share with us. This is another great show of craftsmanship, correct drip edges and more.
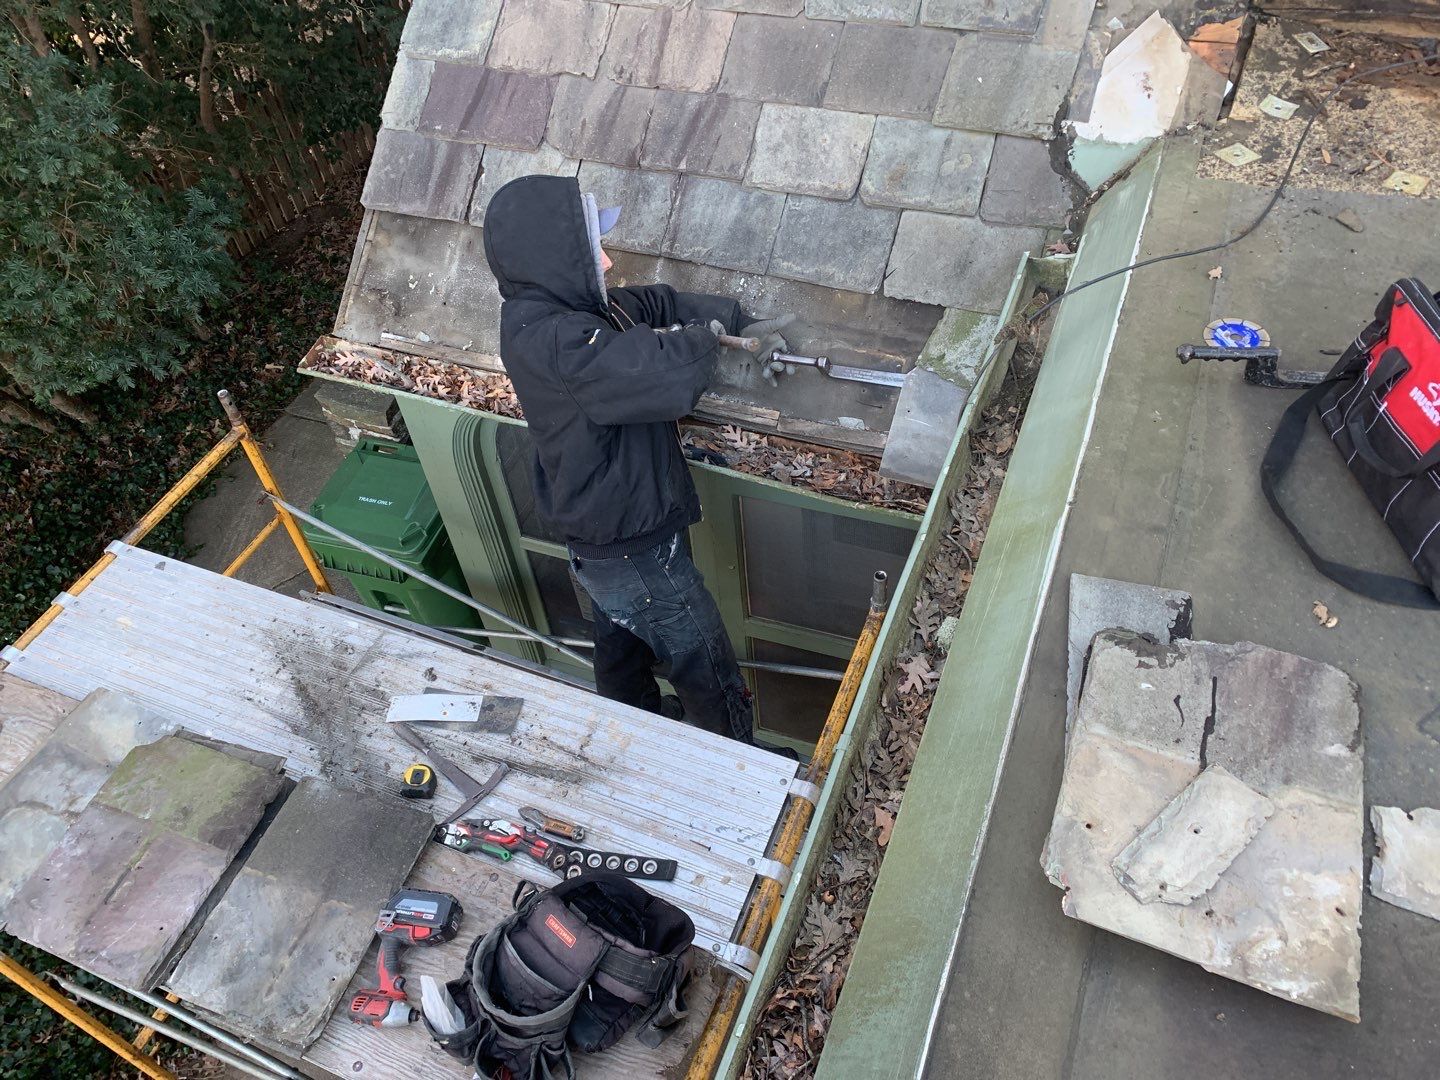
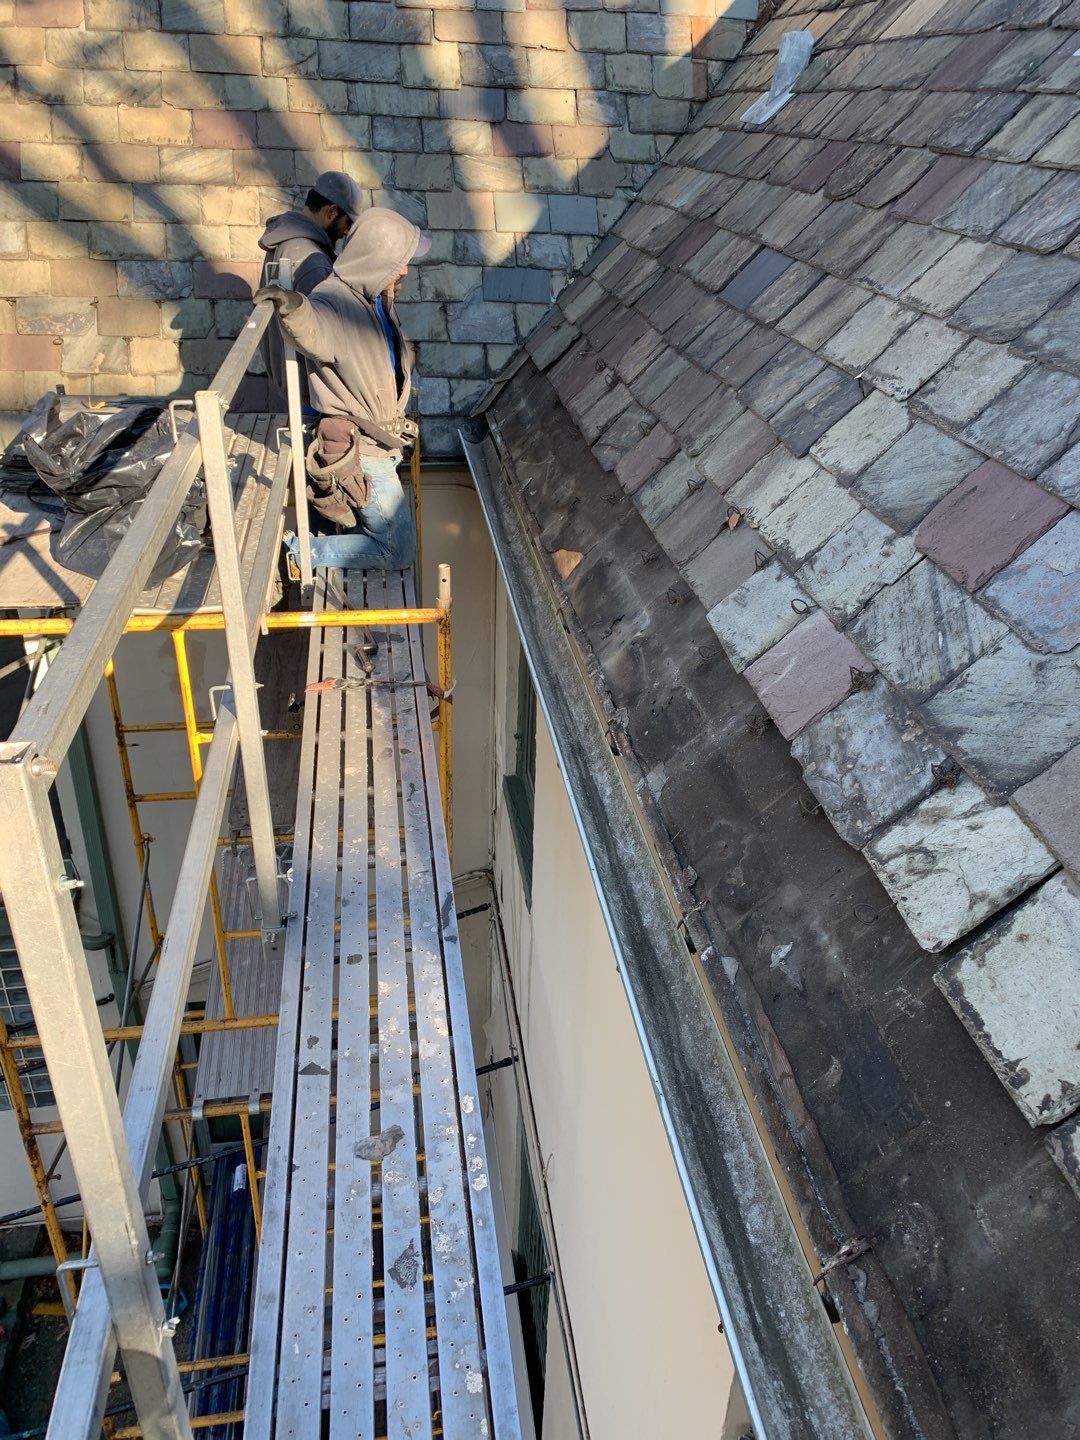
Removing slate
Removing the slate to get access to the lower portion of the roof.
Small outlet hole
Great picture of how most other systems have outlet holes about the size of the downspout. In this case its a copper system and the outlet is soldered so not a big bridge with caulk. However very small opening to clear debris.
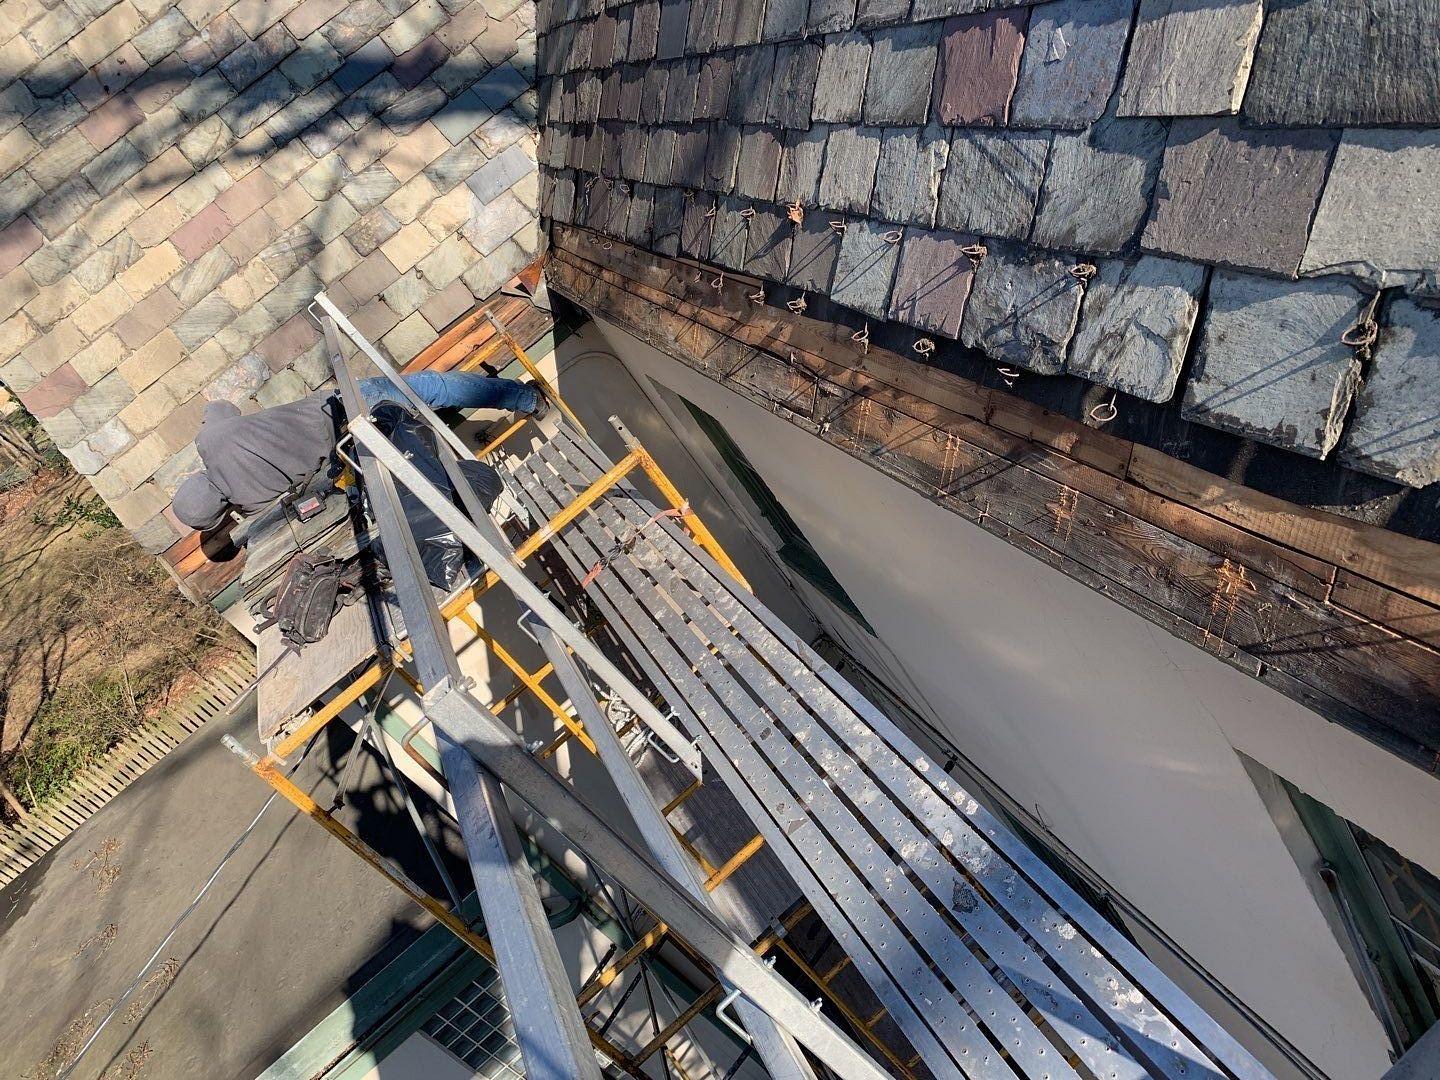
Roof exposed
The two rows of slate have been removed, the older gutter is cleaned out, and it is time to remove the old hangers and gutters.
Bare wood
The roof is now exposed and work can begin.
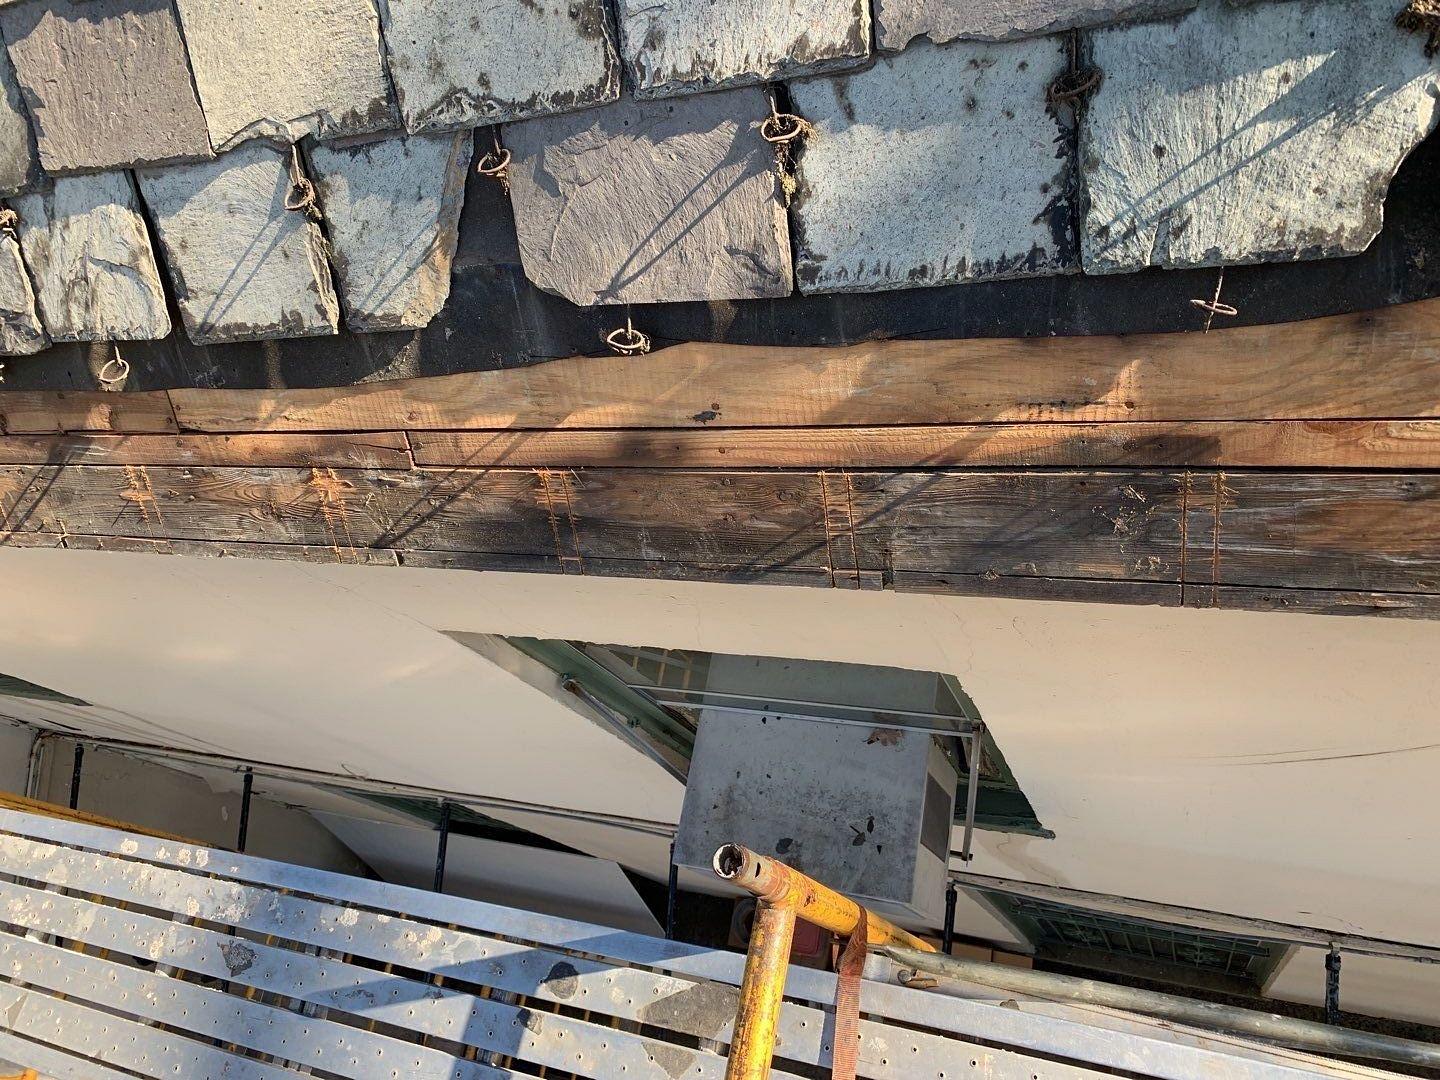
Hanger positions
With the bare roof exposed, here we also can see where the cutouts for the roof hangers are. You cut down and chisel out enough wood to bury the shaft of the hanger. Doing this prevents putting pressure on the slate and is the way to go.
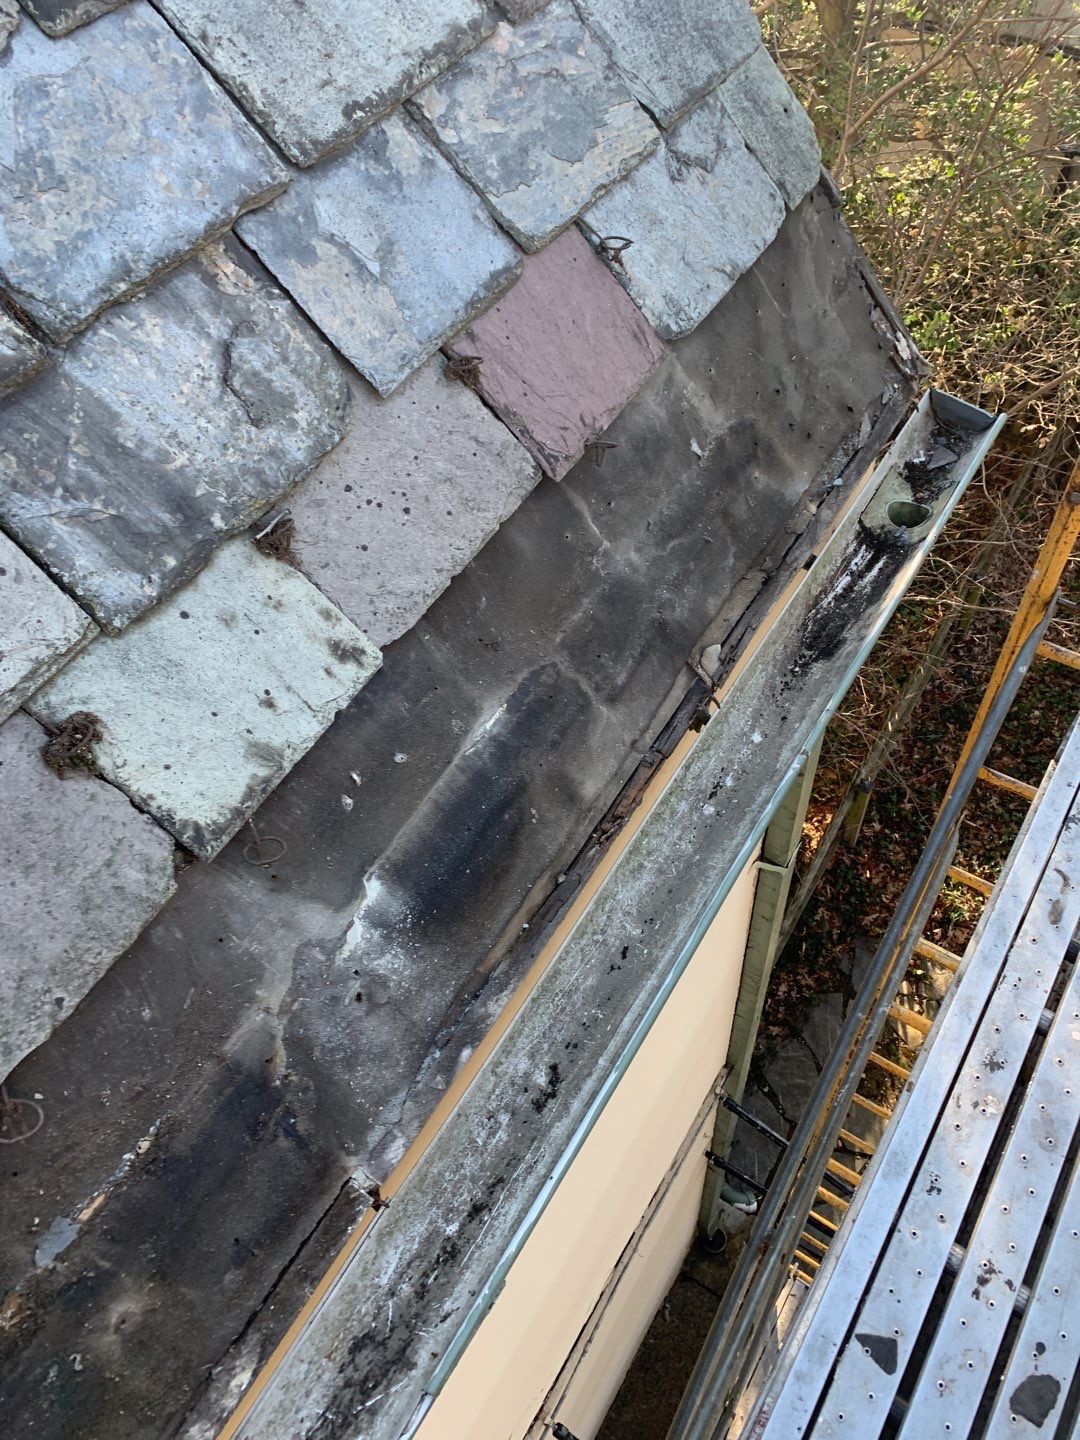
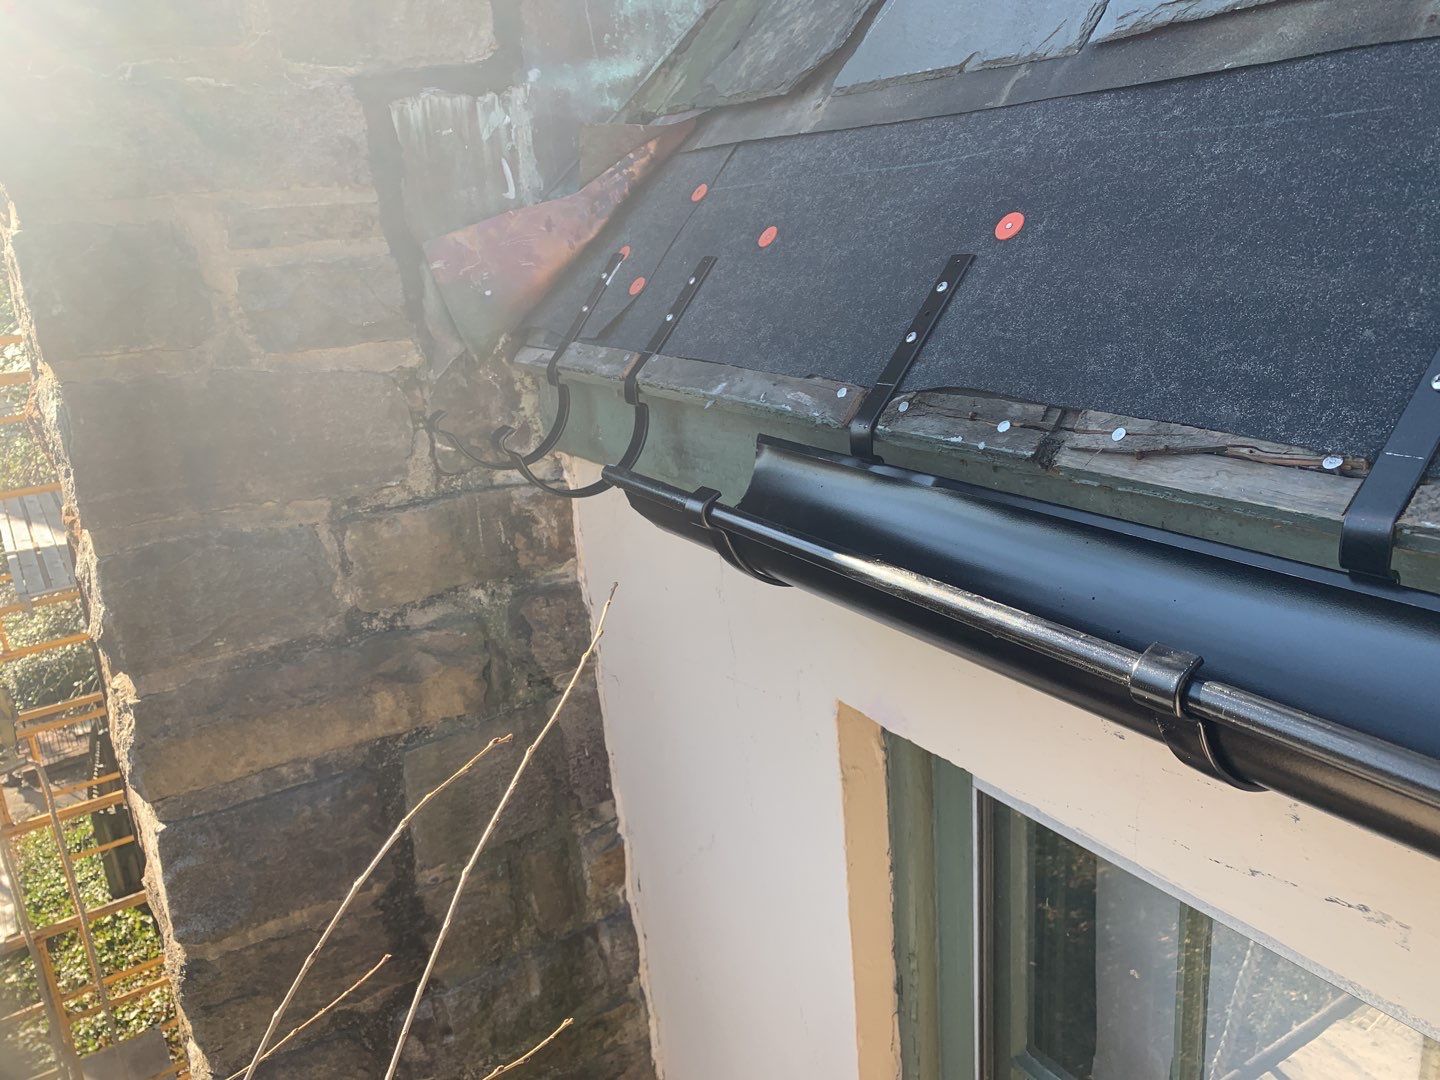
Drip edge
Notice how the hangers are sitting down into the felt. And this drip edge is perfectly produced. Drops into the gutter and covers the backside. Preventing any wind driven rain to move up on the roof. Textbook!
Large outlet hole
We can compare this hole with the hole that was in the removed gutter. As you see this is substantially larger. Note also how this type of drip edge covers the backside of the gutter perfectly.
Roof hangers in view
Roof hangers are clearly sitting down in the new felt or underlay. The lath strip provides support for the drip edge, so it will not rest on screw heads for instance. The lath also lifts the final row of slate so they don’t droop down. Mimicking another row of slate.
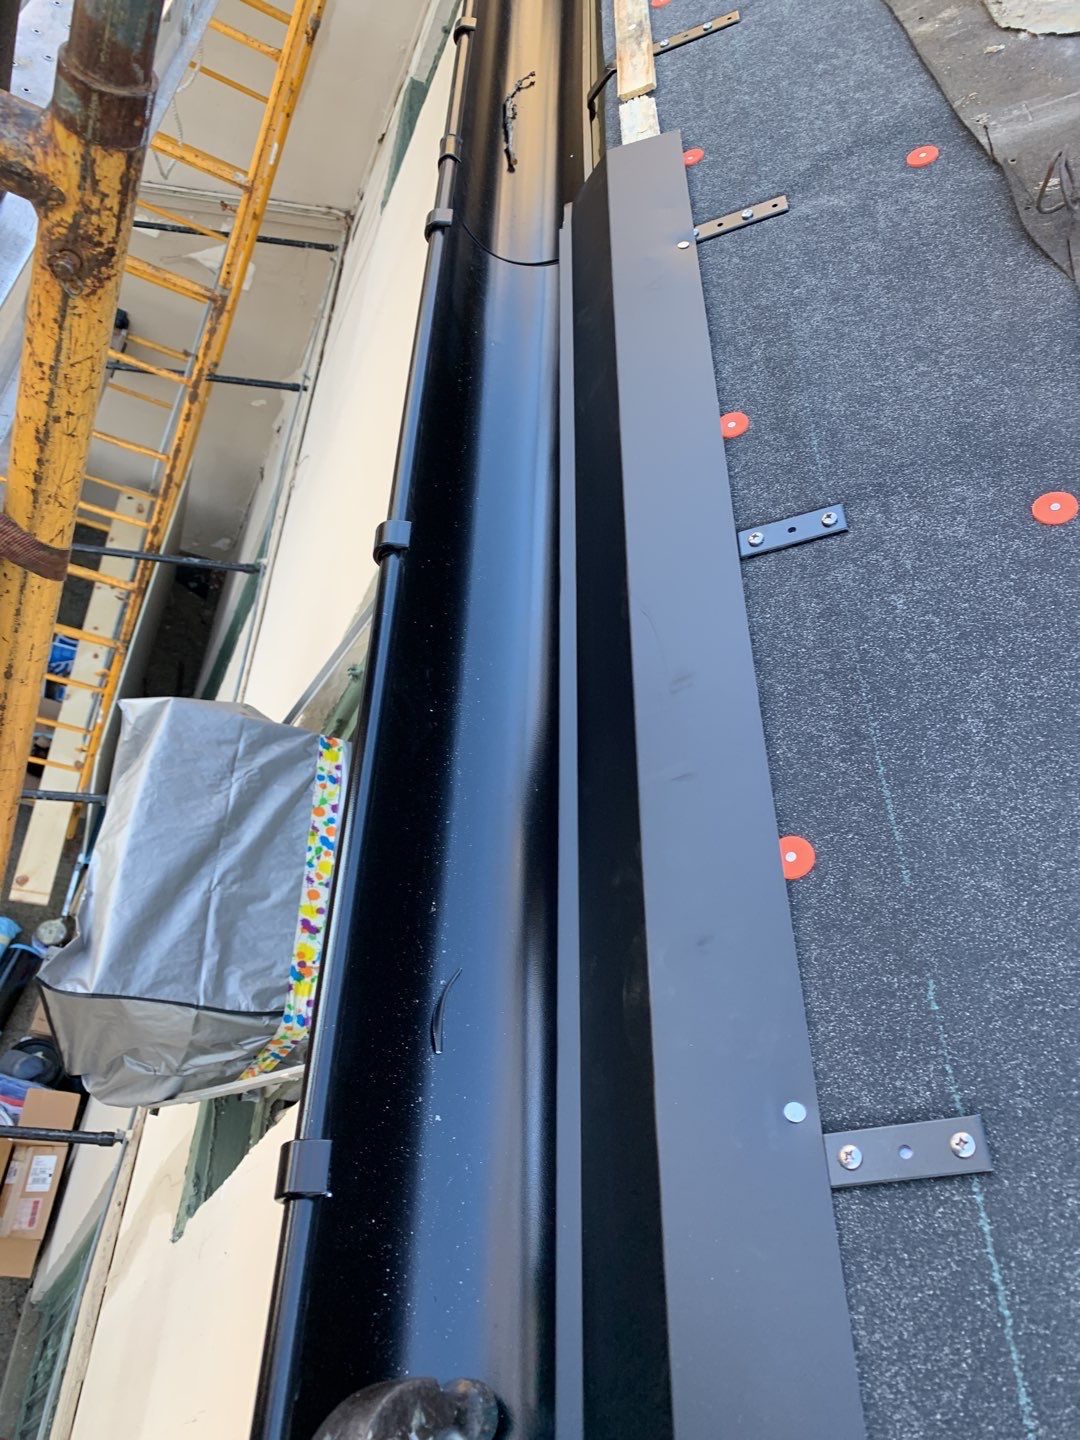
Drip edge closup
The drip edges are very nicely interlocked, there is another image showing how that is done. You cut in the hem or bottom fold. Also notice the gutter connector, perfectly installed with the two inner epdm flanges just visible. Epdm is the type of very sturdy rubber used in Nordic Steel Gutters connectors and end caps.
Making it watertight
Here the installers have begun adding the underlay covering the drip edge. This will of course prevent any rain from coming behind or under the drip edge. Even if rain is blown up under the slate, it will trickle back down on top of the drip edge and into the gutter.
Underlay and outlet closeup
A closeup of the underlay covering the drip edge. And another great look of the large opening down into the downspout. Notice the small drip edge in the gutter leading down into the funnel. This is all you need to do, no caulking.
Drip edge closeup
Great view of the drip edge. Here you can also see how the bottom fold or hem is cut into. This is the correct way to overlap most types of flashing’s. By doing it like this you will avoid staggering and they will connect in the same horizontal line.
New and old gutter
Great comparison of the already exchanged gutter sections and the older remaining.
Ending with a smaller piece
Notice the two hangers. To try and use as much material as possible is always great. Here we are left with a smaller section of gutter, and to make it really stable they have simply put a couple of hangers closer together.
Finished gutter installation
Compare to the previous image. See how this is finished off with the added underlay on top of the drip edge, coming together beautifully. Once the slate is back on, all you can see will be the gutter and the bottom of the drip edge. You will know it has been done right!
Steep roof pitch
You can just see the drip edge coming down into the gutter. This installation had a very small overhang so the offset is used instead of a couple of elbows. The rivet (-s there are three) holds the offset together but does not obstruct water flow.
Great match
These black gutters fits perfectly to the color of this slate roof.
Finished product
Great installation on this house. Steep roof can be challenging, perhaps older fascia or almost lack thereof. Sometimes you must place the hangers on the roof, the added advantage is you get a super strong installation and a very clean look.
Job well done
I want to thank the guys and girls over at Fick Brothers Roofing and Remodeling, for sharing these images with us. Textbook installation and it looks great!
Blue Glass Roofing
Ronny and his team at Blue Glass Roofing are a safety conscientious, and innovative crowd. They do great quality work on slate, shingles or gutter installations. Ronny also has another company called Slator USA and they work with roof safety, training and tools. In fact he continuously invent roof anchors and other ingenious safety products. They tour the country educating businesses on roof safety protocols, and how to use the right equipment. And some of the most impressive qualities, is their solution oriented approach to everything.
Roof truss brackets
In order to do this installation as they had planned Ronny came up with a bracket he could fasten to the side of the exposed roof trusses. Some of the ends were rotted out and some he could keep. This would be the anchoring point for the hangers.
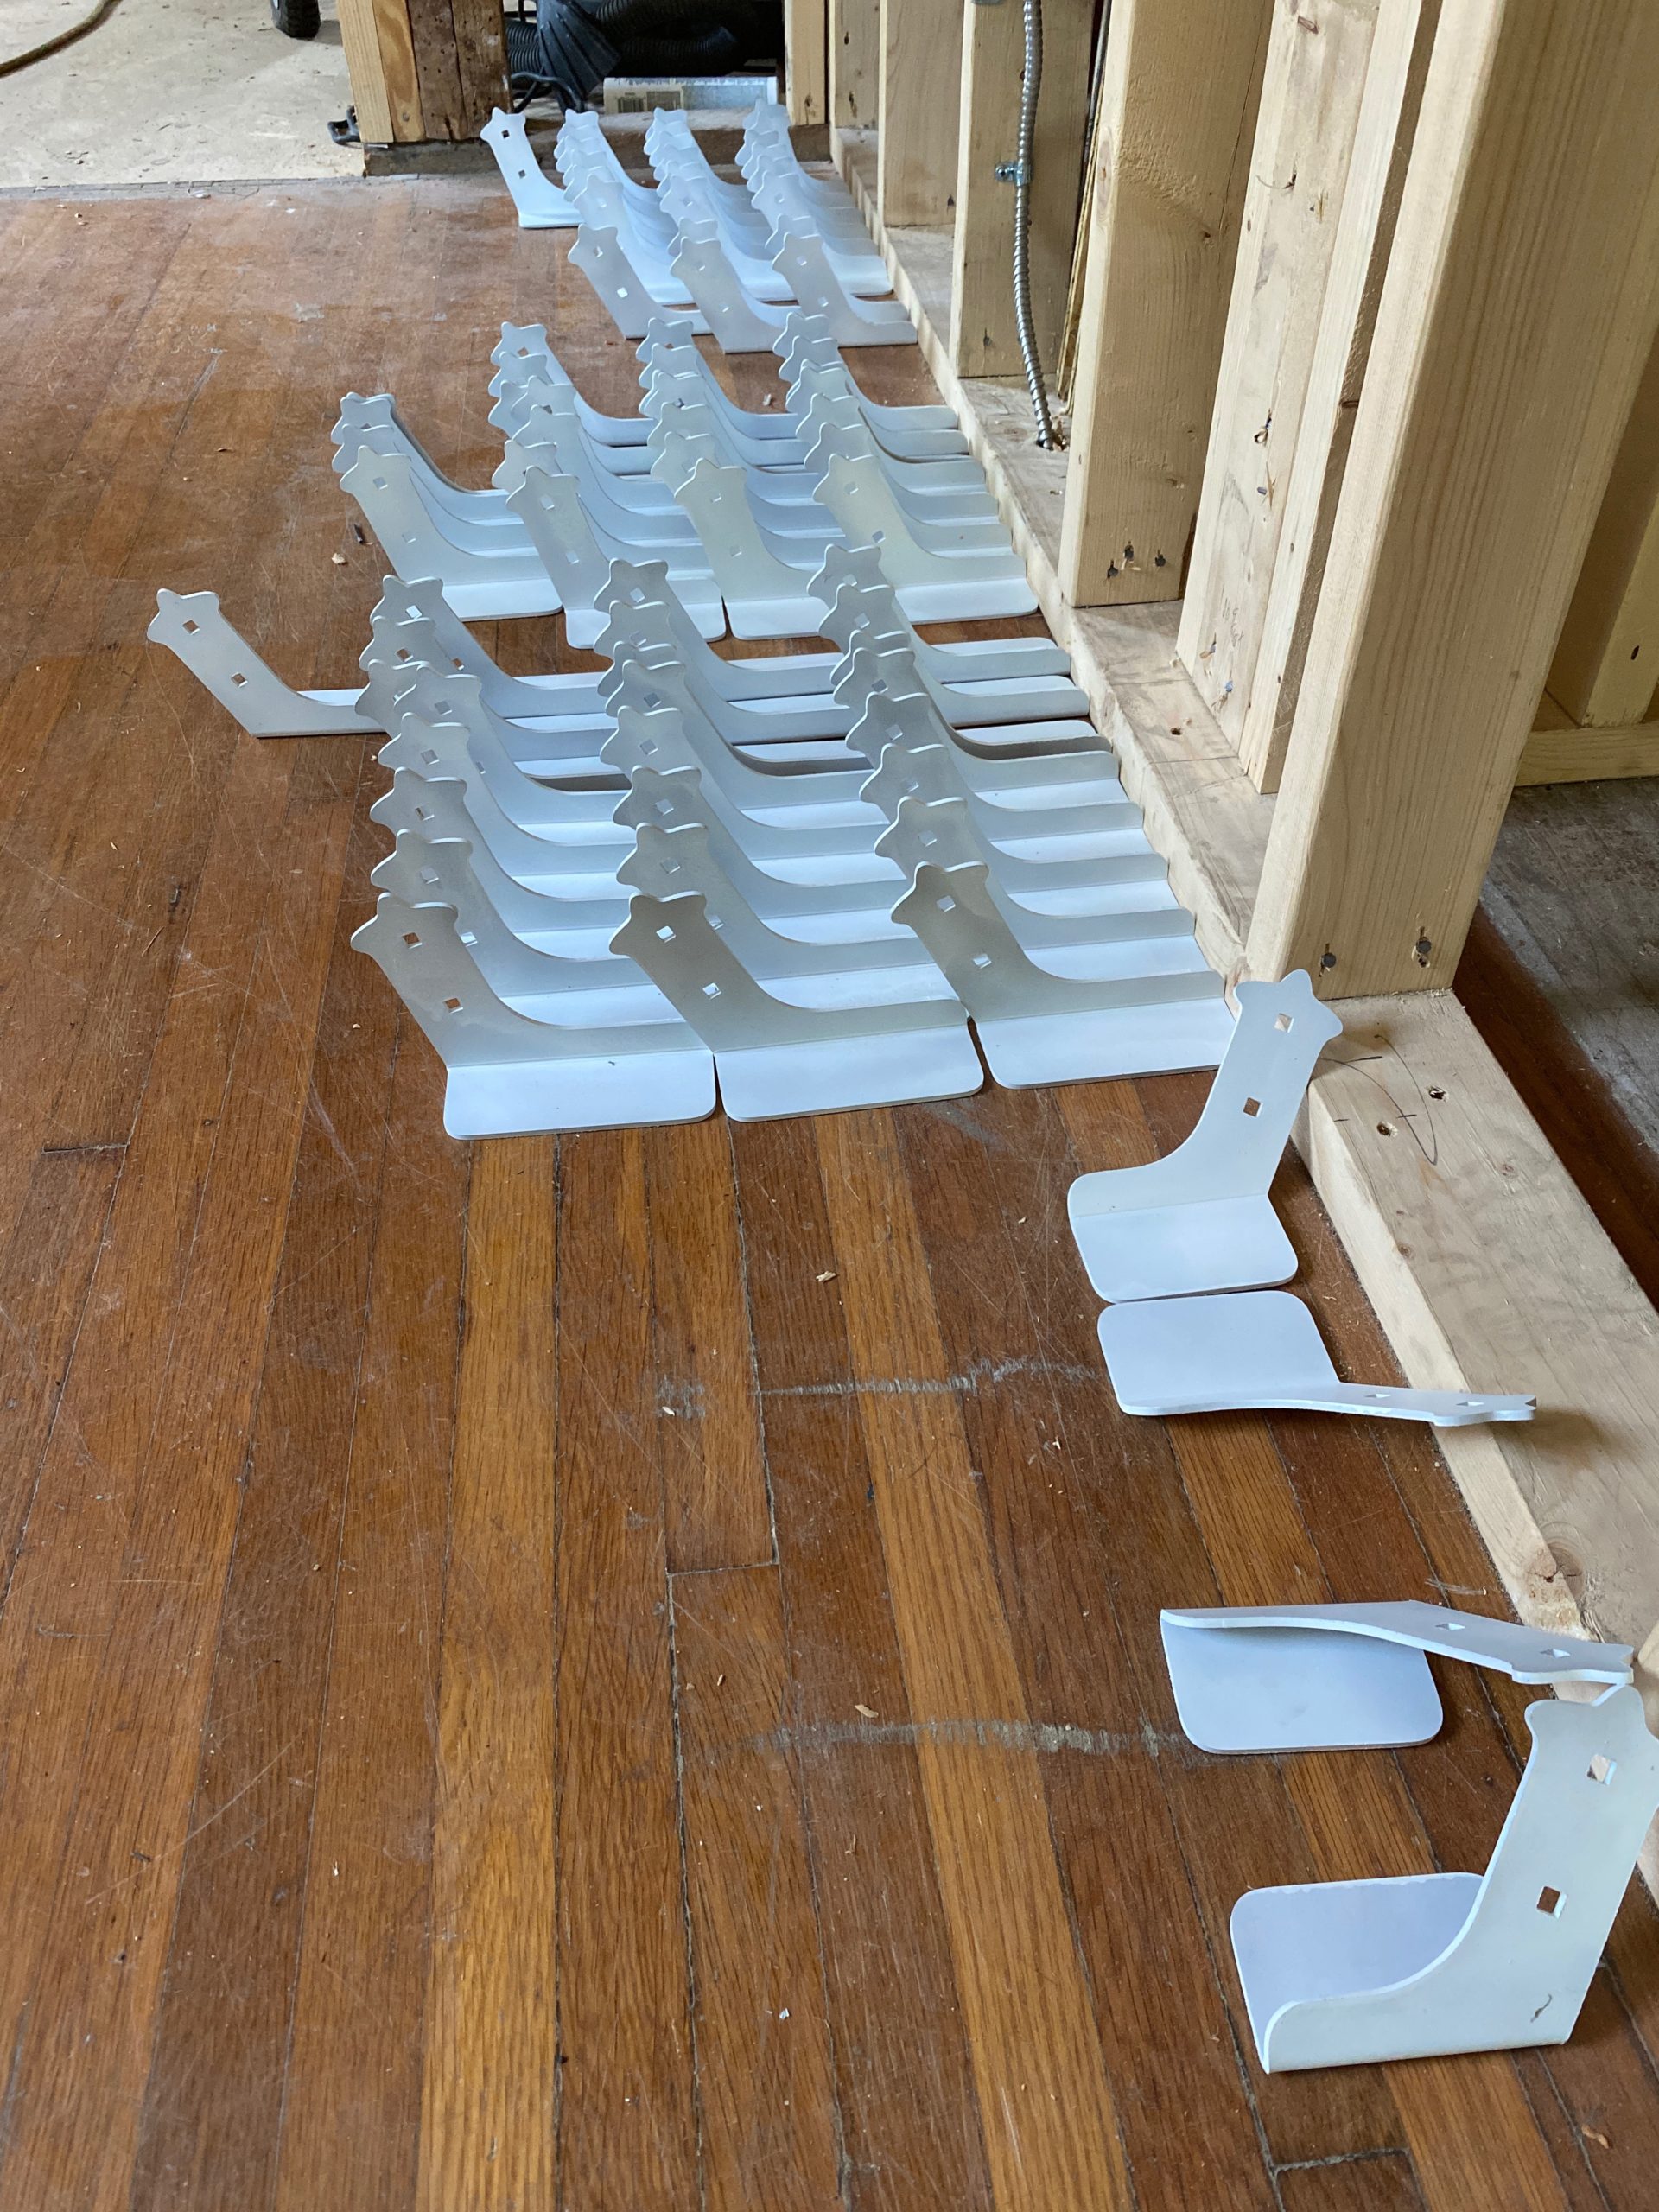
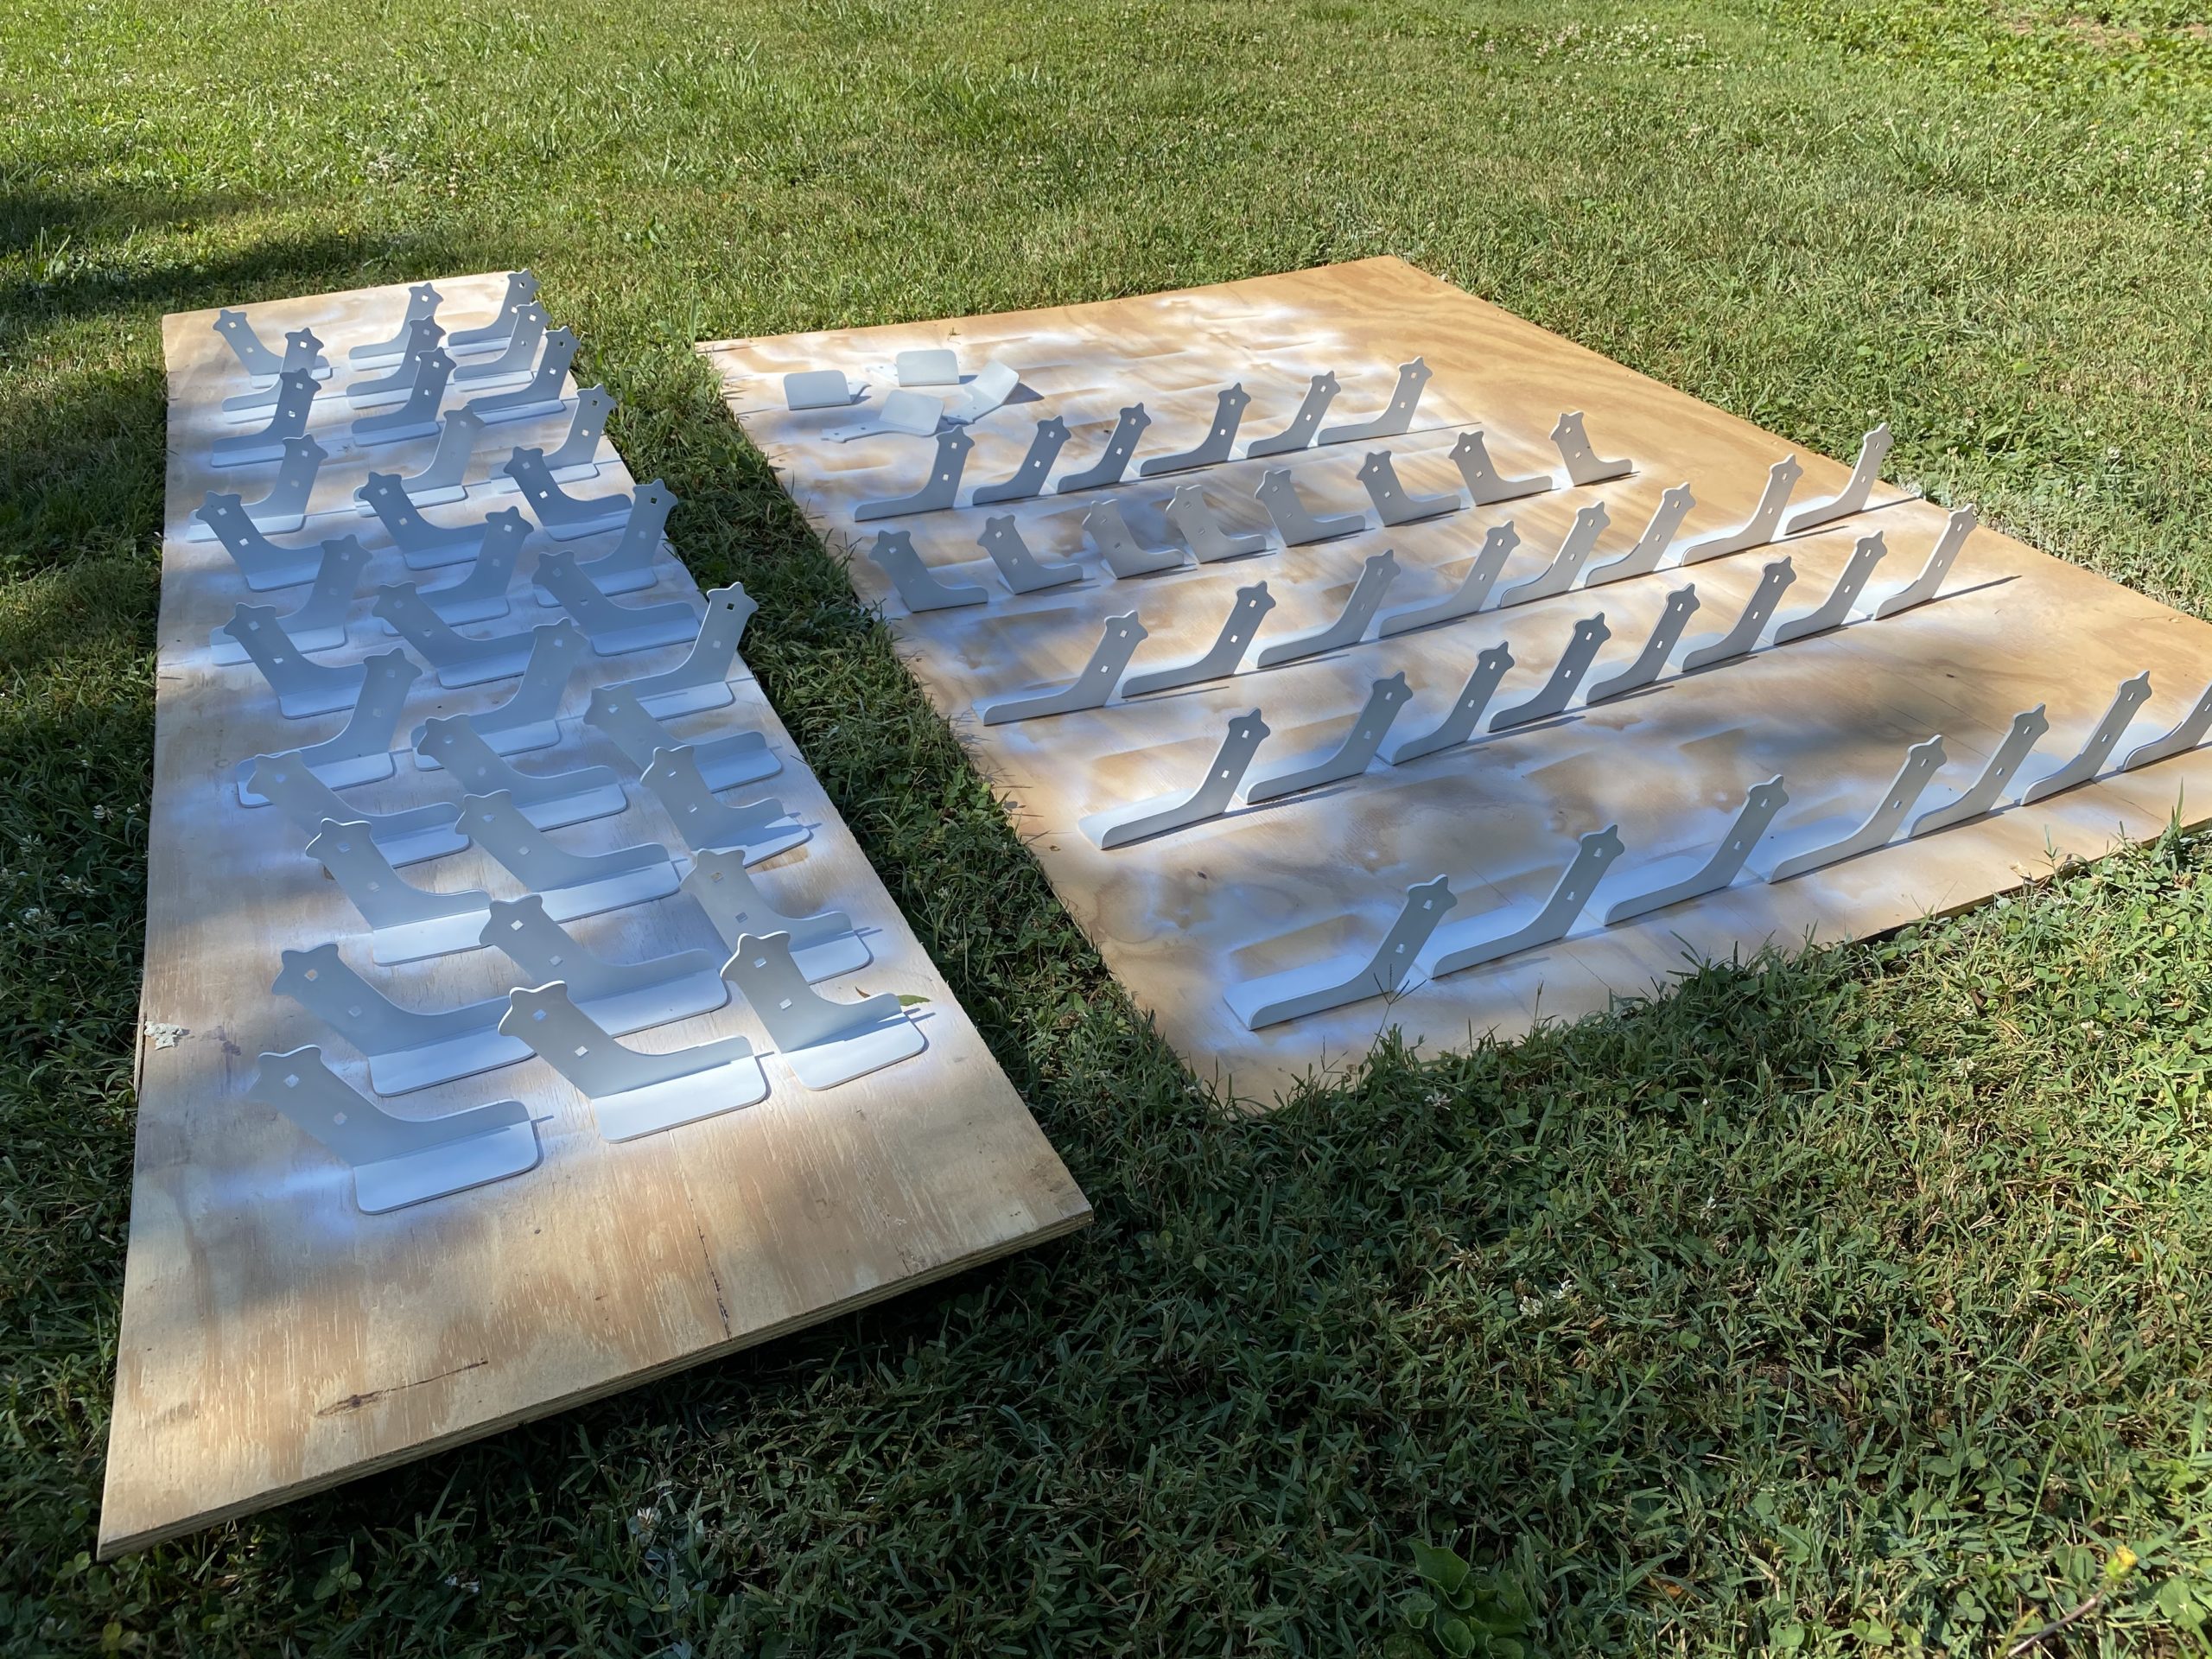
Post galvanization and painting
Finished products after painting. Matching the color of the exposed trusses, white.
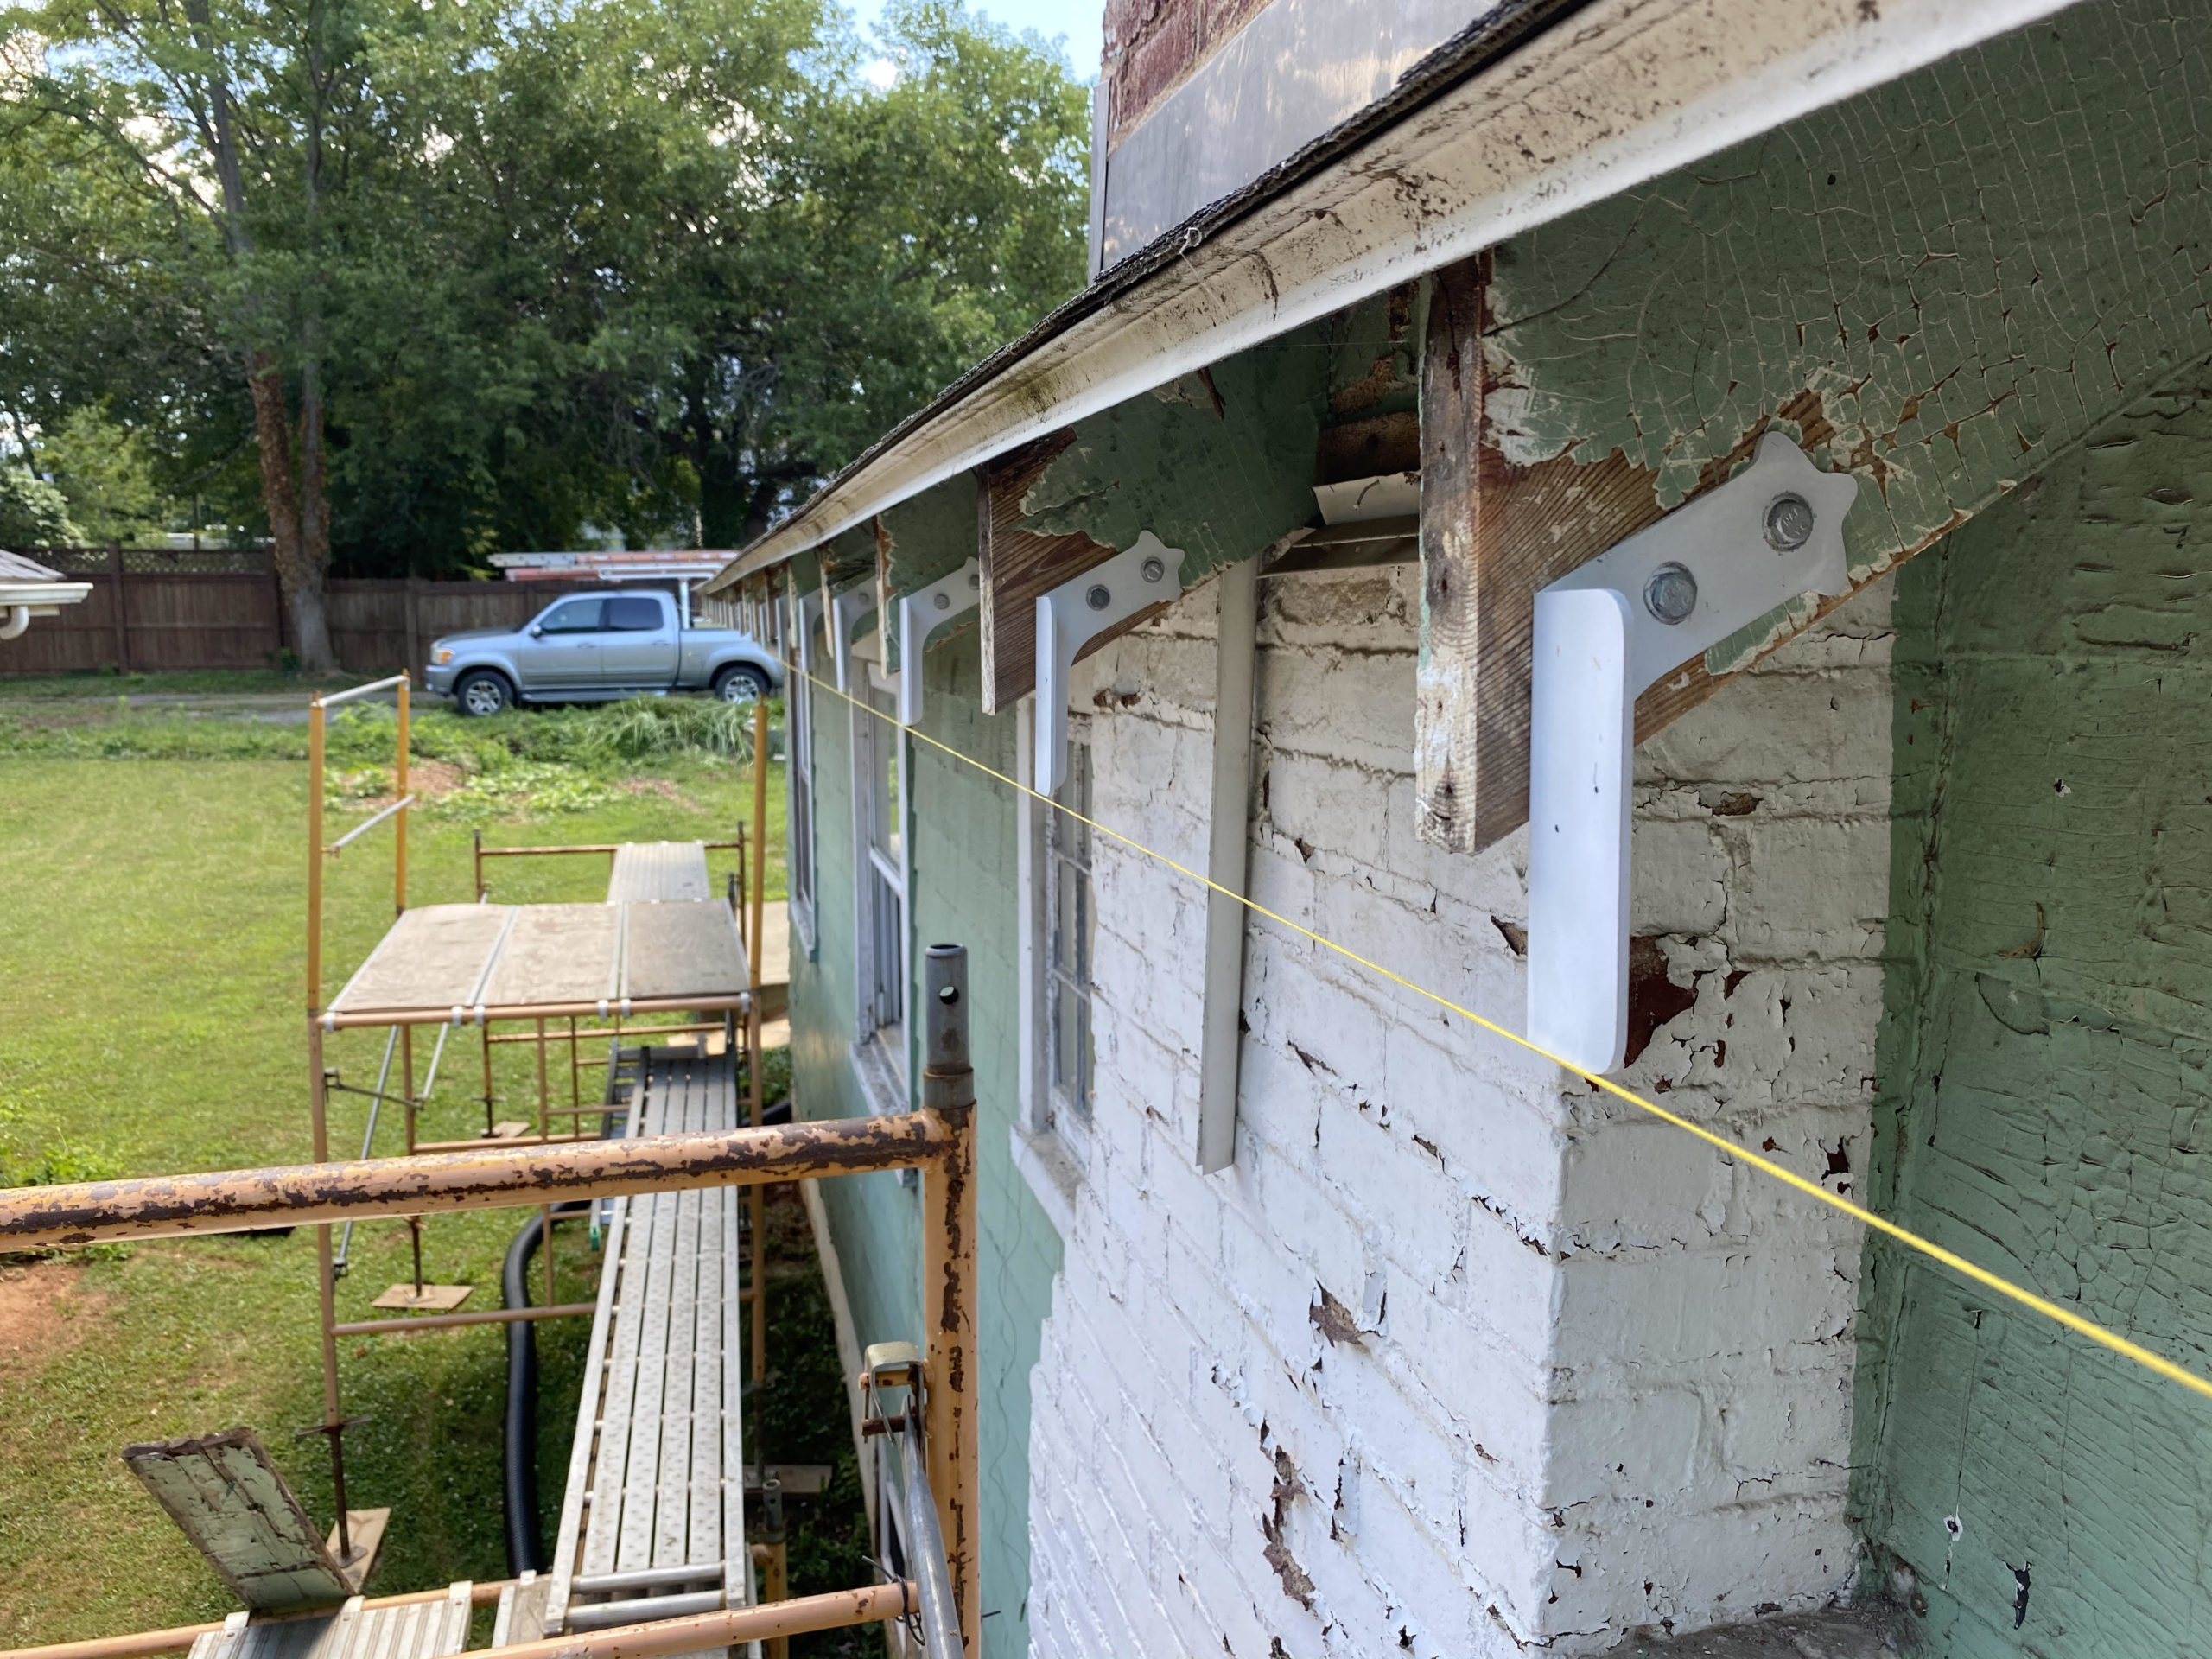
Hanger brackets installed
The string line helps both vertically and horizontally.
Installing the hangers
Using mini clamps to hold the correct position of the hangers. Next step is to drill the holes, and fasten the hangers with nuts and bolts.
Setting the hangers
This hanger is only used to find the position for the holes to be drilled. It needs its front end to close on the bead to work…
Semi integrated gutter/truss
I really love this. Ronny kept the joist ends where the wood was still OK. Carved out a half round hole to fit the gutter, and still used his invented hanger brackets for the installation. Pretty cool!
Cut out joists and hangers
There is a lot of work being put in here to keep a feature easily cut off otherwise. I really like the way this comes together, incredibly innovative and clever.
Gutter in place
This is simply just innovative and very cool.
Finished product
This was a careful renovation made with ingenuity and care. Most people would simply have cut off the trusses and put the screws straight in on the joist end. However, Ronny is not most people. Wow!
Very cool
Notice how the trusses were cut back to rest the gutter well inside of the drip line from the flashing.
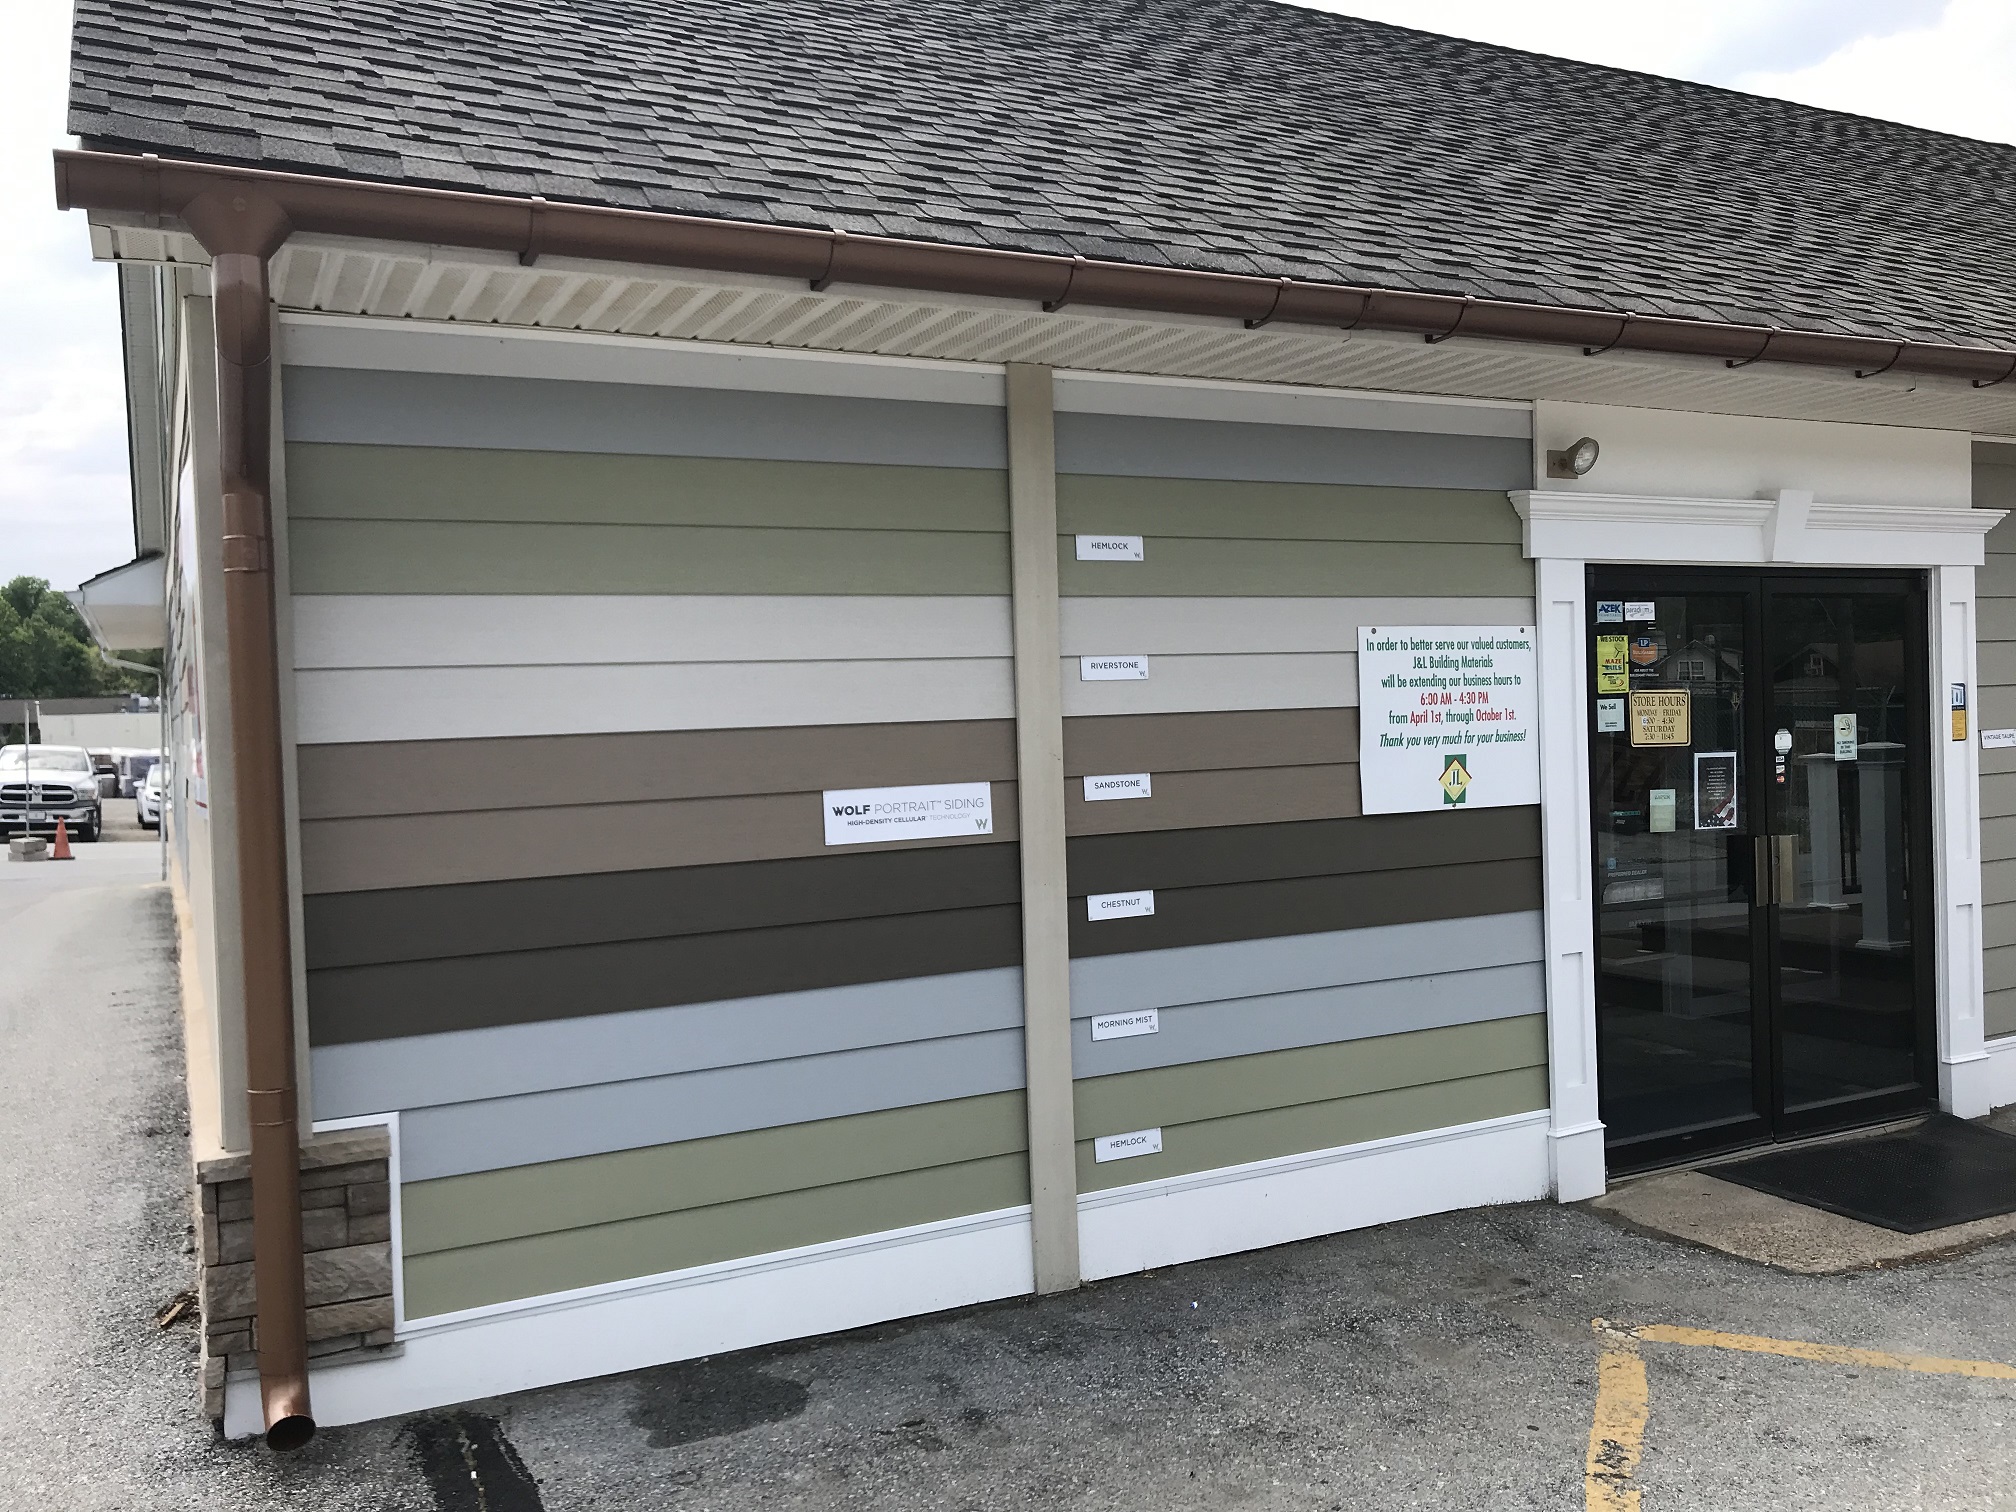
J&L Building Materials in Frazer PA
Mid 2019 Nordic Steel Gutters got the opportunity to install our system on the sales office of J&L Building Materials in Frazer Pennsylvania. It also happens to be the head office of the J&L group. They have 7 stores in PA and DE and are a great local resource. We have displays in all locations and continuosly strengthen our cooperation .
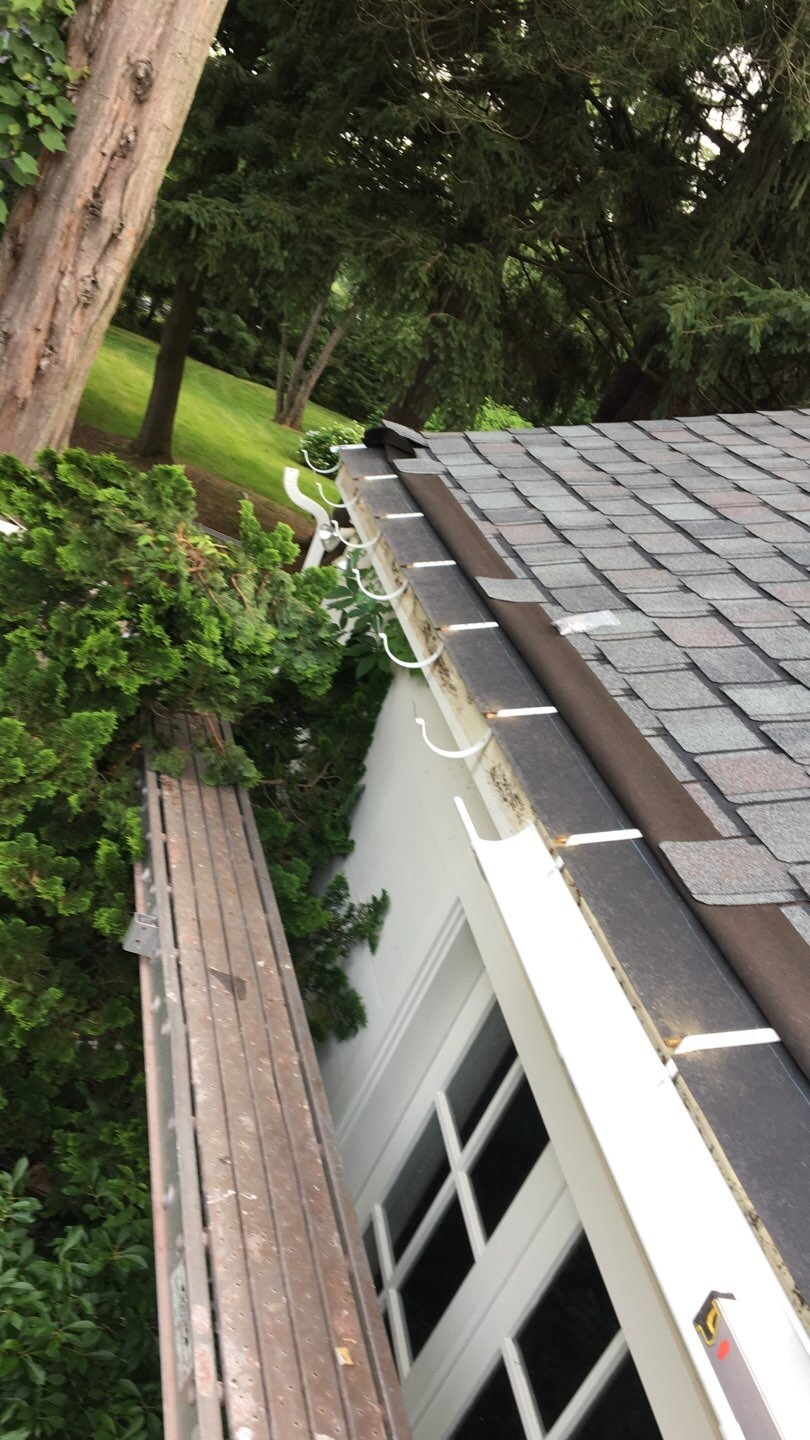
Std white K-style
The system was banged up and dirty. The become that due to all the corrugations. Badly needed replacing with the head office across the yard.
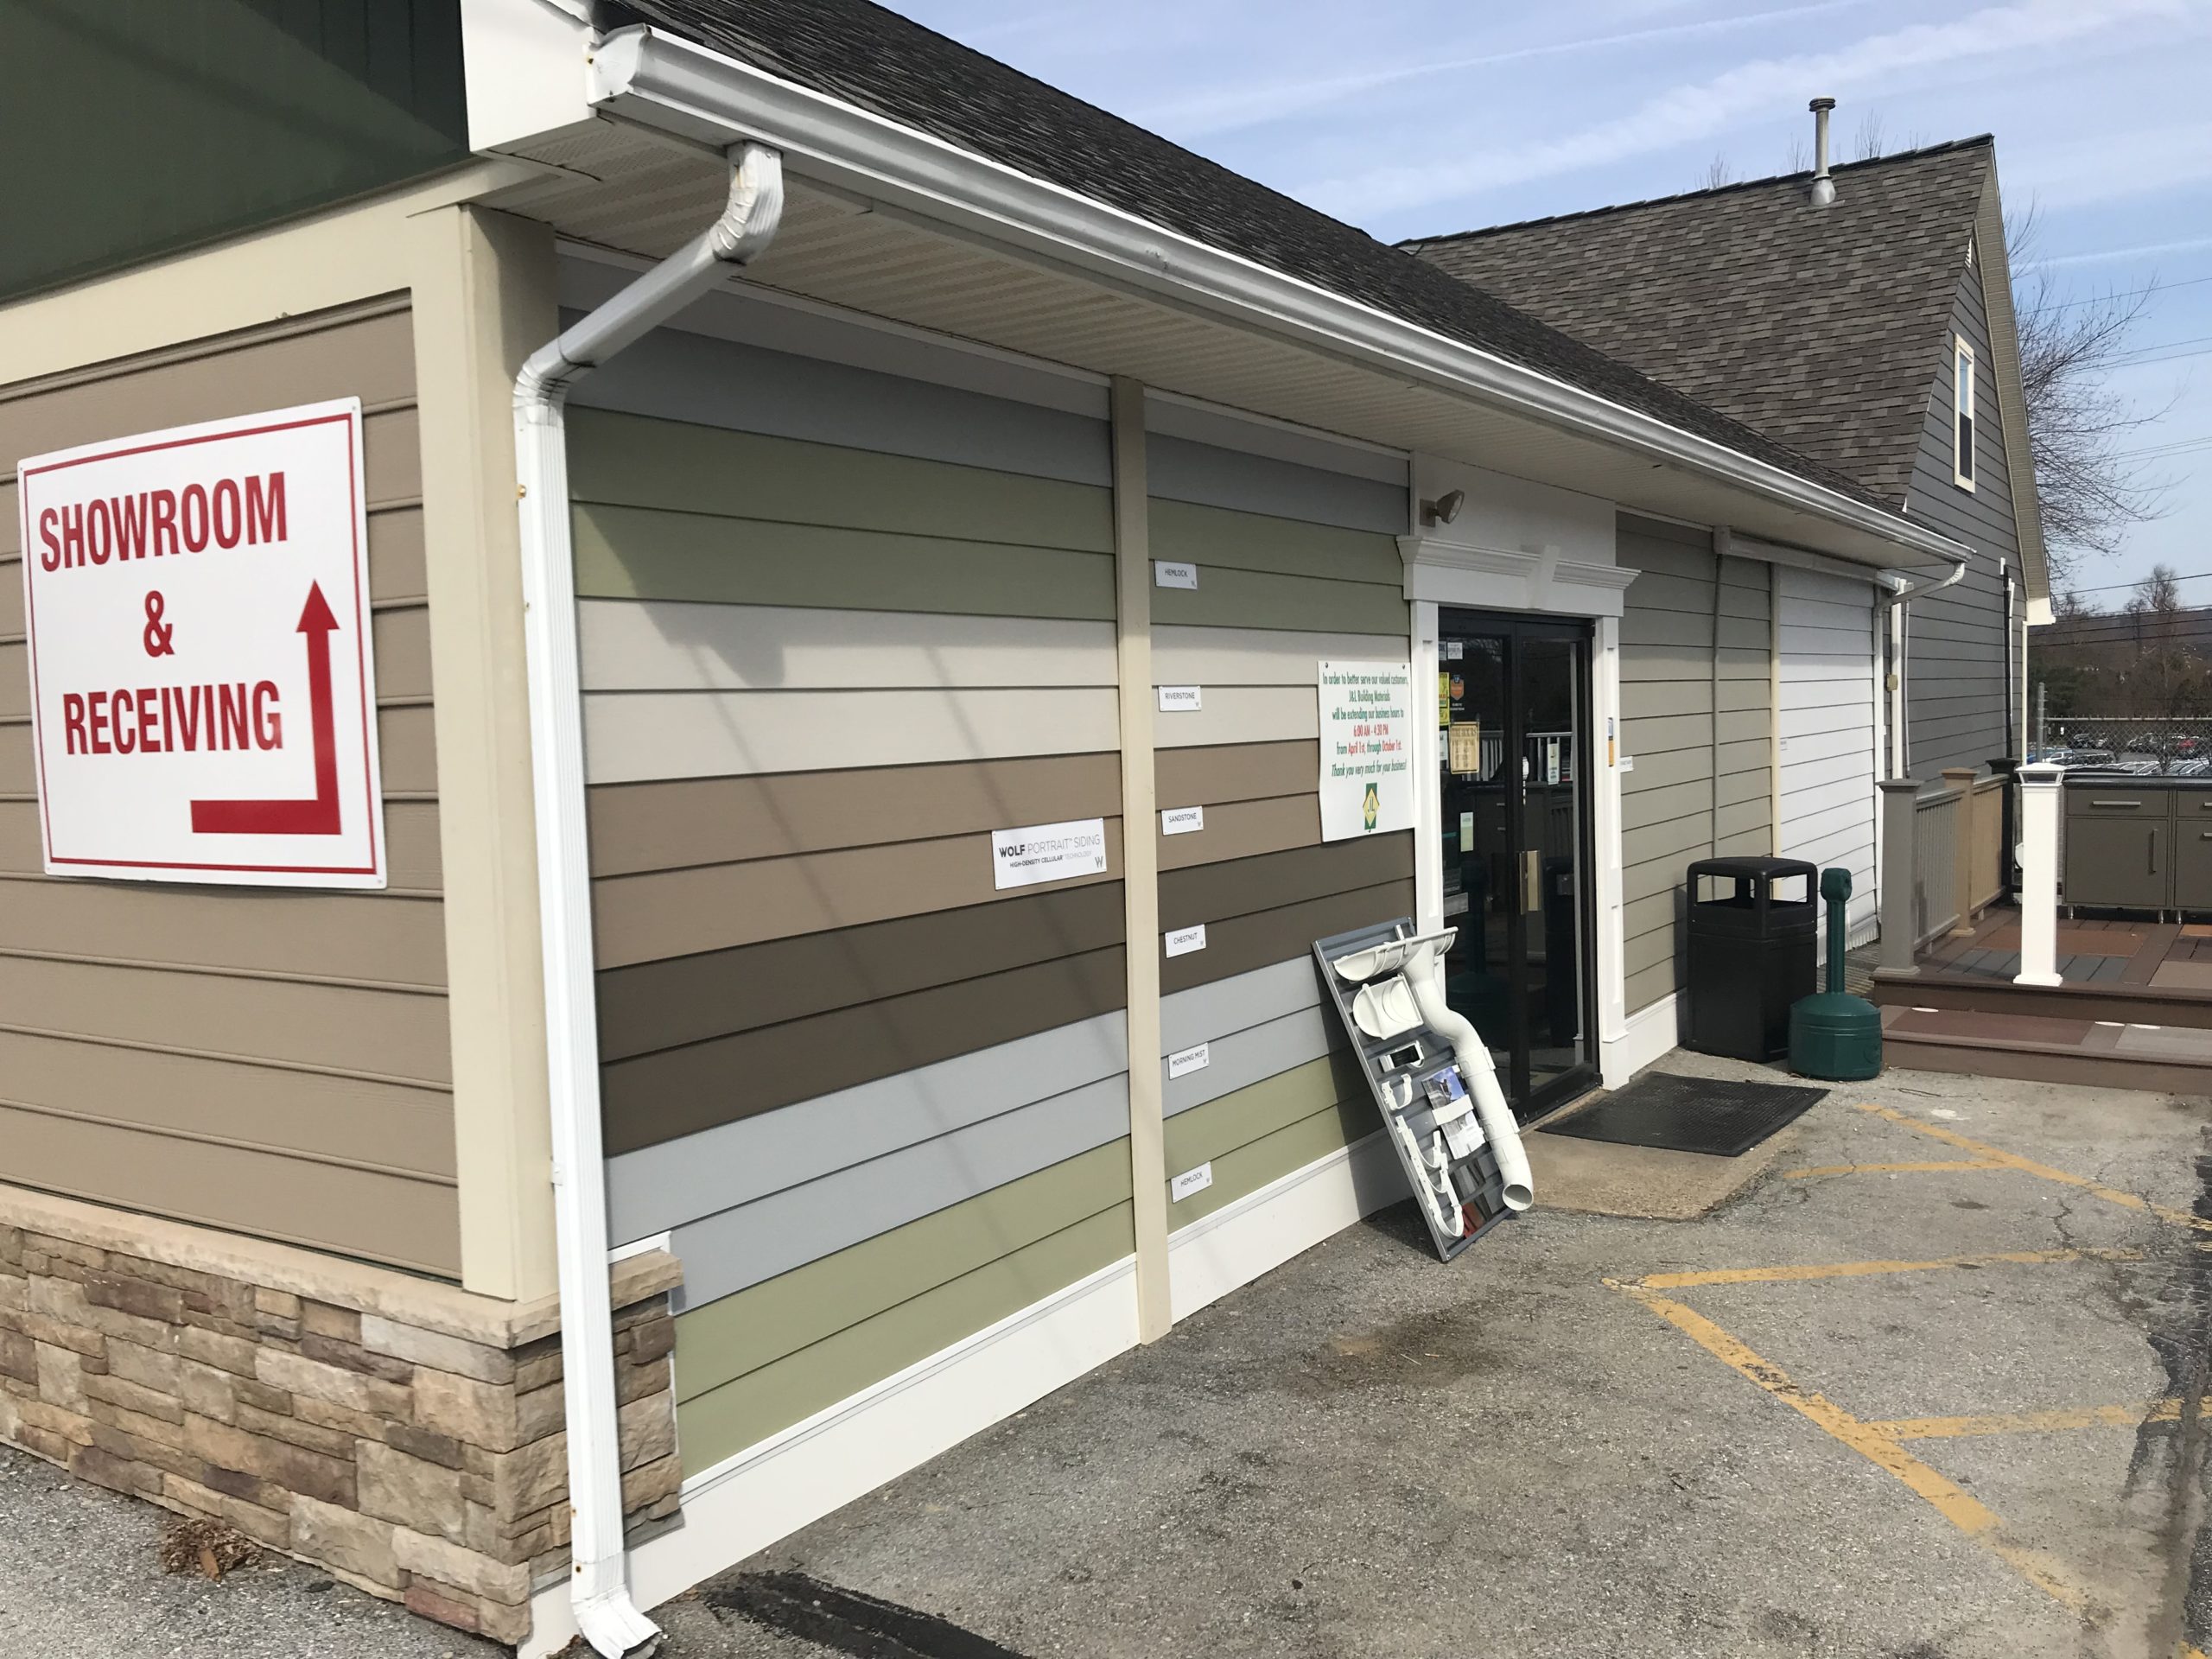
Std white K-style cont’d
A picture says more than a thousand words. This system does not really make much of an impression, or help lift the appearance of the building, rather the contrary.
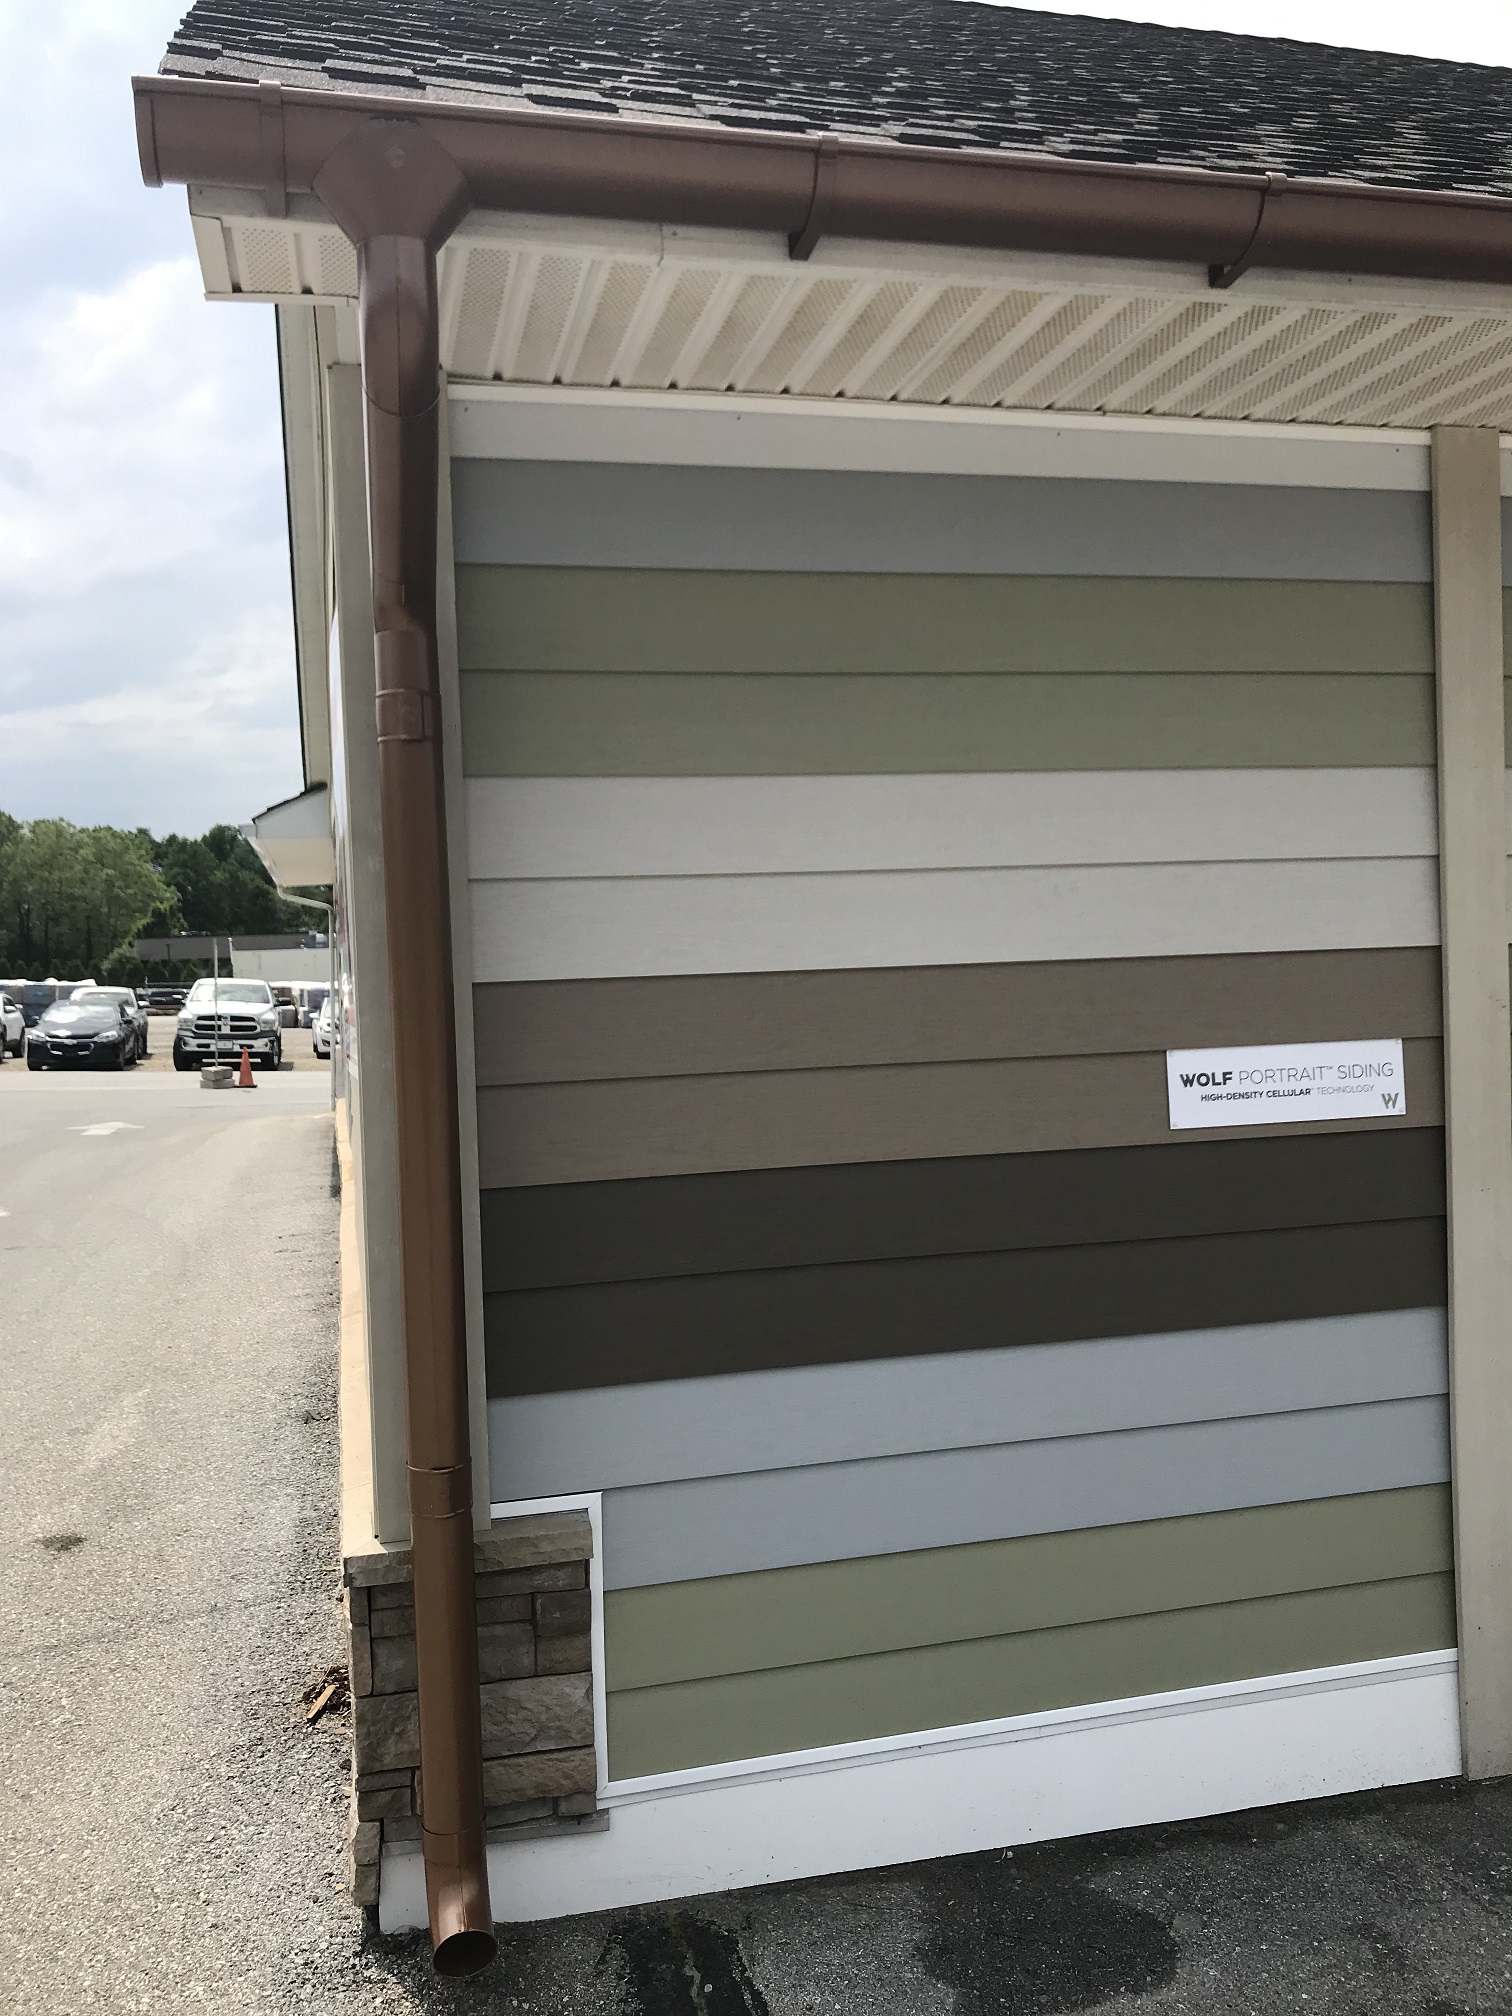
Copper metallic lifts
Already here we can see a significant difference in how the system interacts with the siding and stone.
Blends well with all colors
This system really picks up and complements the rest of the building.
Strong impression
The Nordic system really leaves a strong impression. Sleek and traditional.
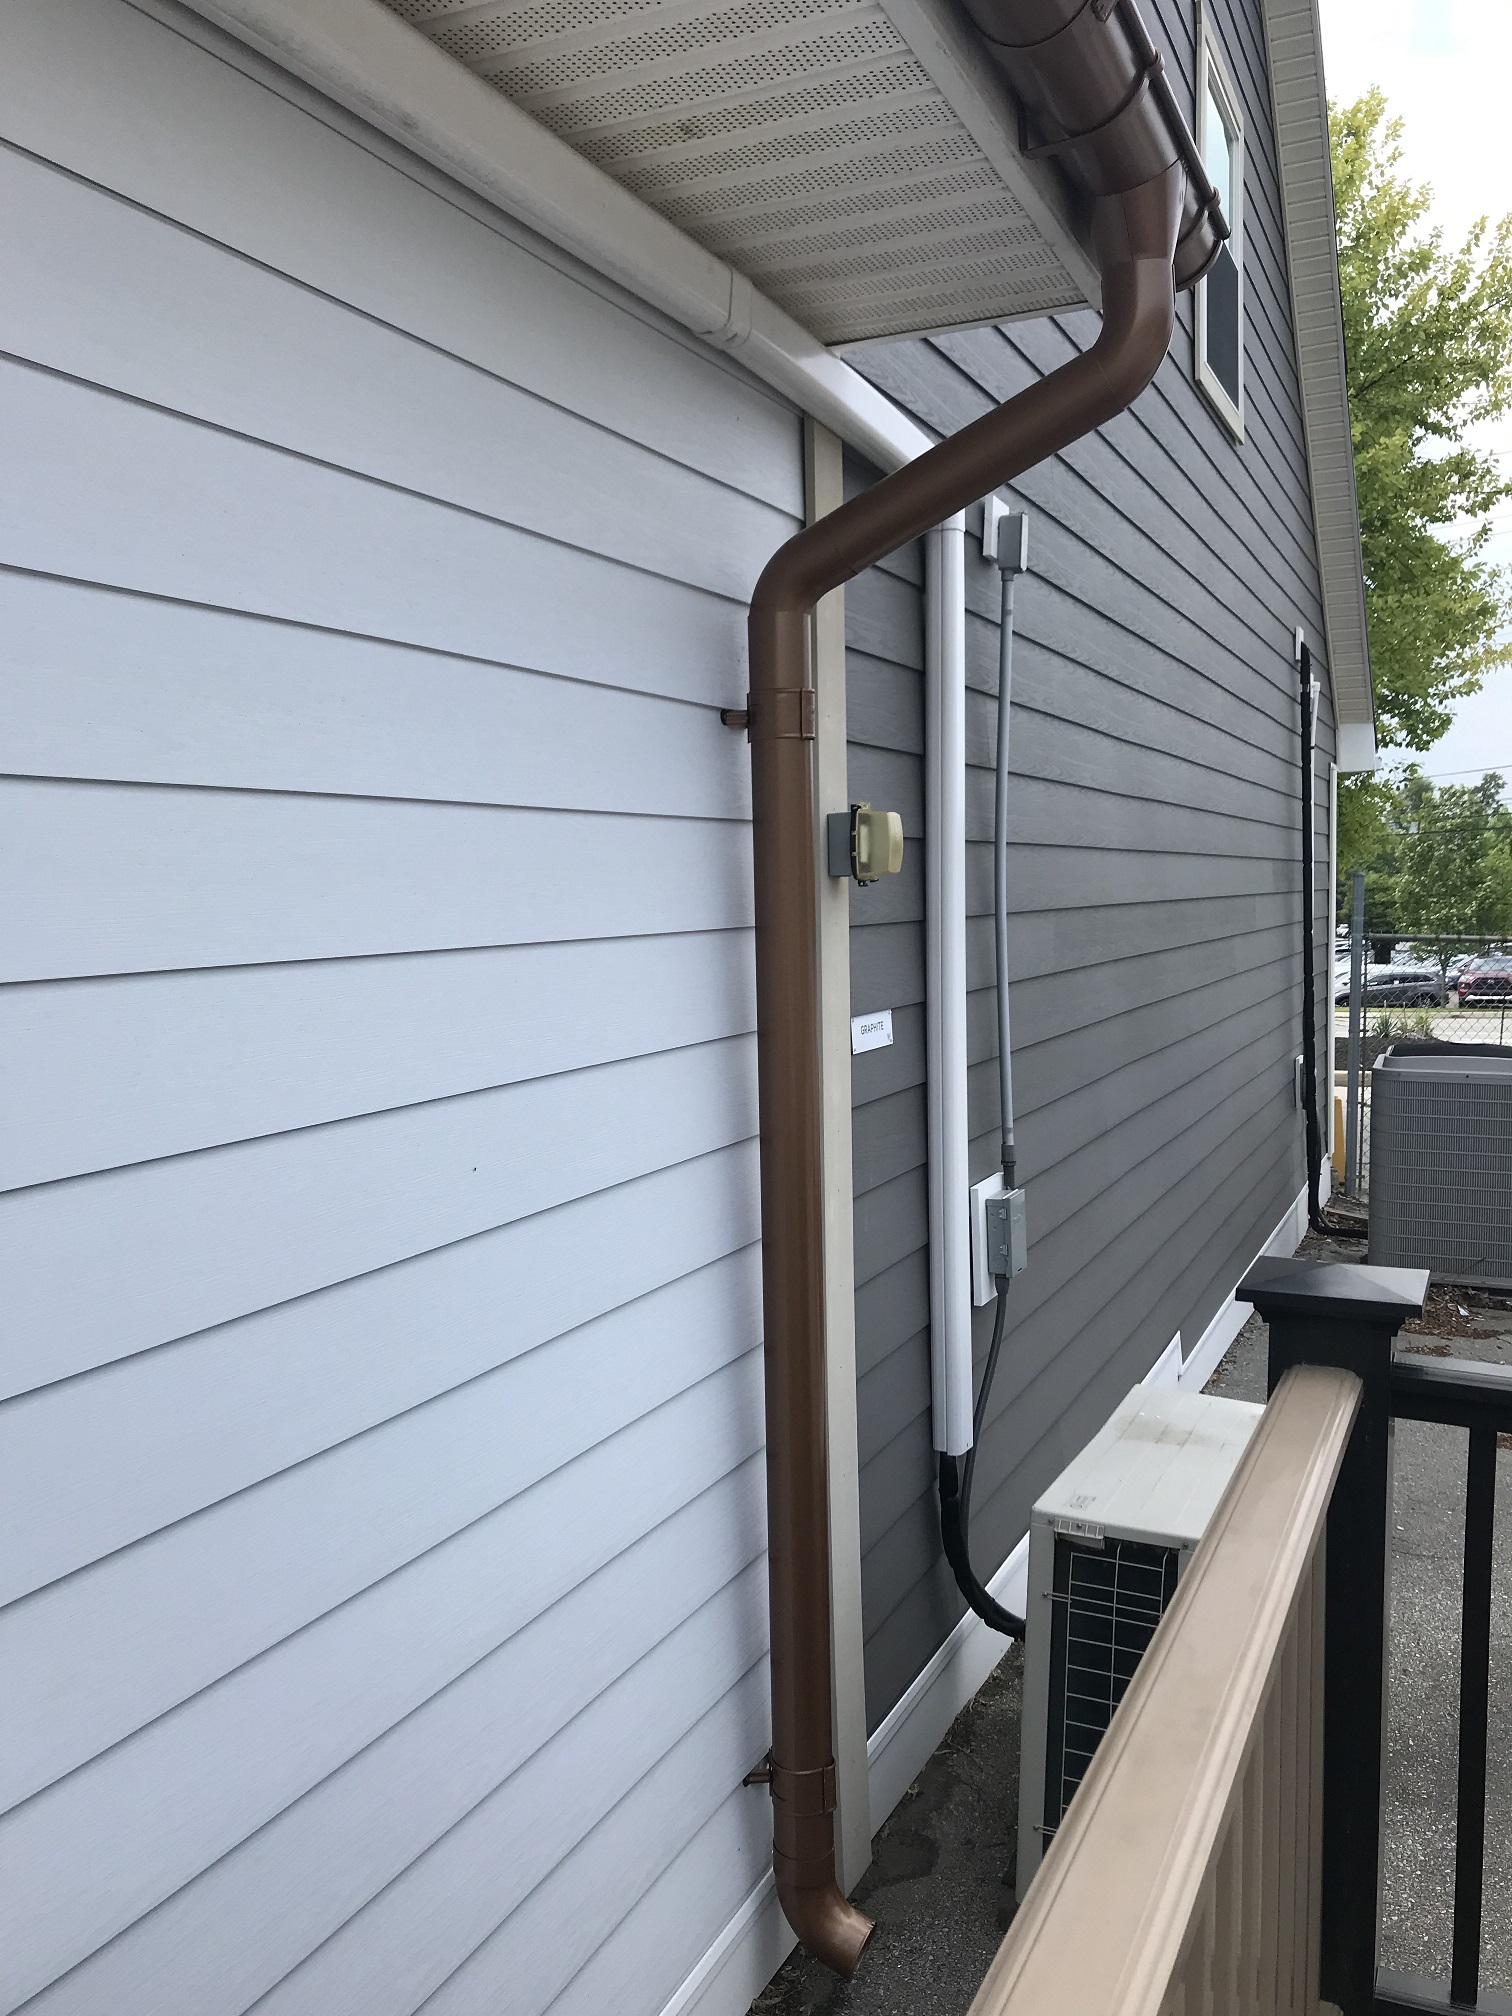
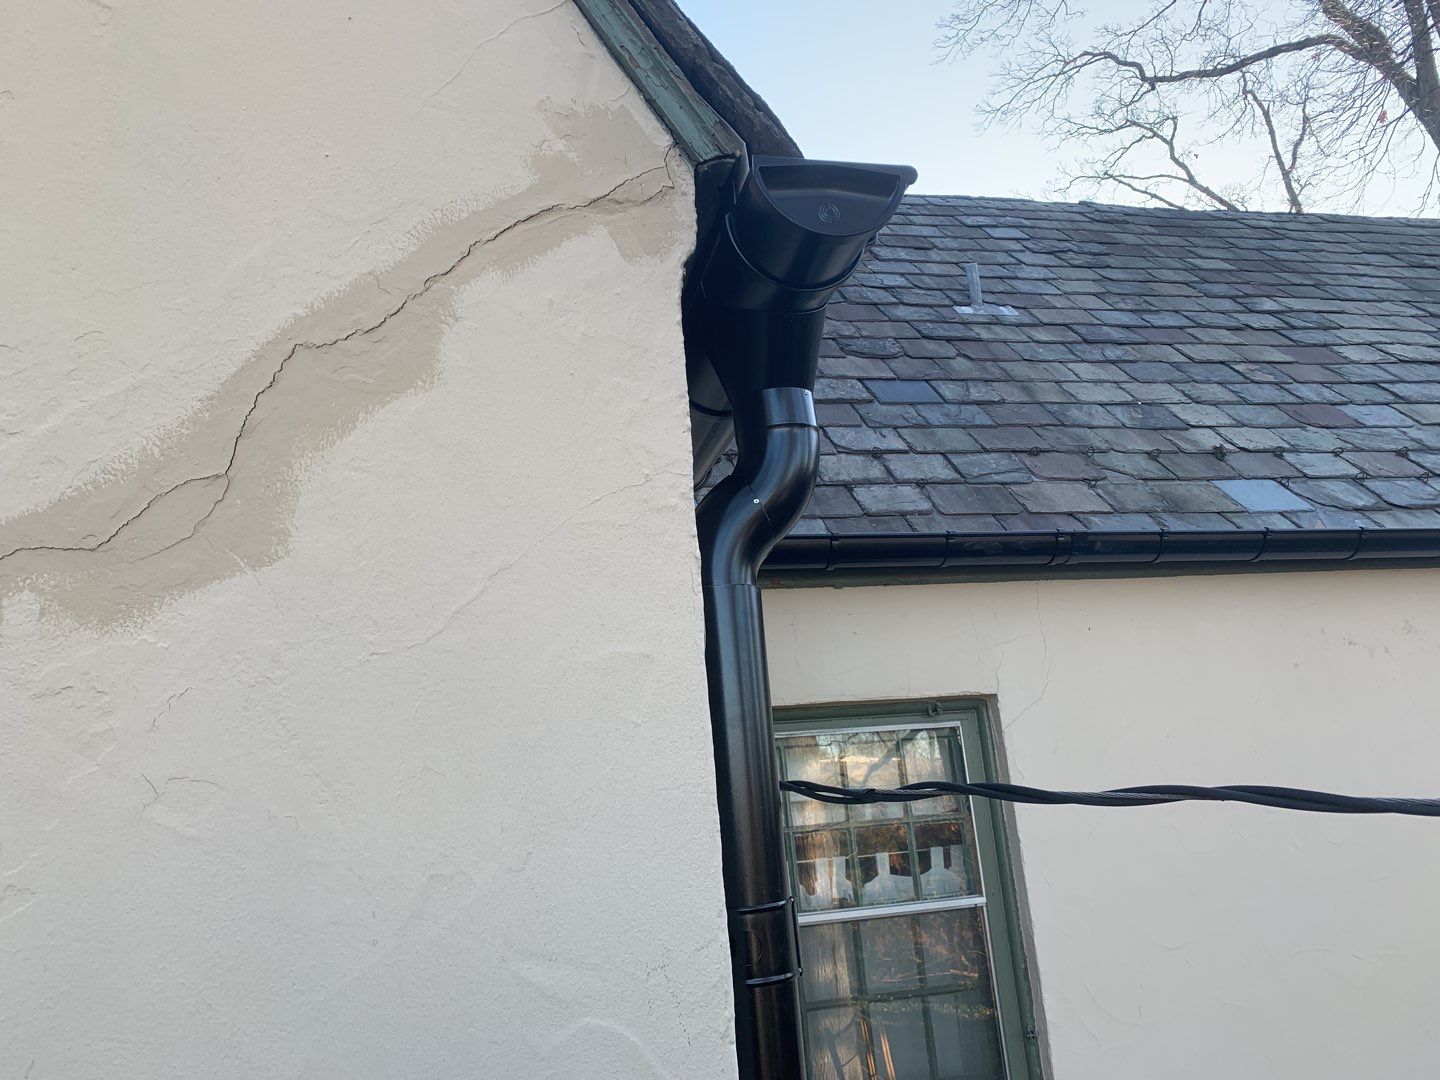
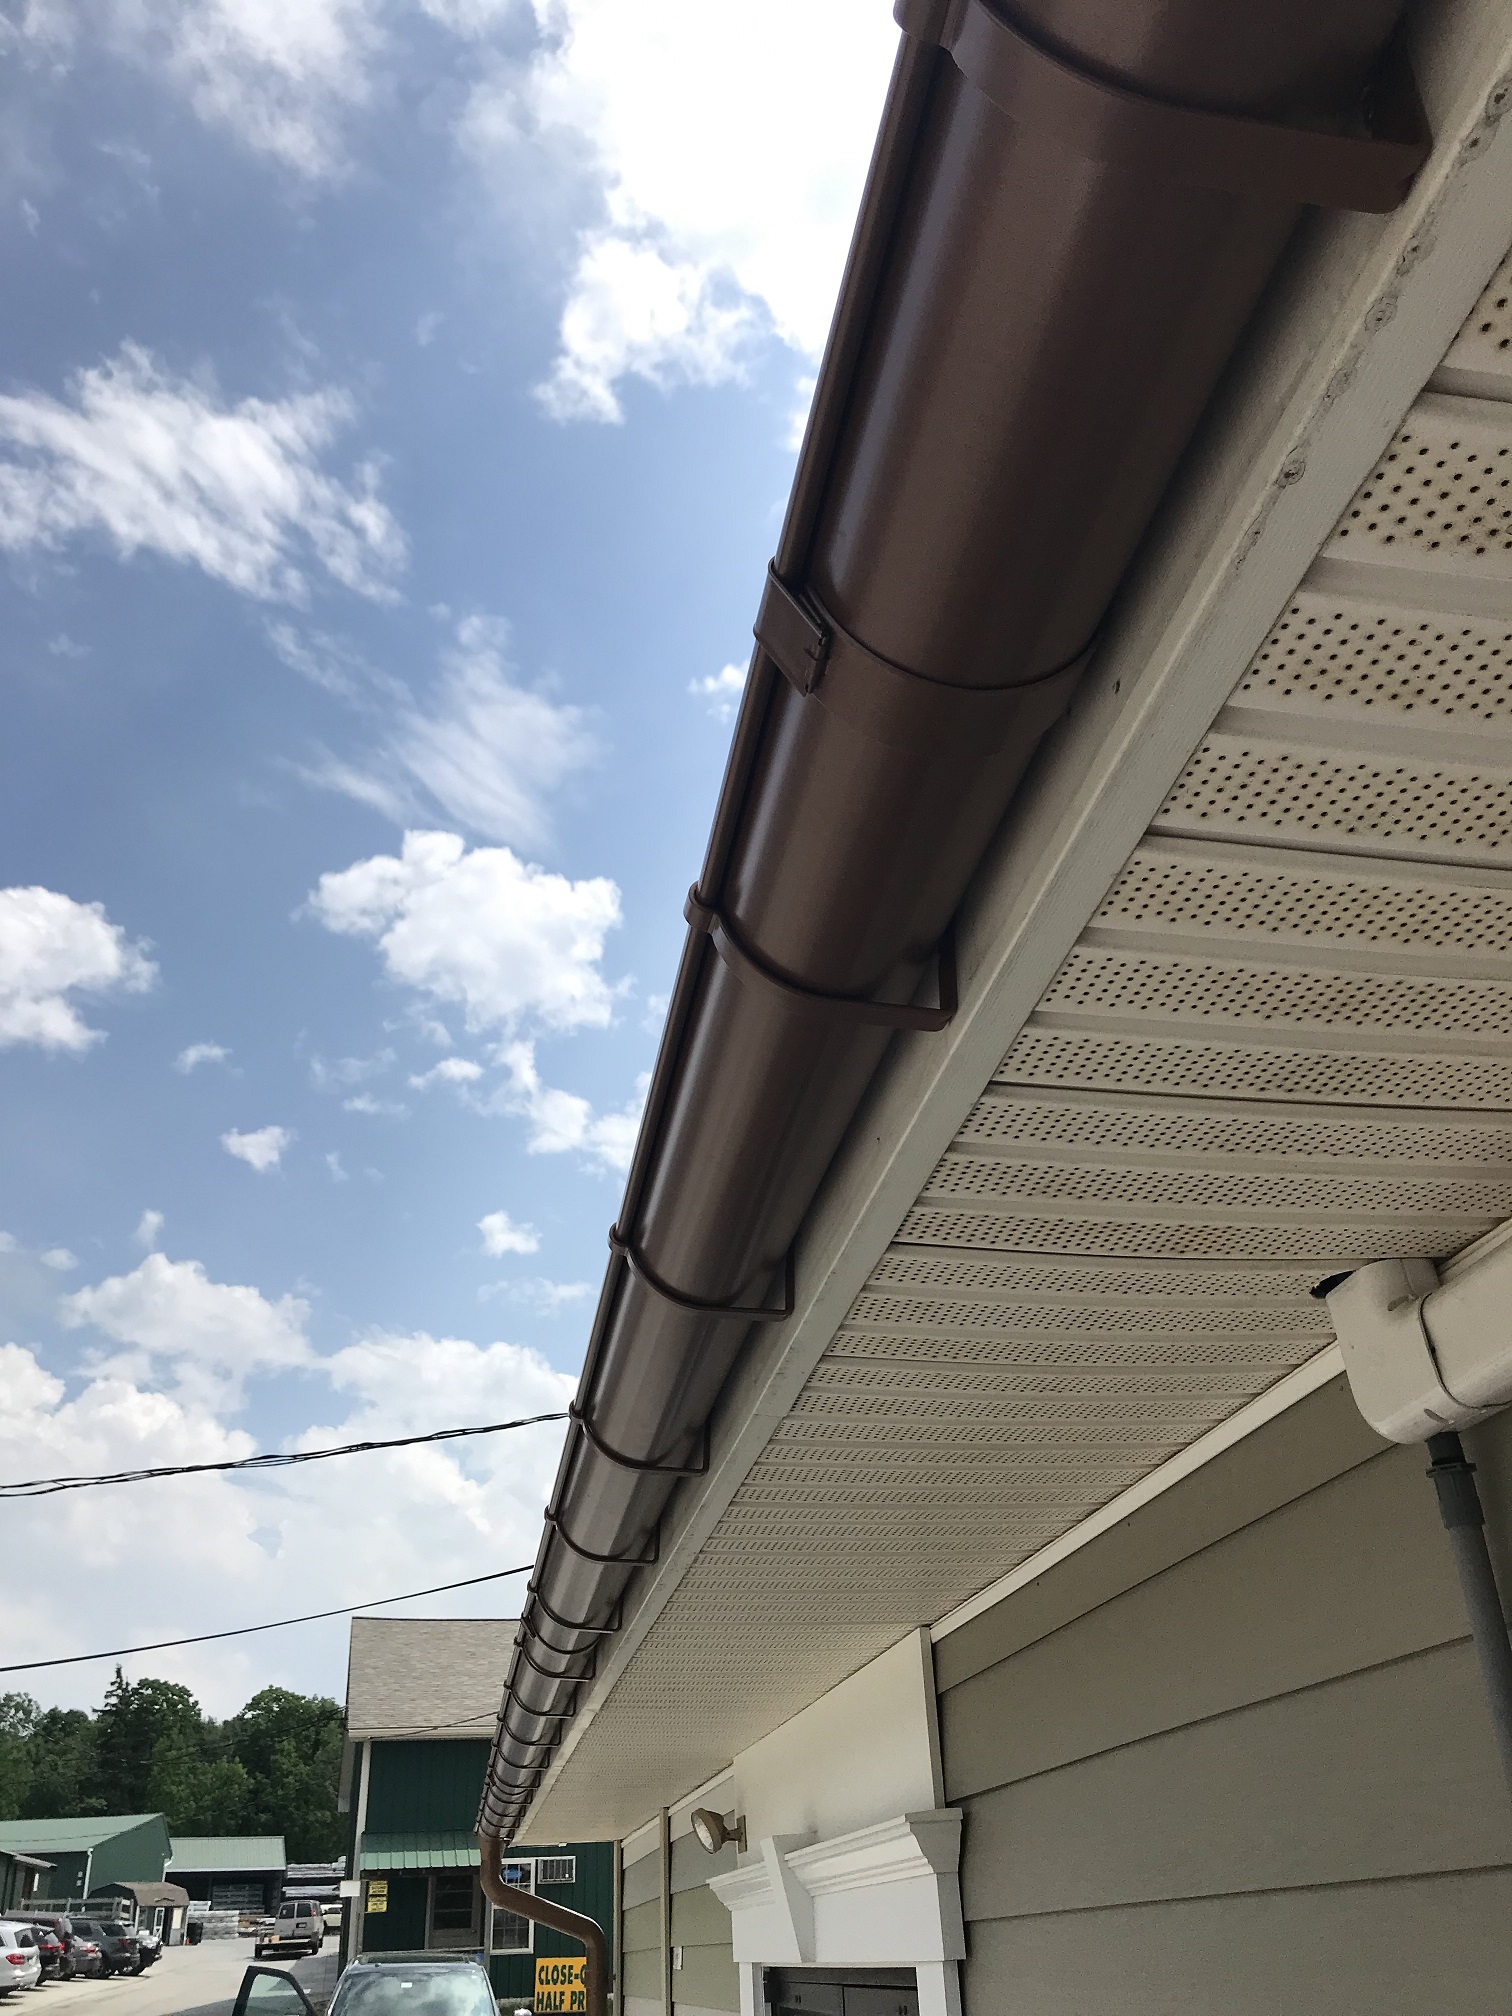
Smooth
That is what a downspout should look like. From the outlet down it seamlessly goes together without any screws or corrugated elbows. Nothing to pick up dirt or leak here.
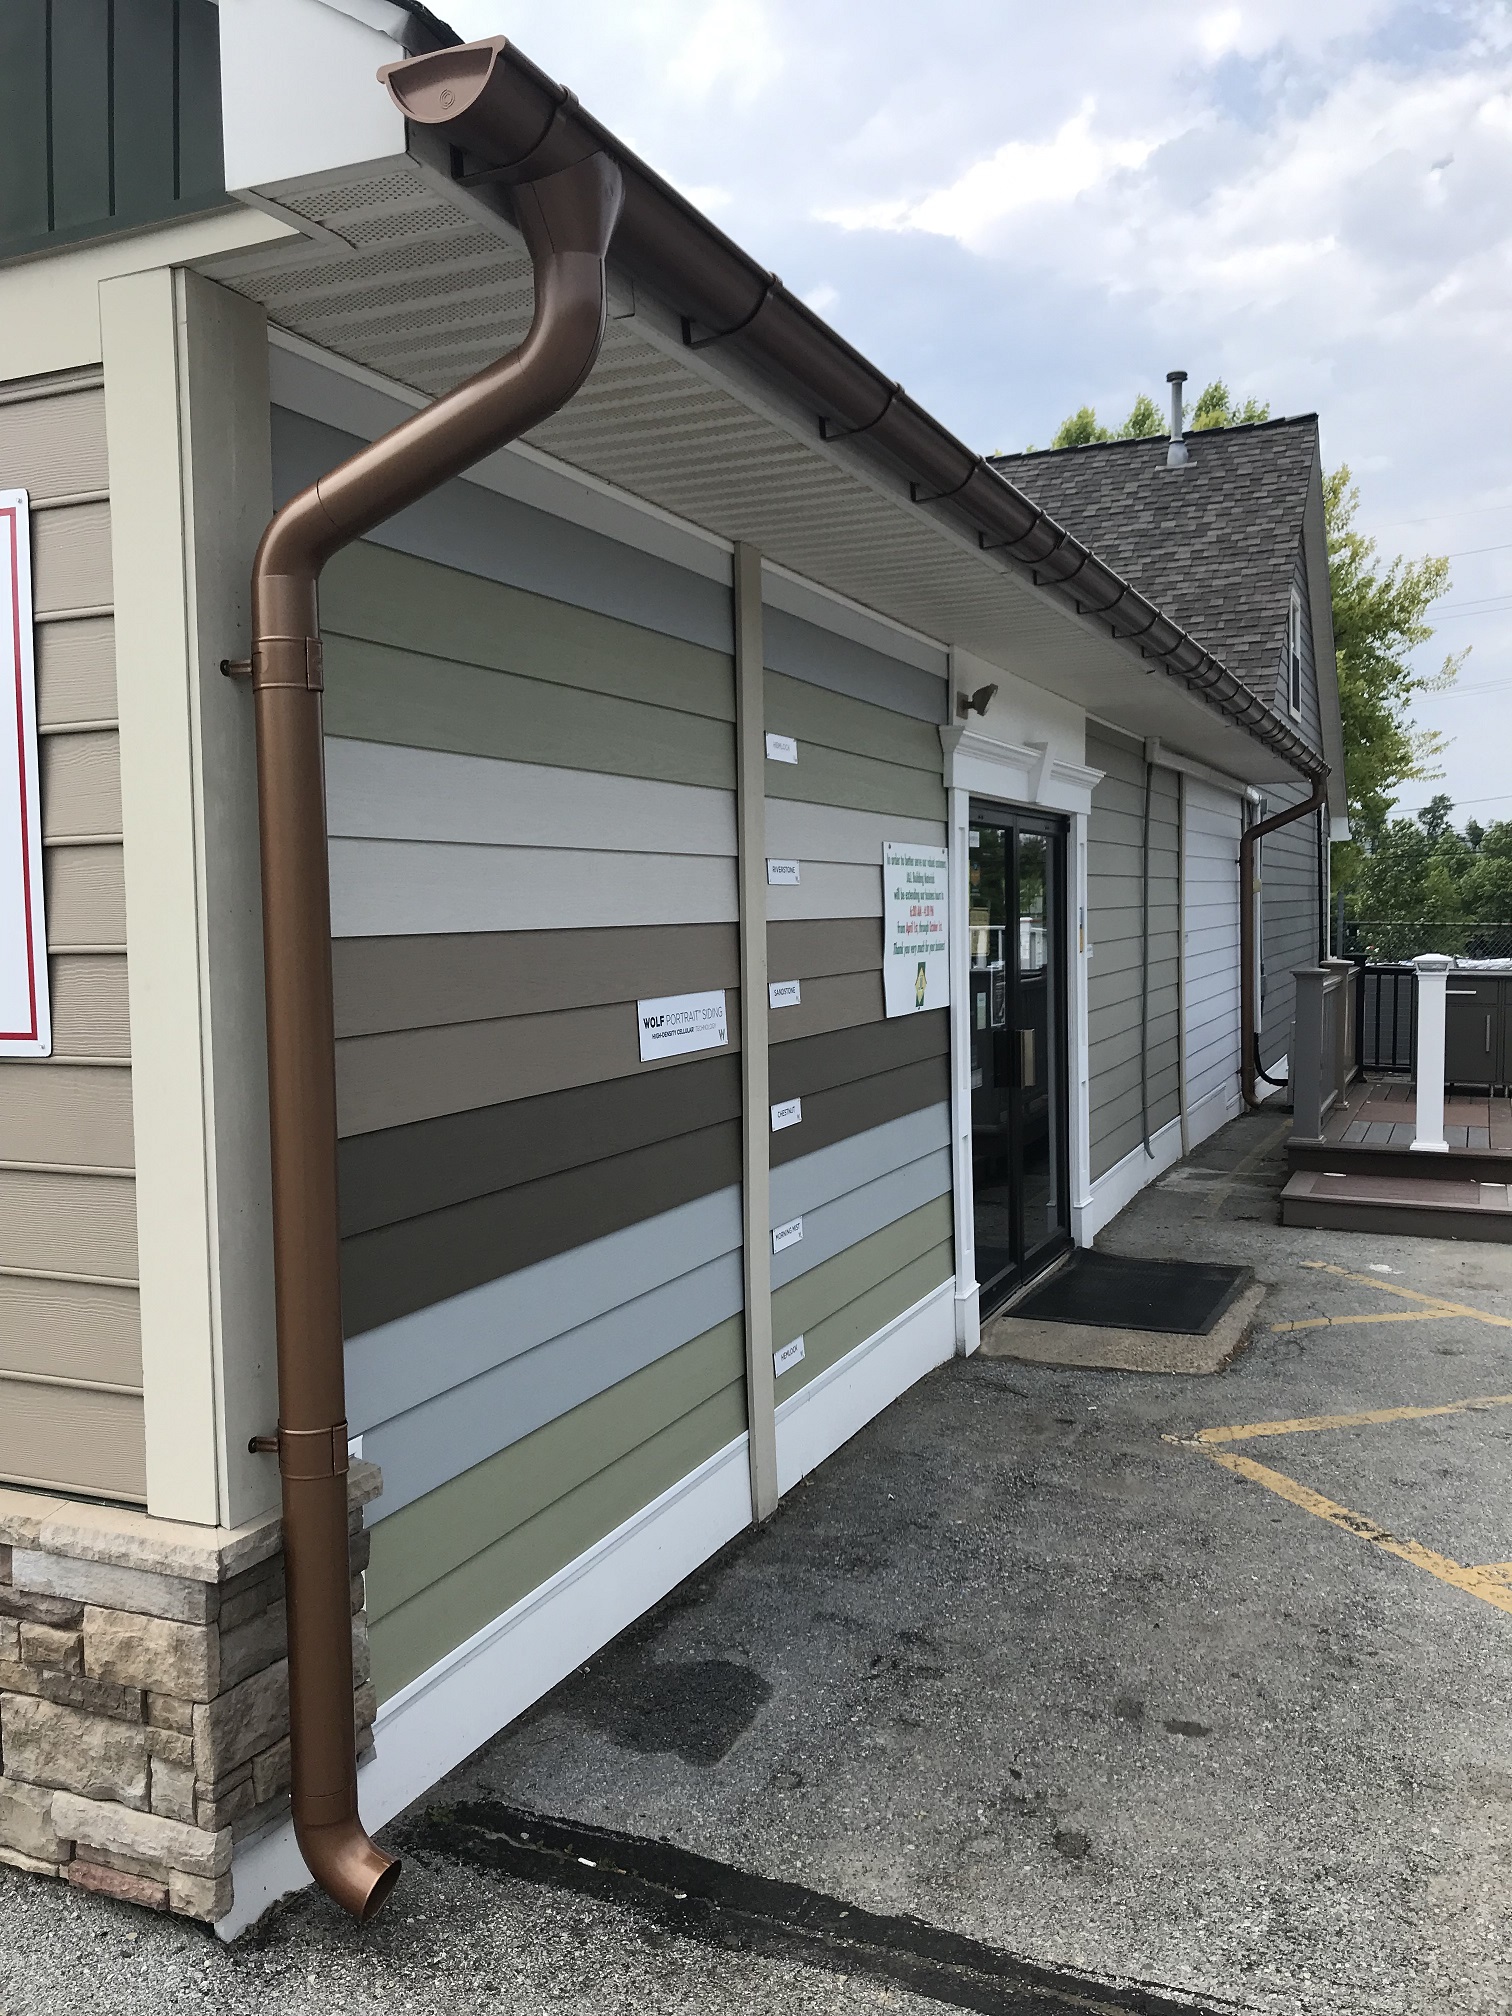
Entrance worthy
This simply looks great. And it does the job, winter as summer.
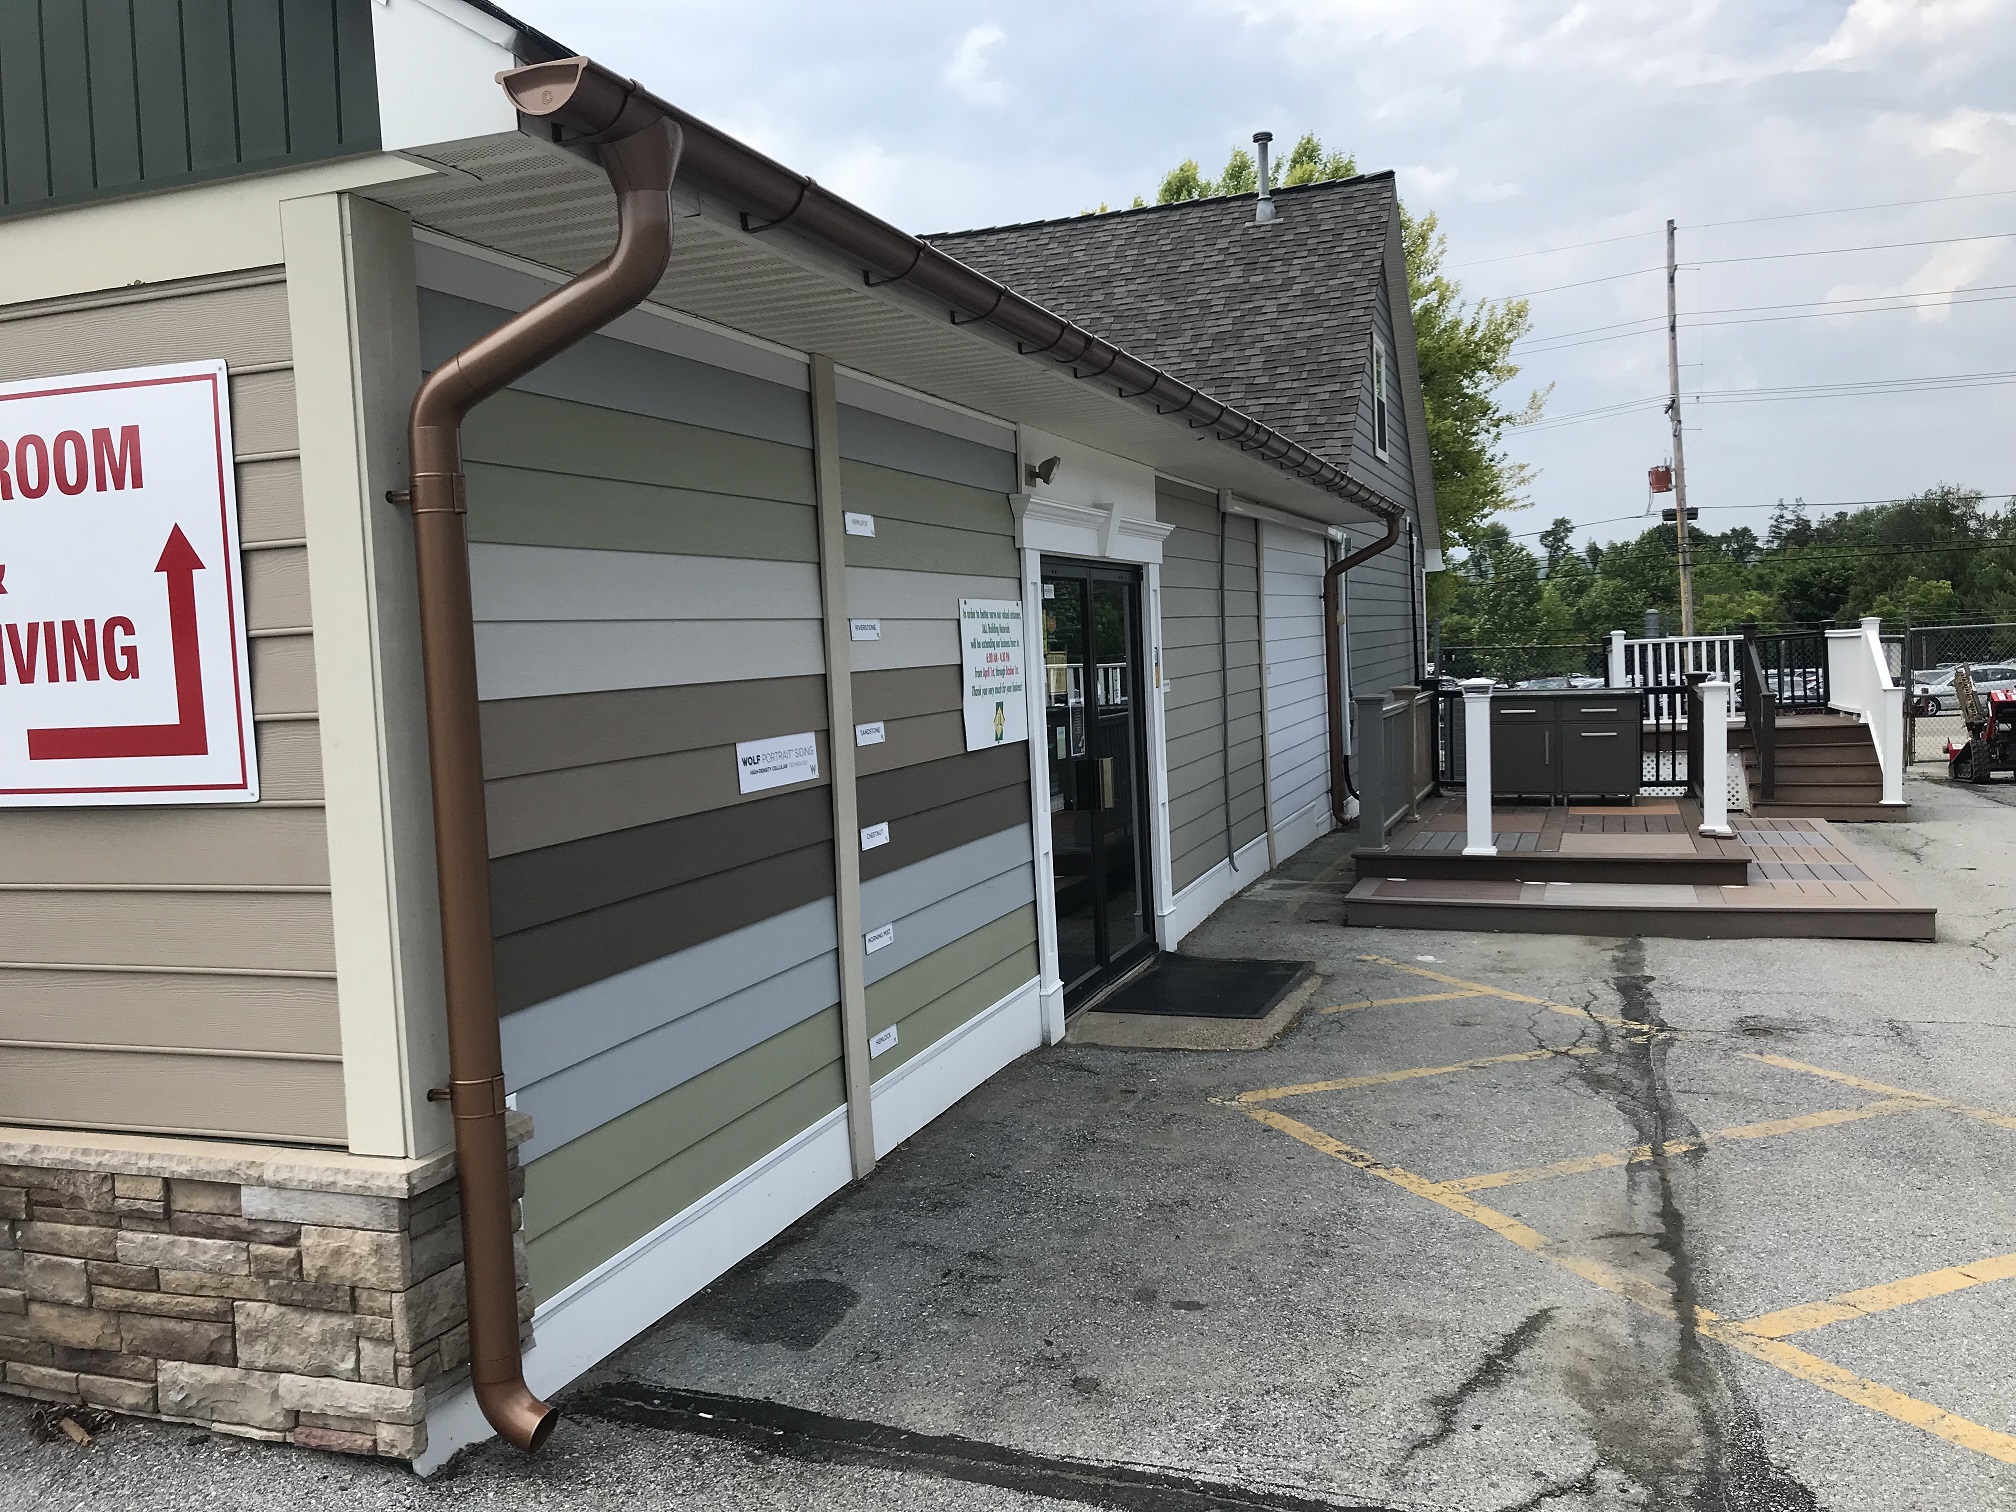
Amazing quality and looks
This system really delivers on all aspects. Looks, quality and performance. Not to mention that installing it without any caulk or sealants is a delight.